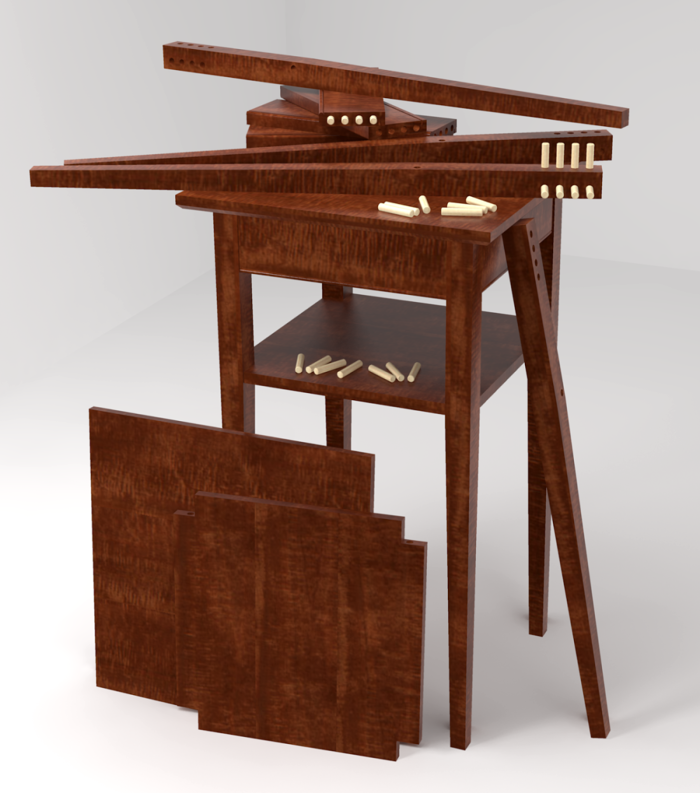
At some point you’ll need to show your SketchUp model to someone else. You’ll probably want to have a nice looking picture to show. There are a number of options for how to do that.
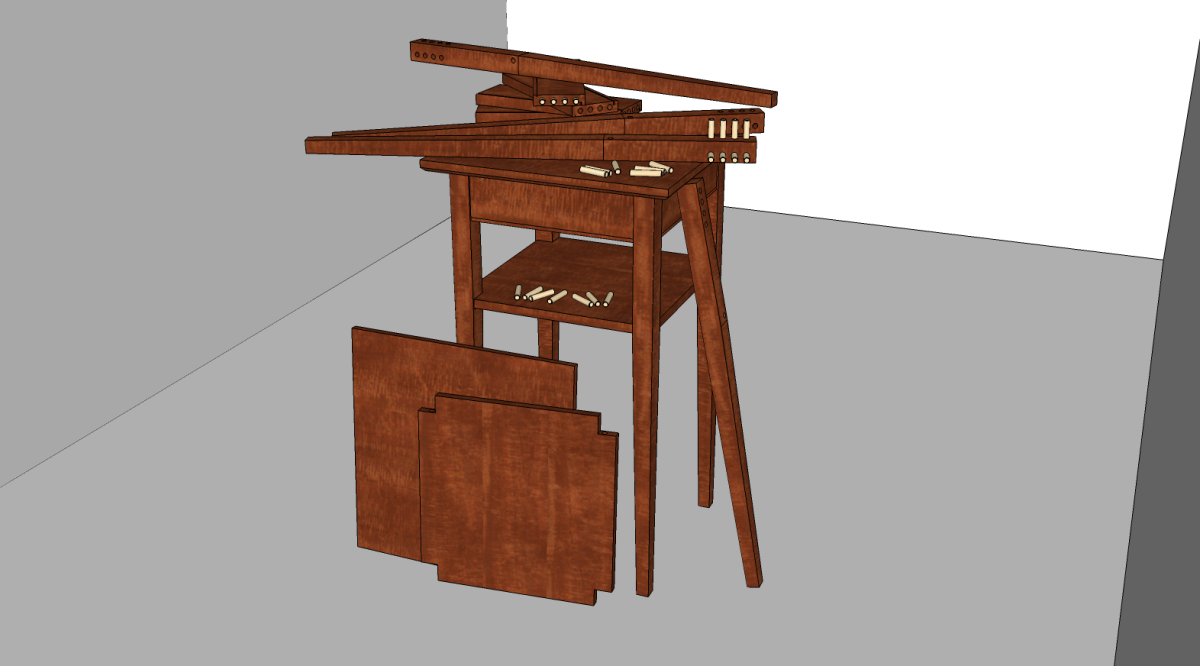
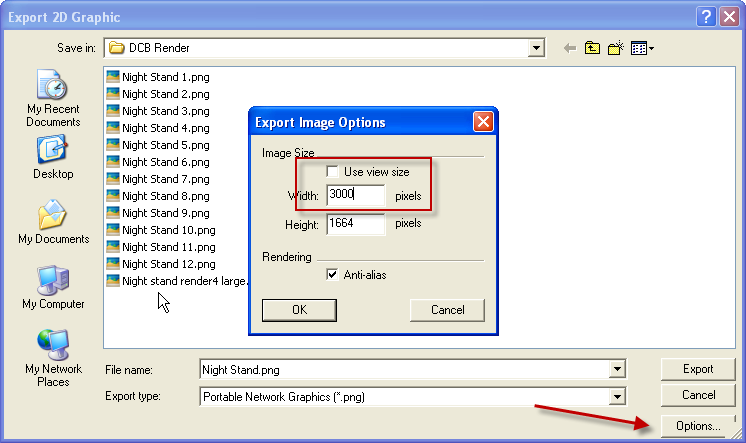
From what I see as far as images from SketchUp go, many people just make a screen grab and call it good. If this is all you need, great. It does show the axes if they are displayed and the resolution isn’t all that high. If you want to make higher quality images directly from SketchUp, you can choose File>Export>2D Graphic… and export a JPG or PNG file.
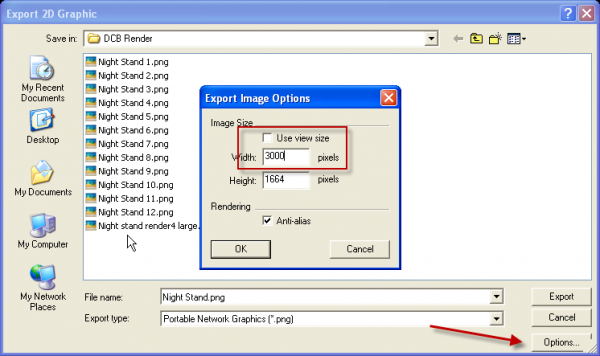
Before making the export, click on the Options button, untick the ‘Use view size’ box and enter a desired width for the image. Click OK, give the file a name if you want and click on Export.
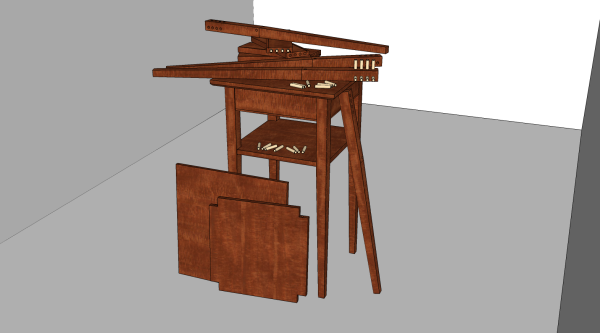
You’ll wind up with something that looks like this. You can also use a sketchy line style if you wish. Many of the images I use in blog posts have had that sort of treatment.
Some folks find the image exported from SketchUp to be too cartoon-linke and want something more photo-realistic. It is typically known as “rendering.” It’s possible and not all that difficult. I don’t do very many of these sorts of images but I’ve worked out a method that works for me. It is fairly quick and gives me decent results. I don’t claim to be an expert at rendering and the following is certainly not the final word on rendering.
There are any number of rendering applications out there. Some of them are quite expensive, some are less so. Some work right in SketchUp while others are stand alone programs. I have been using a program called Kerkythea which is a freeware stand alone application. I’ve tried a few of the integrated applications but find I prefer Kerkythea over them. There’s a plugin (SU2KT 3.17) available from the Kerkythea site which makes it simple to insert lights in the SketchUp model and export the model to Kerkythea. It’ll even allow you to export and render animations which can be nice for walkthroughs.
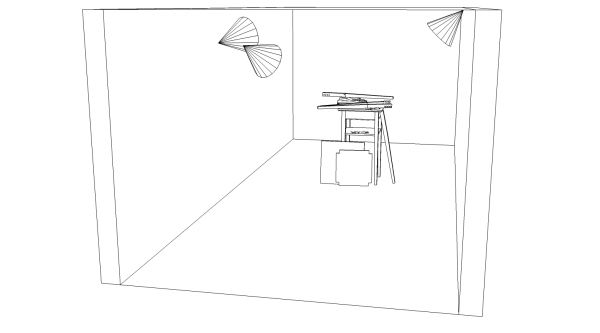
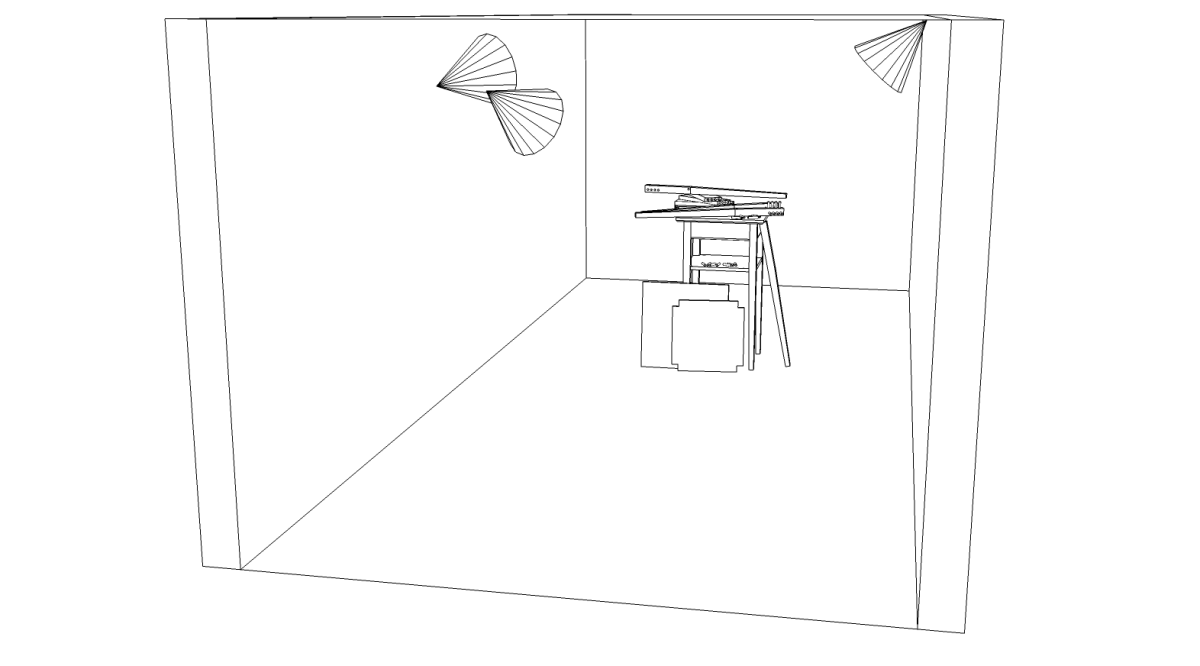
So in setting up the SketchUp model for rendering, I tend to think like a studio photographer. I create a “set” for the model and add lights much like I would if I was going to photograph the real thing. For this model it is a simple box with an open end so I can get the camera in there. We could use SketchUp’s sun for lighting but I prefer to use lights from the SU2KT plugin. One important thing to keep in mind is that you must not have any exposed back faces. Check your model over carefully to make sure one front faces show. Back faces, even if they have materials applied to them will render as black.
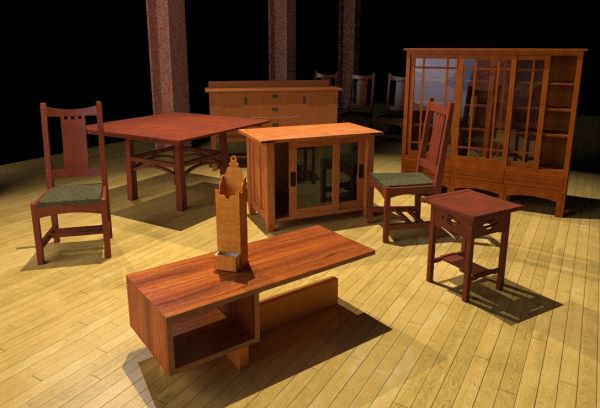
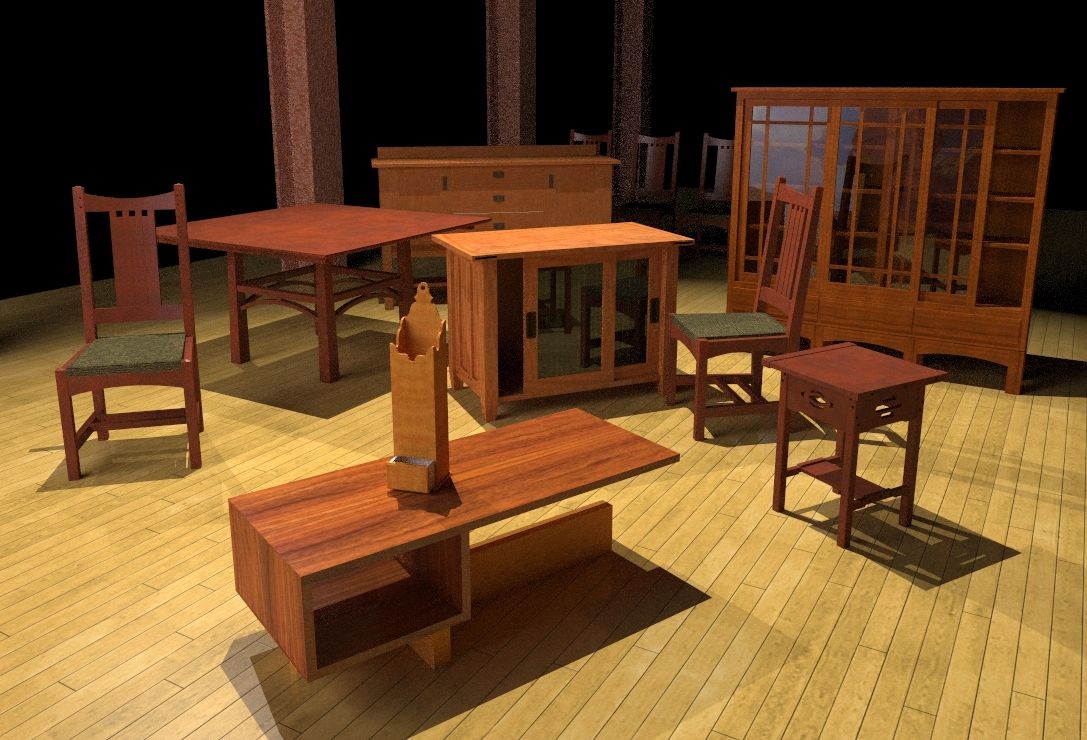
This is an example of a render I did a long time ago. In this case I didn’t spent much time on the materials and I omitted walls on the set. You’ll notice a reflection in the glass on the tall case on the right as well as on the backs of the chairs way in the background. Its a reflection of an image of a Maxfield Parrish painting I imported and set up behind the camera specifically for that reason. I set a couple of lights on the painting and that was it. Without that reflector, the glass would have been mostly black.
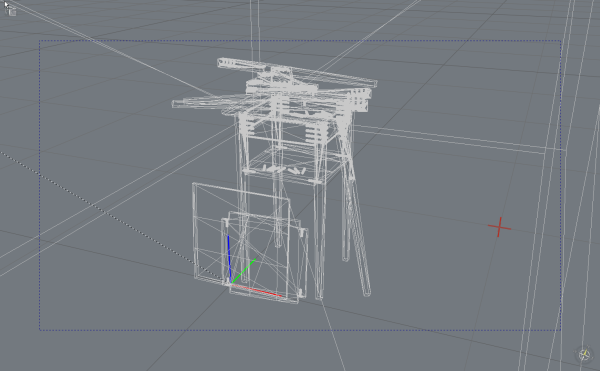
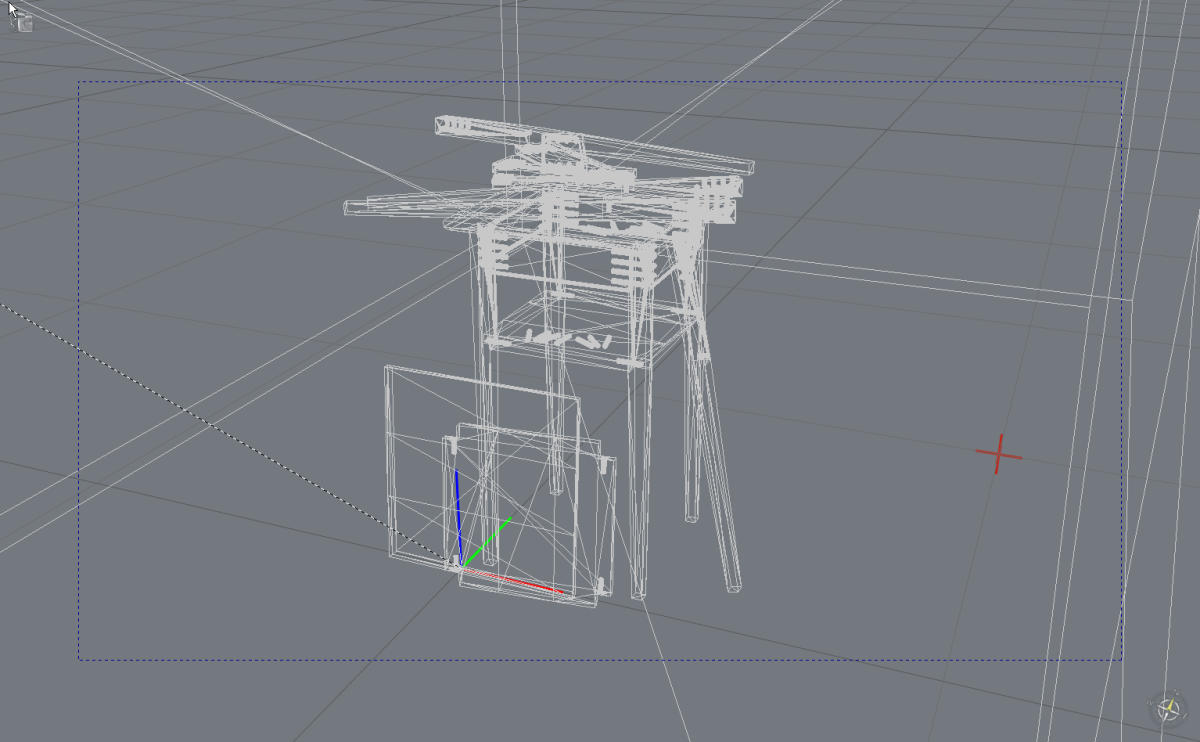
Back to the little shaker stands. I created a scene in SketchUp. this will give us a camera in Kerkythea. After clicking the ‘Export to Kerkythea’ button, Kerkythea opens and we see the model in wireframe.
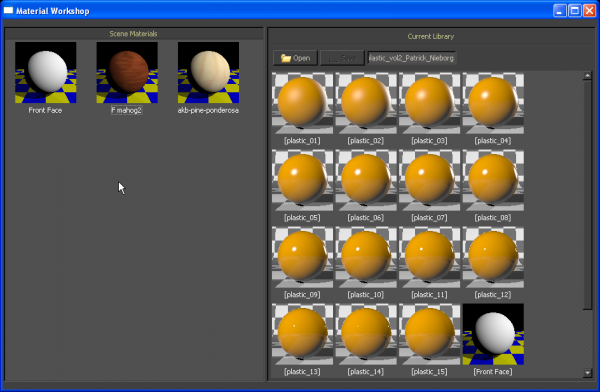
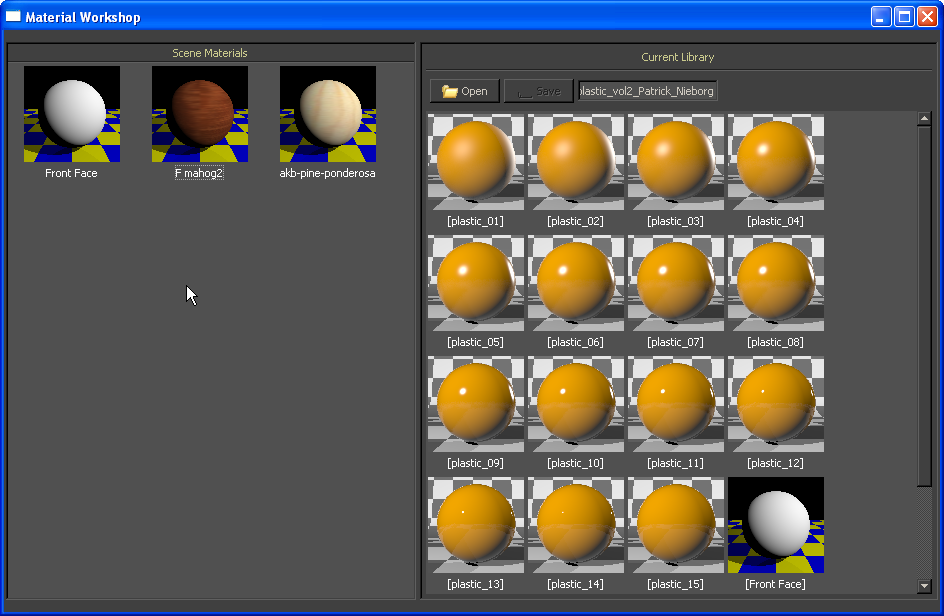
The first thing I do is set up the materials. Go to Settings>Materials to get the box, above. The first thing you’ll have to do is “Rebuild” the library. Right click on one of the squares in the left hand pane, choose ‘Select All.’ Right click again and choose ‘Rebuild Selected.’
I’ve found that I can get an acceptable finished look for my wood textures by using a preset plastic material from the Basic Plastic library. That library gets opened in the right hand pane. then you select the material you want to modify on the left, right click on the preset you want on the right and choose ‘Apply to left pane.’
As an aside, there are a number of other libraries available on the Kerkythea site including ones for glass, metal and wood floors.
Don’t panic. the material on the left will look like the one on the right. Right click on the thumbnail image and choose Edit.
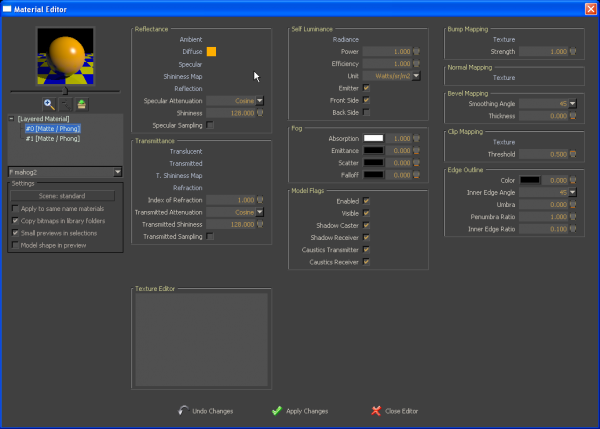
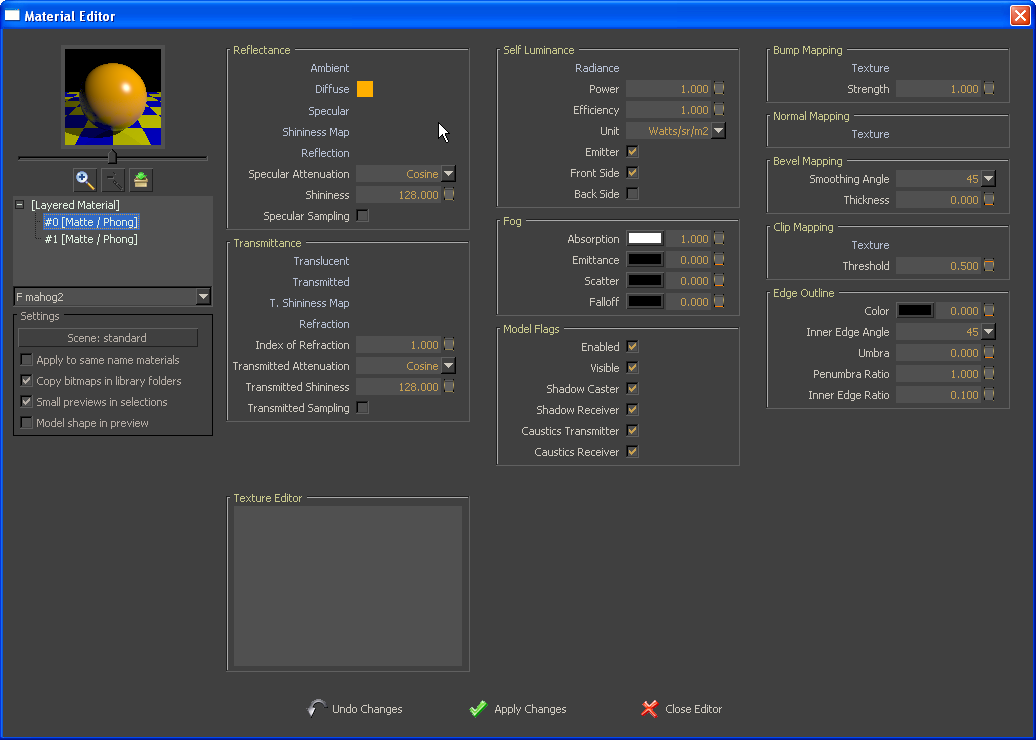
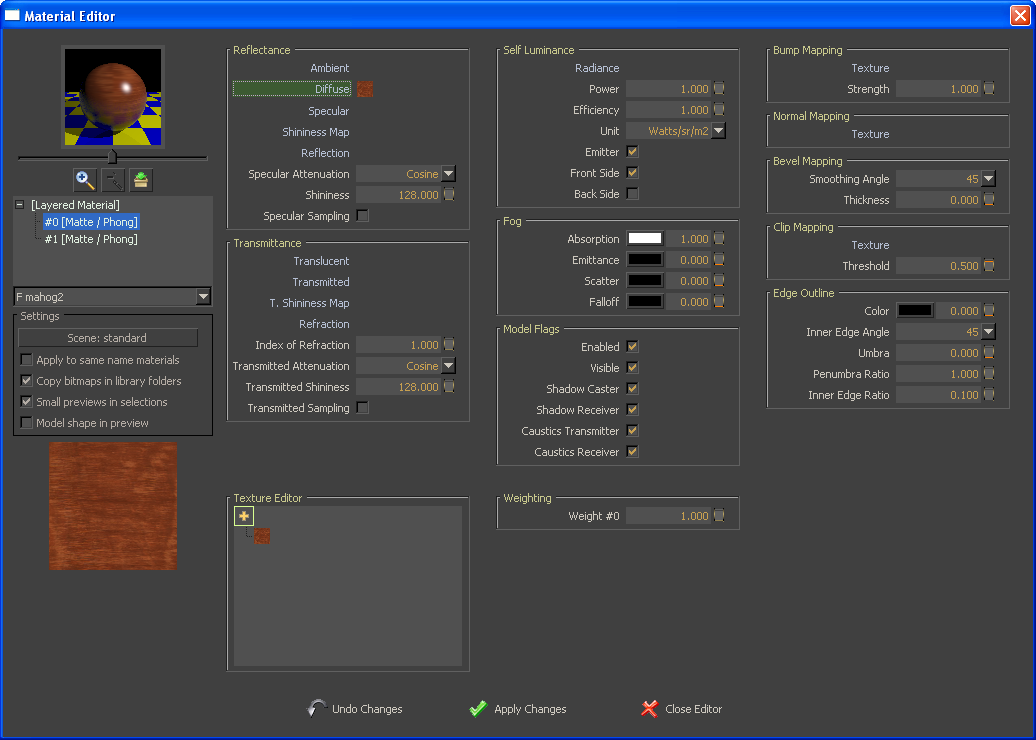
You’ll get something like this. Under the thumbnail image select the line that reads “#0[Matte/Phong].” Then right click on the little orange square and delete the material. Click on the word, “Diffuse” and then the little black and white checkerboard icon. Navigate to the folder containing the material images. This will be named with your SketchUp model’s name and appended with “TX.” It should be in the same folder location as the model. Choose the material image and click on OK.
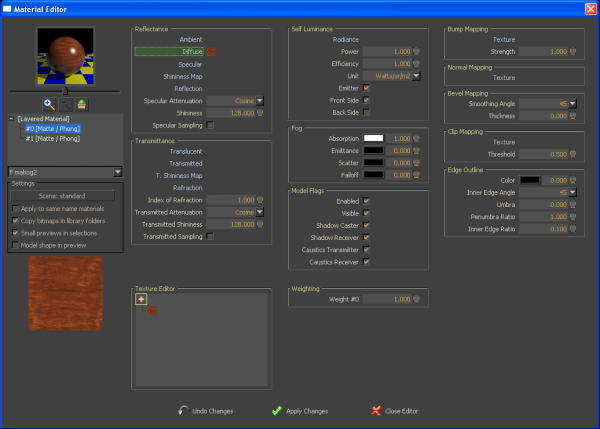
Now you have this. Repeat the process for the other materials. You can apply all the presets first and then edit the materials afterward is you wish. there are a lot of other settings here but I find I don’t really need to play with them in most cases.
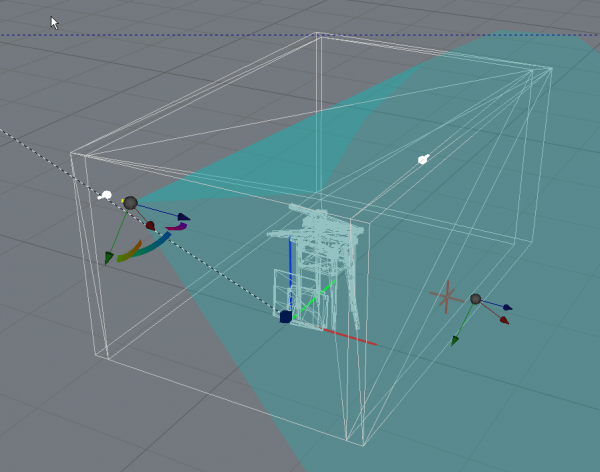
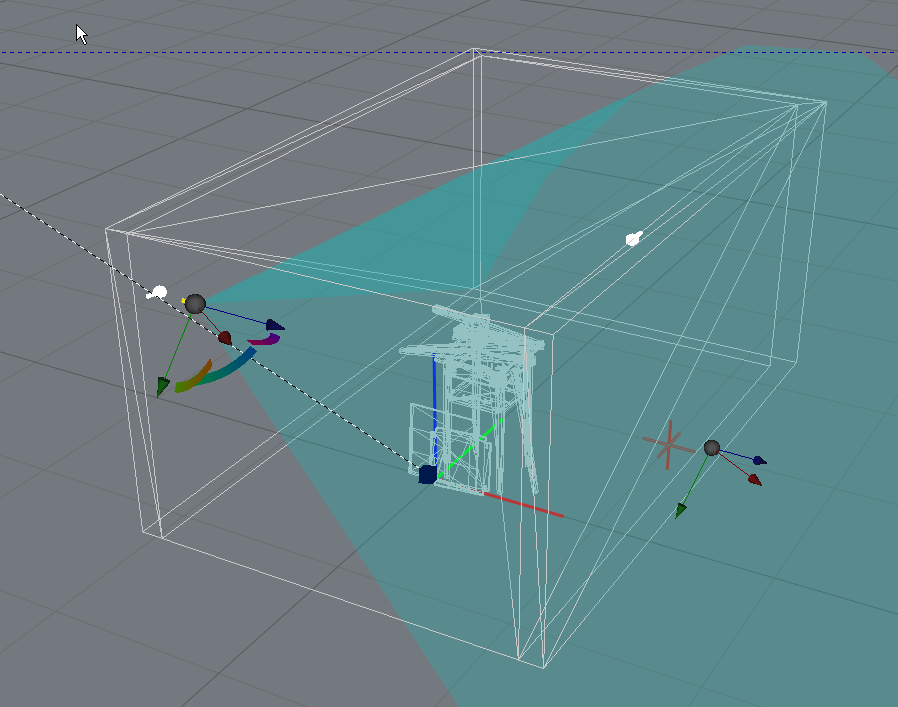
Now we’ll move on to the lights. You can zoom out with the scroll whell much like you do in SketchUp. Select a light and use the arrows to adjust the coverage as needed. You can then edit more parameters for the light by clicking on Settings>Scenes.
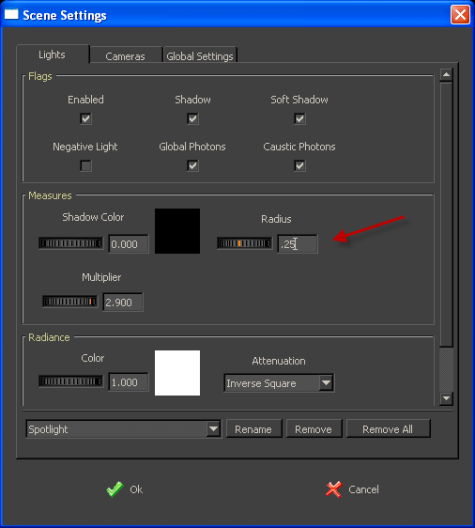
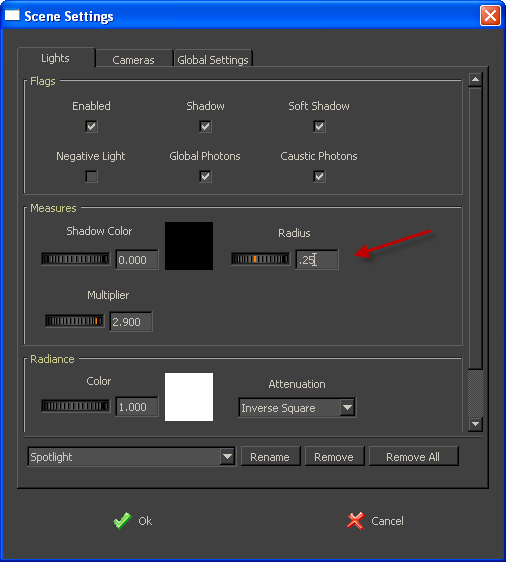
I like to have soft shadows so I tick the ‘Soft Shadow’ box and set the radius to something. You’ll have to experiment with the radius value to see what works for you. The distance between the light and the model will have an impact on how soft the shadows look, too. You might need to adjust the value under Color to adjust how bright the light is but I usually wait until I make a test render. I’ll edit the other lights in the same way.
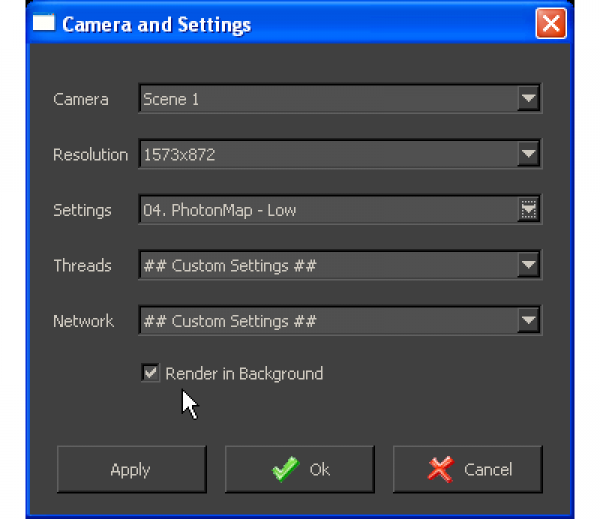
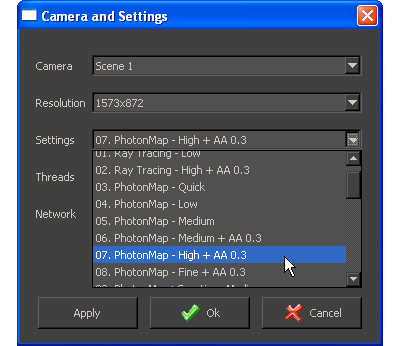
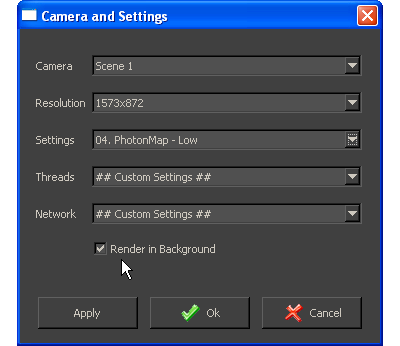
Now it’s time to make a test render. Click on the Render button. You’ll get this box. Set the Camera to the scene you set up in SketchUp and then, for a quick render, use preset render setting number 03 or, as I have chosen here, 04. these renders go quite quickly and give you a fairly good idea of what the render will look like.
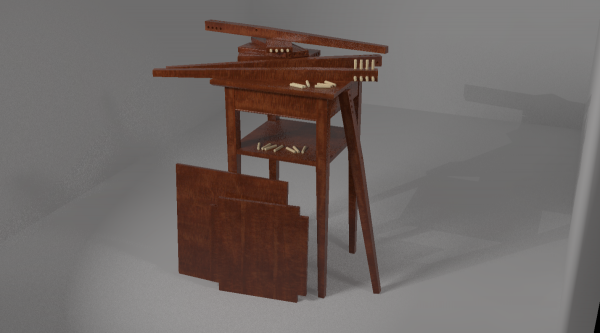
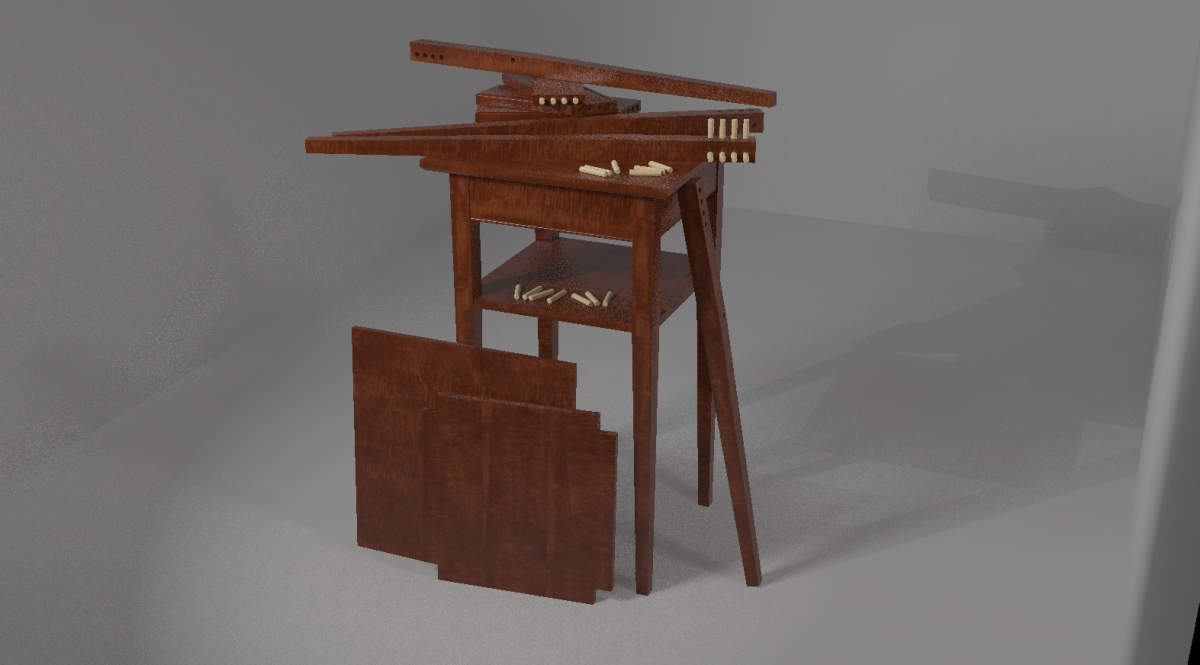
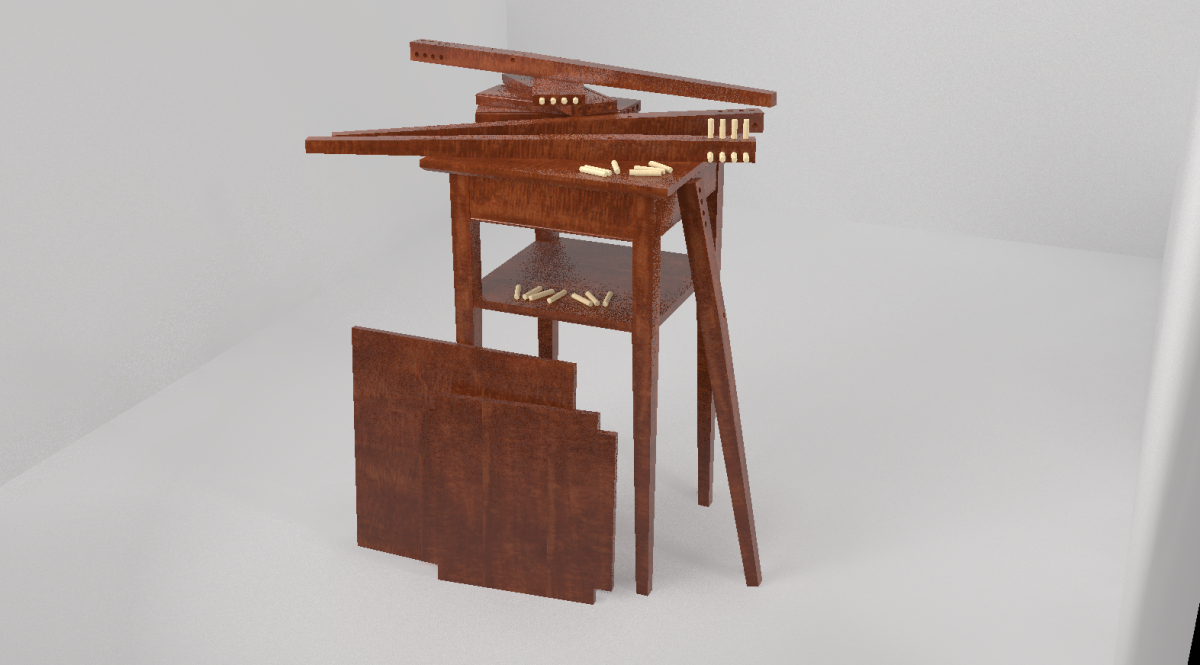
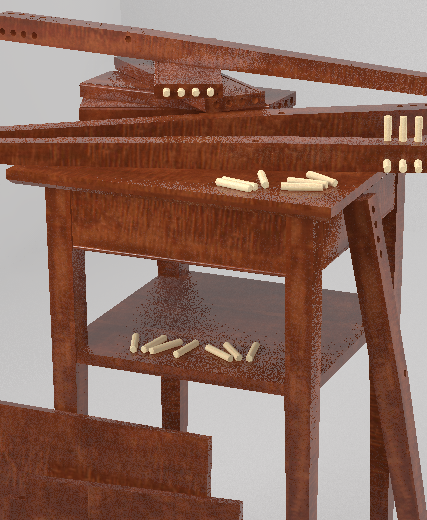
This is the first render. It’s a bit dark and the shadows aren’t as soft as I want.
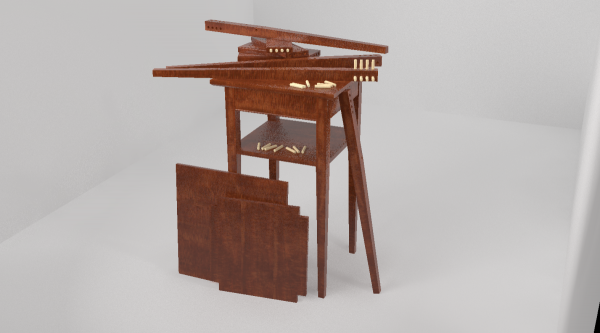
I edited the lights a bit. I made the light pointing at the ceiling brighter by increasing the Radiance value under ‘Color’ to 2.0. I also set its radius to 1.
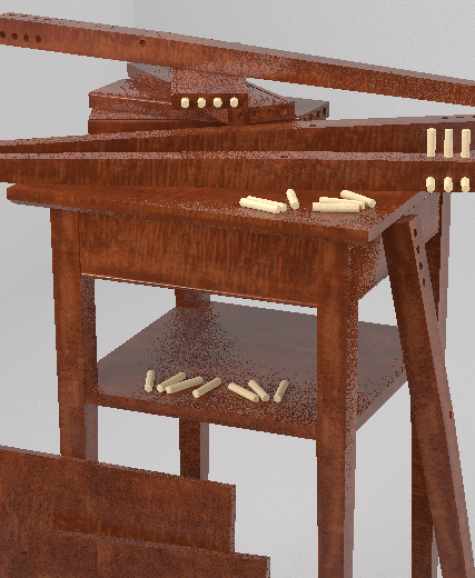
Here’s a closeup view of the render above it. You can see at this point the render is pretty rough.
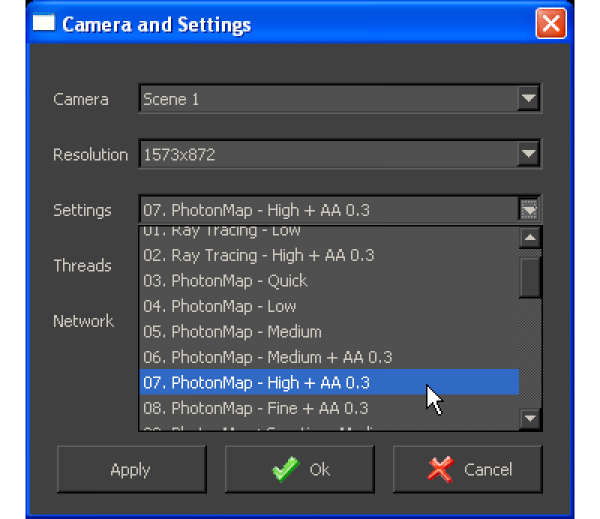
So now we’ll do another render and choose a higher quality preset. Usually 07 or 08 work well for me. They are a good balance between quality and render time. the higher the quality, the longer the render will take.
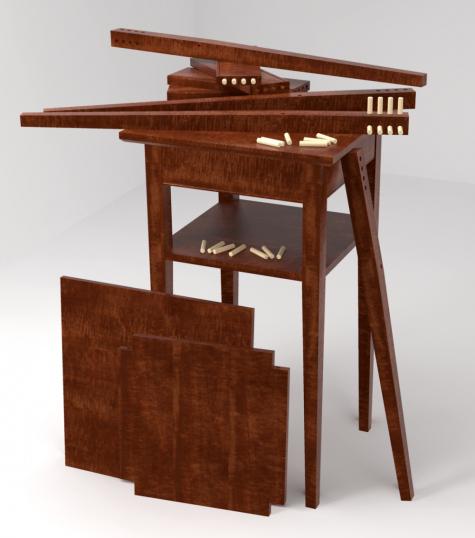
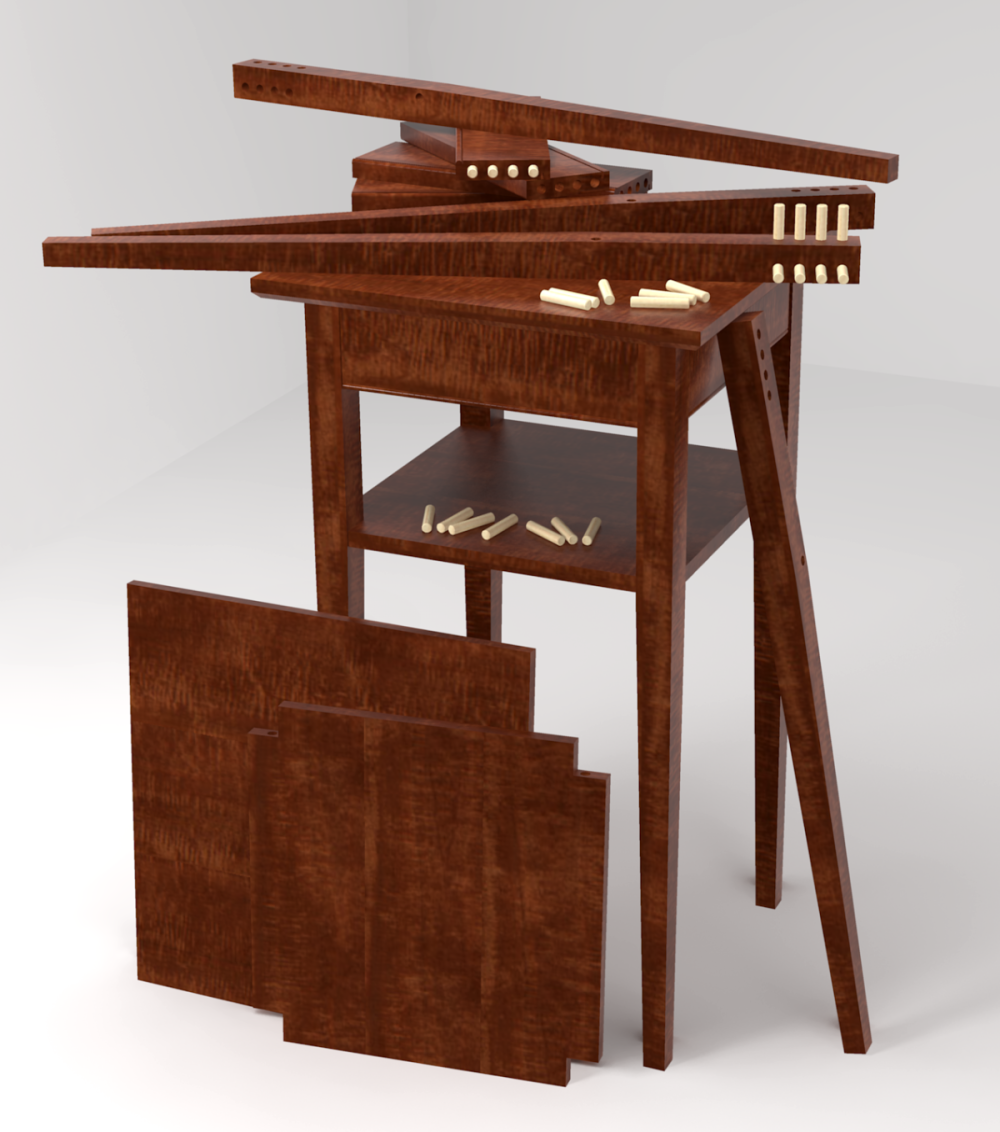
After starting this render, go get a cup of coffee or go out to the shop and make something out of real wood. Depending on the complexity of your model and the number of lights, the render might take 15 minutes or more. I’ve had some run for several hours but that’s not usual for my models.
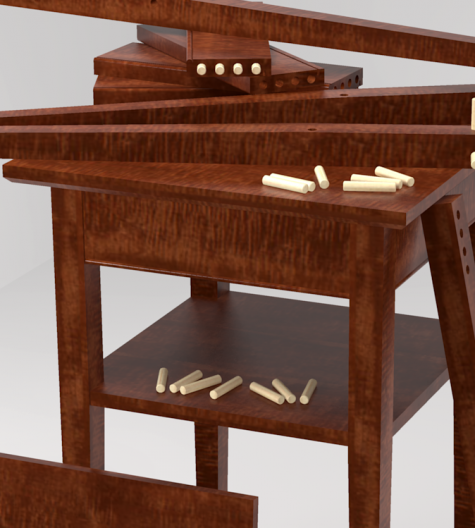
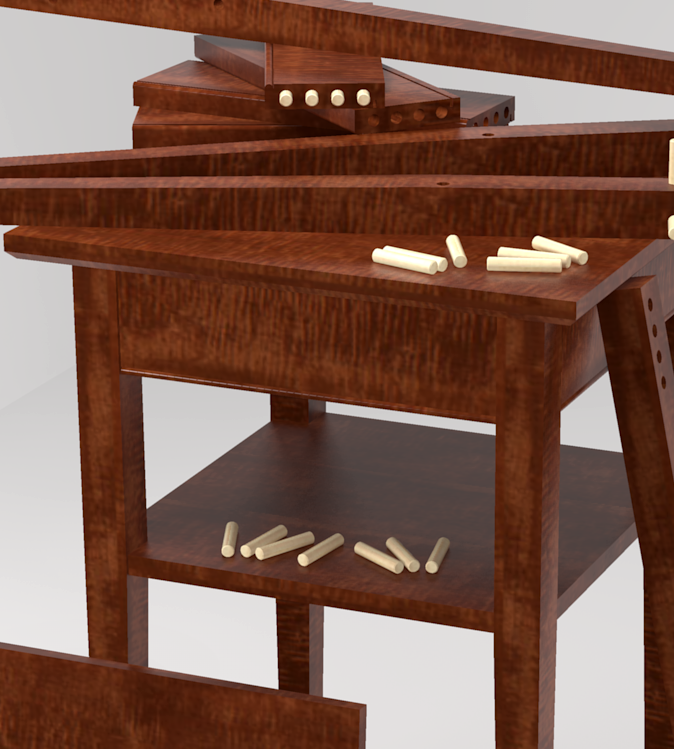
Here’s a close up of the render above.
This is a long post and it looks like a very complex thing to do but after doing it a couple of times you’ll find it actually goes pretty fast. If these photo-realistic images interest you, give this a try. For more information on using Kerkythea check out the website and especially look at the forum, there.



Comments
Very helpful. I just downloaded Kerkythea and hope to start playing with it this weekend.
Gracias Richard,por compartir tus conocimientos.
eres un buen maestro de sketchup aplicado a la ebanisteria.
[email protected]
Ok, this is just plain cool. I'm going to have fun with this.
Dave - Since this is my first attempt at this, I quickly became lost. Do you have a video of this process?
Jeff
Jeff, I don't have a video right now but perhaps I can make one. I'll see what I can do.
-Dave
Nice renders. I usually use Vray with Sketchup, but I've recently downloaded Kerkythea. Hopefully it'll bring something a little different to my renders
Log in or create an account to post a comment.
Sign up Log in