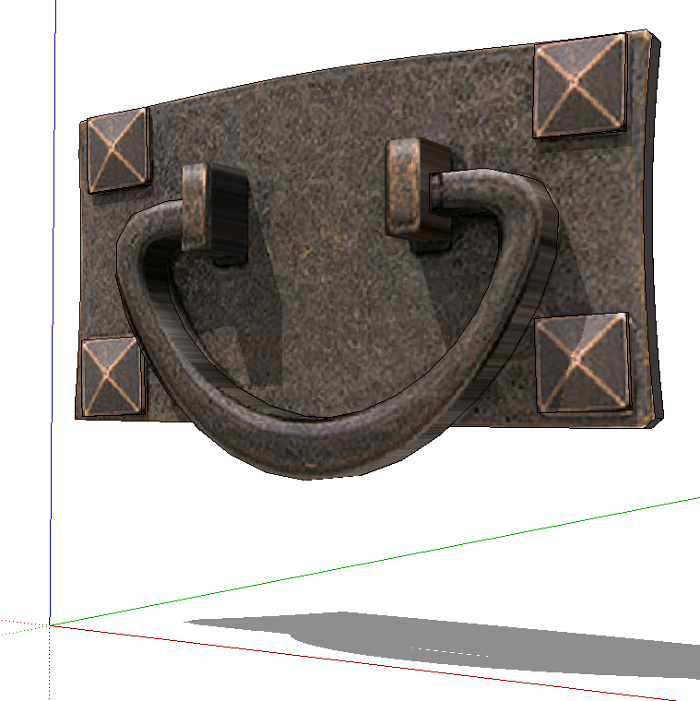
Often the SketchUp models I draw are made to be shown to a client with the aim of gaining their approval for the construction of the piece. To help the client visualize the piece I often need to add things like drawer pulls and other hardware. Since this hardware isn’t the focus of the SketchUp model I don’t want to invest a whole lot of time drawing it. Here’s an example of a piece I did recently and how I drew it.
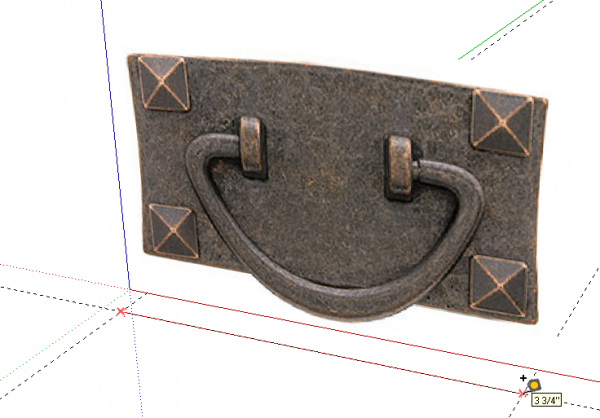
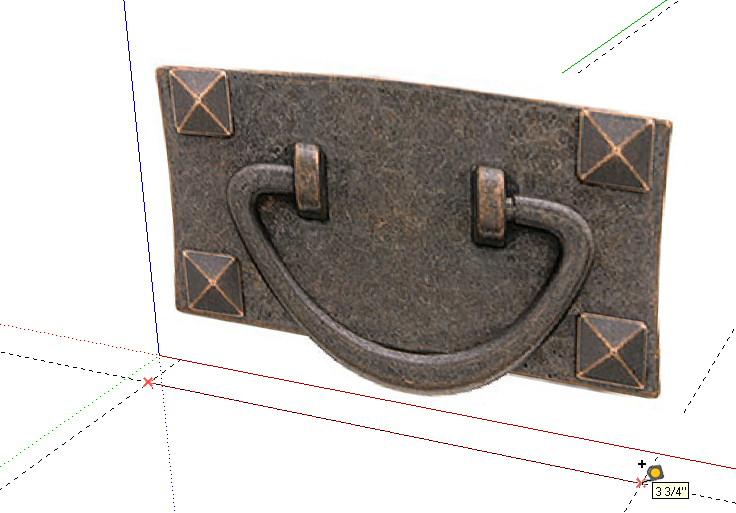
I started with a photo of the drawer pull. It’s best if the photo is taken looking straight at the pull. I import the image as an image and then resize it using the Tape Measure tool. In this case I knew the back plate to be 3-3/4 in. wide. I set a couple of guidelines in line with the ends of the plate and another guideline crossing those first two. Then, still with the Tape Measure tool, I click on one intersection and then the other. The current actual dimension is displayed. Type 3 3/4 (or 3.75) and hit Enter. You’ll be asked if you want to resize the model and you’ll choose ‘Yes.’
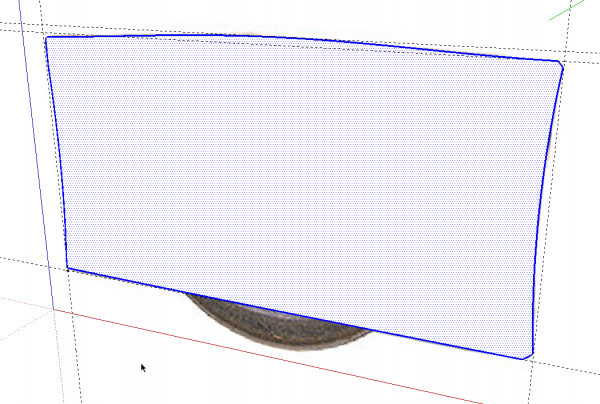
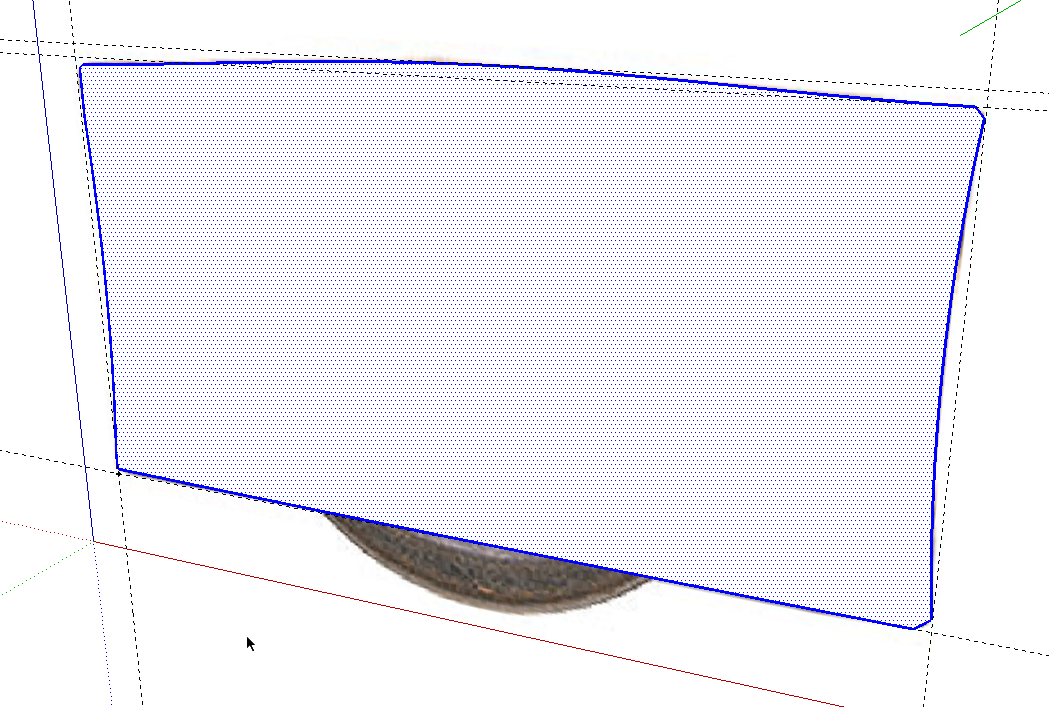
I set out a few guidelines and then roughly traced the back plate. It’s not a perfect fit but it’s pretty close.
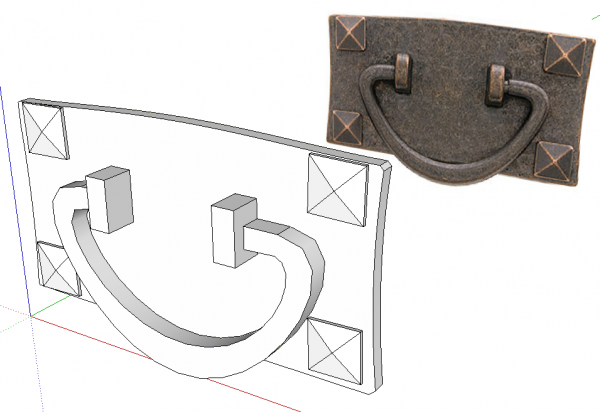
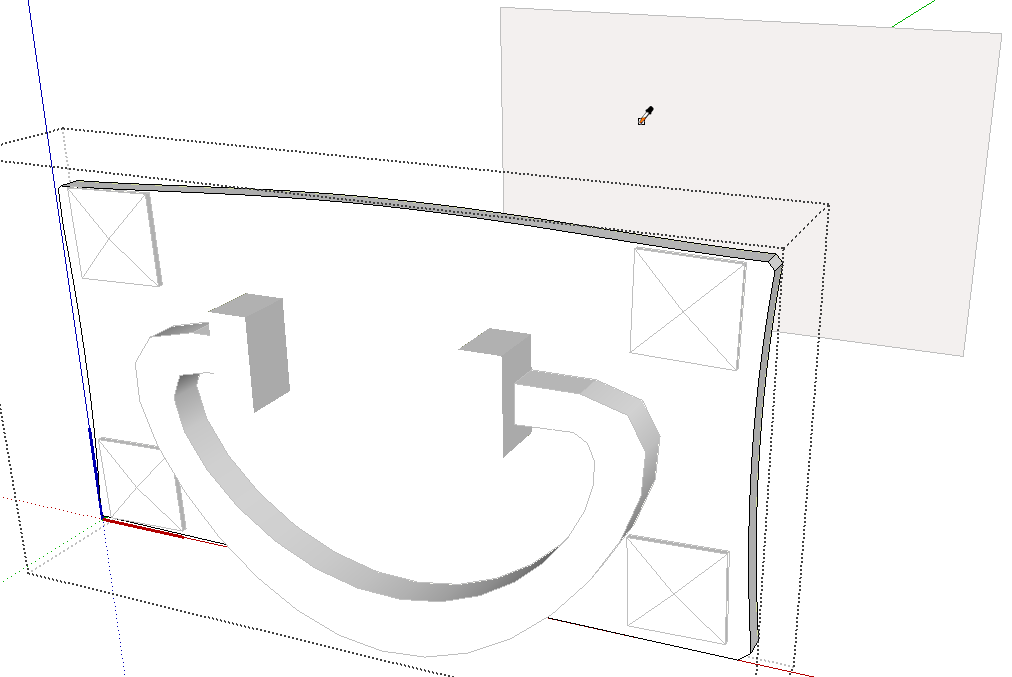
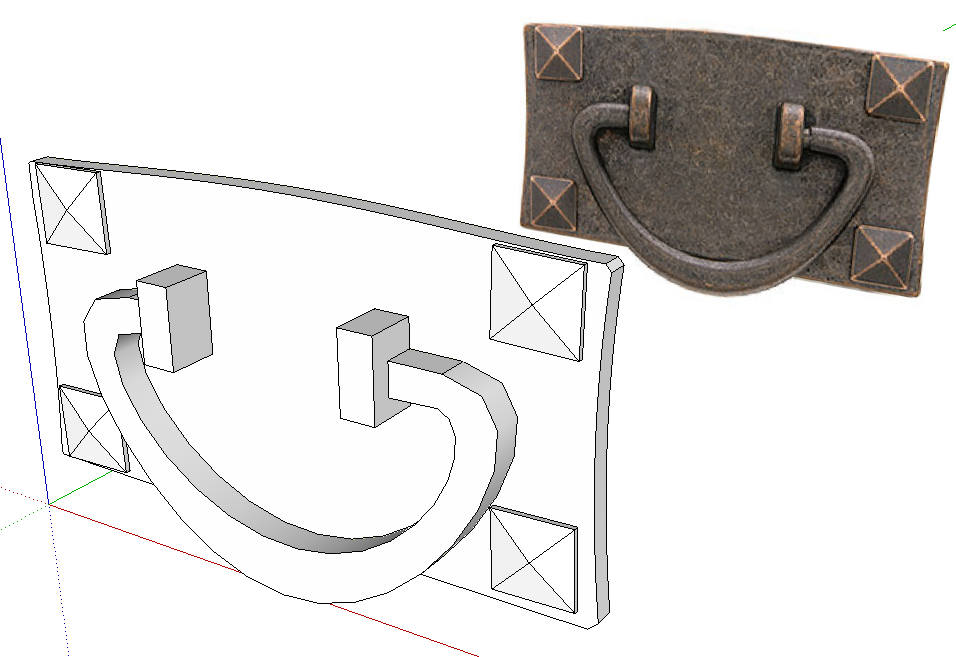
I gave the plate a little thickness with Push/Pull and made it a component. I drew a screw head, made it a component and copied it to the other three positions. Then I drew the bail and made it a component. You can see the bail is pretty simplistic. There’s no need to round over the edges or anything.
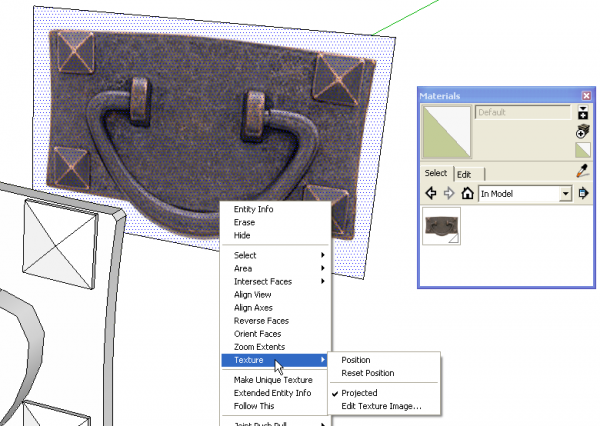
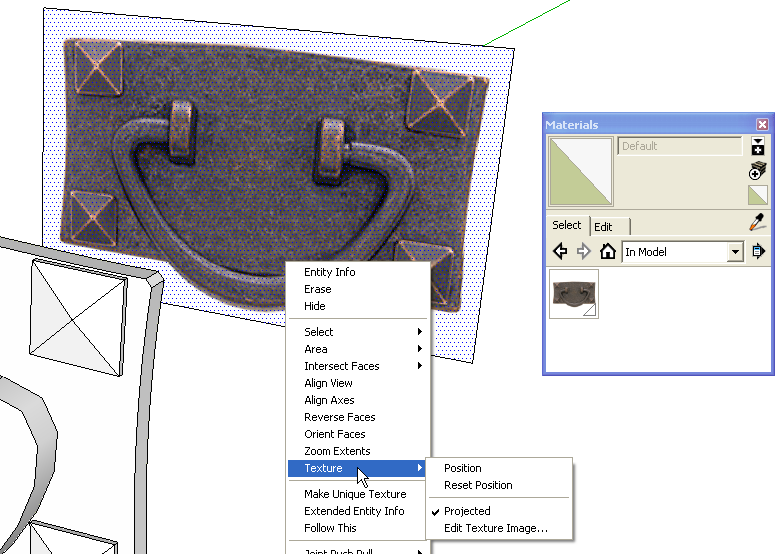
Now we’re ready to apply a material to faces. We’ll use the photo for that. I’ve moved it backward so it can be seen. It makes it easier to work with that way but you could manage it without moving it. Right click on the image and choose Explode. It becomes a material now and is automatically set to Projected. You can confirm that by right clicking on the face and choosing Texture.
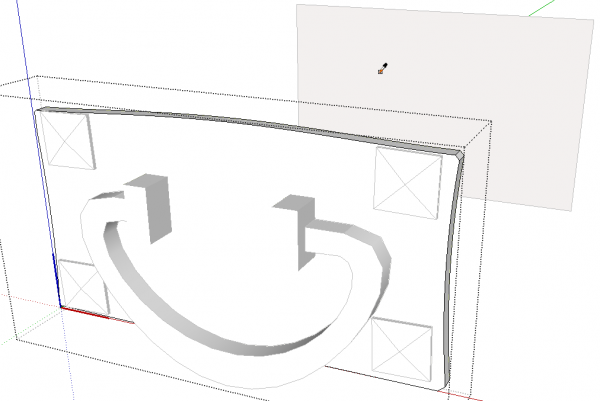
Next, open one of the components for editing. Get the Paint Bucket tool and hold Alt on the PC or Command on the Mac to get the eye dropper tool. Click on the material image in the background. Don’t worry that you can’t see the texture. It’ll still be sampled.
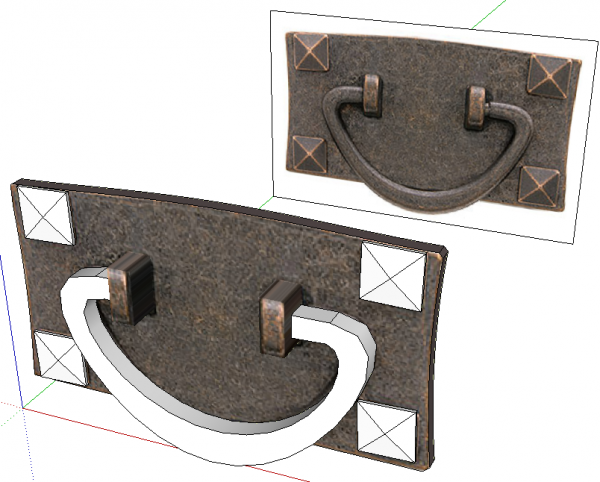
Release the Alt or Command button and click on the faces in the component. Open the next component and apply the material to it’s faces as well.
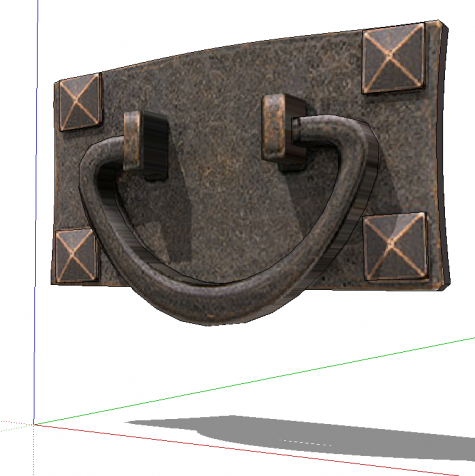
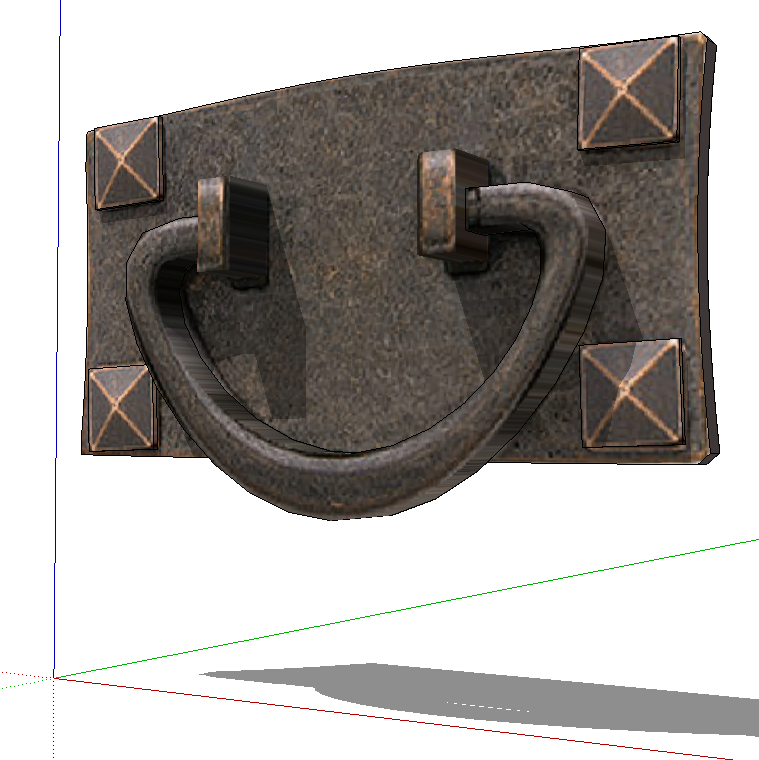
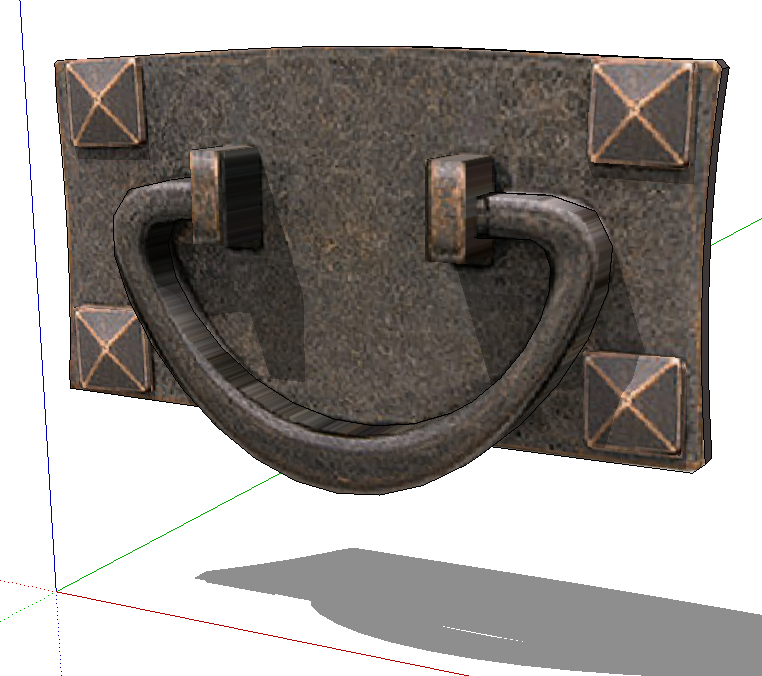
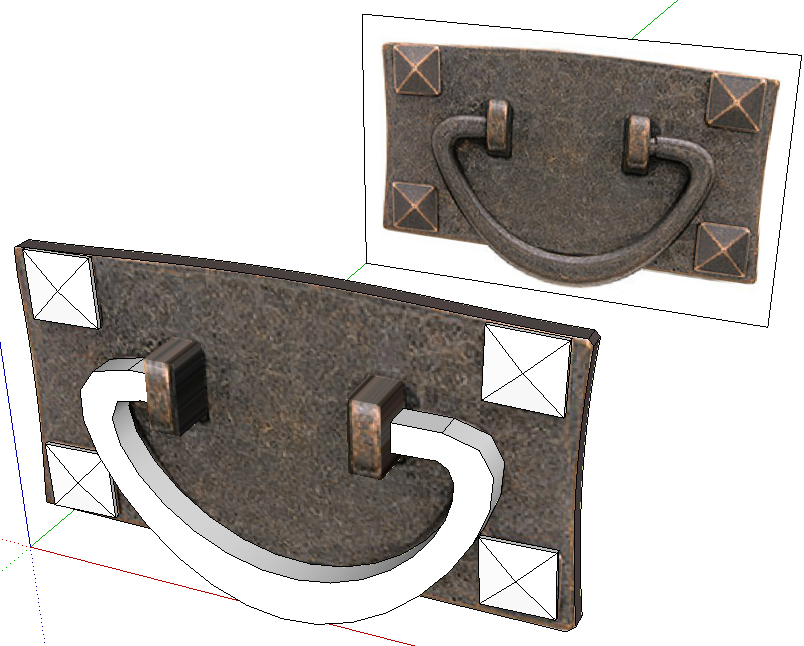
When you’ve finished it should look something like this. As you can see the side faces don’t look all that great but when the drawer pull is viewed on the piece of furniture, no one will know.

The pull is nearly complete. The last step I take is to make a component of the entire pull and set its axes at the middle on the back. You can see how I do that here. This will make the pull easy to insert into the right place in the furniture model. The last thing is to save the component somewhere so it can be used later.



Comments
Dave,
Now that looks down-right useful. I'd never thought of using pictures for texturing. And you are right, these detailed pieces don't have to be all that accurate, they are only representations and the blocky-ness will not get noticed. Thanks for sharing.
Rance
Nice presentation of how-to... thanks!
Log in or create an account to post a comment.
Sign up Log in