3 Steps to Great Glue-Ups: Edge Joints
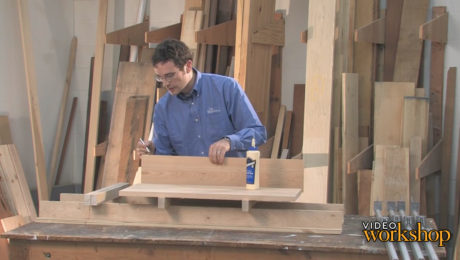
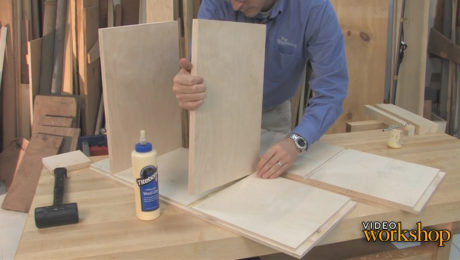
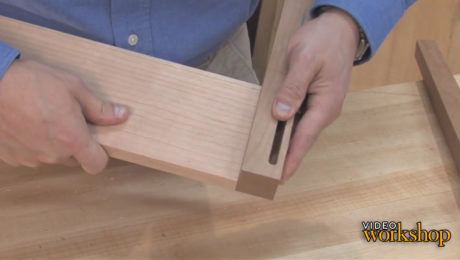
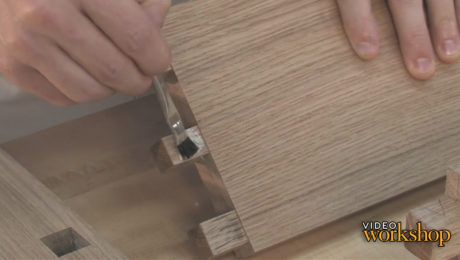
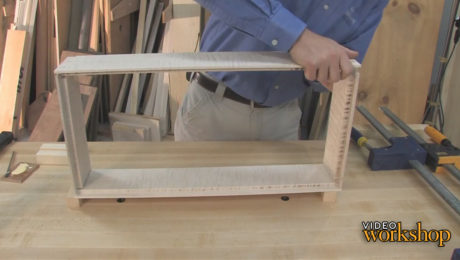
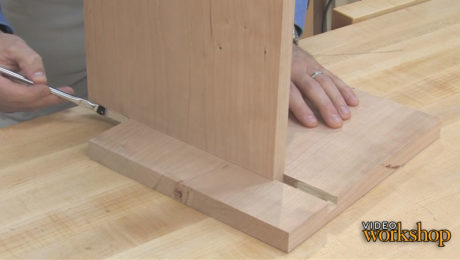
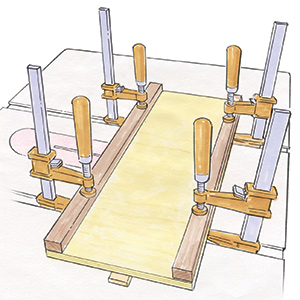
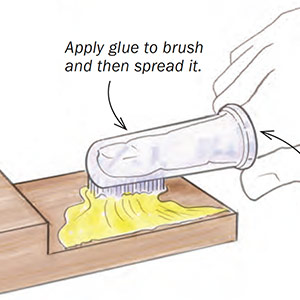
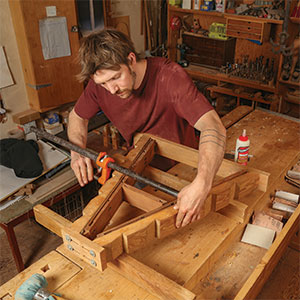
Learn how to properly edge-glue boards in part one of our six part series, 3 Steps to Great Glue-UpsEdge Joints: Edge-gluing boards together seems like a pretty straight-forward operation. But if you’re not careful, you could end up with misaligned joints and leftover glue that could interfere with your finish. Learn how to edge glue boards like a woodworking pro.
Edited by: Gary Junken
For more about glue-ups:
- Prevention is Best Cure for Glue Squeeze-Out
- No-Stress Glue-Up
- The Secret to Great Glue-Ups
- How to Tame Squeeze-Out
- Tips For Square Glue-Ups
Videos in the Series
-
3 Steps to Great Glue-Ups: Edge JointsOctober 31, 2012
-
3 Steps to a Great Dado-Joint Glue-UpNovember 2, 2012
-
3 Steps to a Great Mortise-and-Tenon Glue-UpNovember 16, 2012
-
Gluing Up Through-Mortise-and-Tenon JointsNovember 19, 2012
-
3 Steps to a Great Dovetail-Joint Glue-UpDecember 3, 2012
-
Gluing Up Sliding Dovetail JointsDecember 6, 2012




Comments
What brand of bar clamps are you using there? They look very durable.
A little table salt on joints will also prevent glued joints from moving during clamping. Not saying it should replace the method described here but in other smaller situations. Sugar will NOT work as the crystals are not as sharp and don't bite into the wood the same as salt.
Salt is an old cabinet maker, shipwright and carpenter's trick. You don't need much and fine sand as you'd buy for an aquarium works just as well.
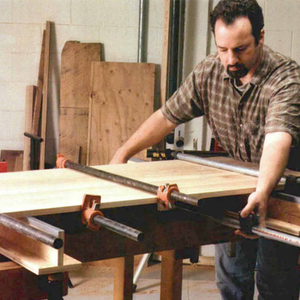
Over time, I've also learned to check that the tabletop surface I'm using for my glue-up doesn't have a twist in it. If it does, it will get transferred to the glued panels. So if I notice any kind of twist when sighting across my bar clamps, I shim them until they're level (similar to using winding sticks to check a board for twist).
Log in or create an account to post a comment.
Sign up Log in