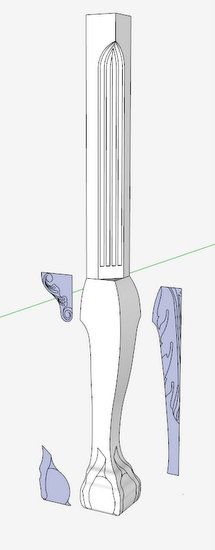
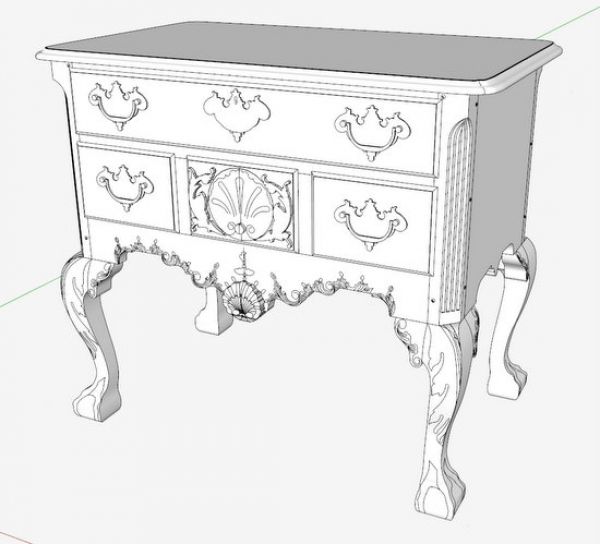
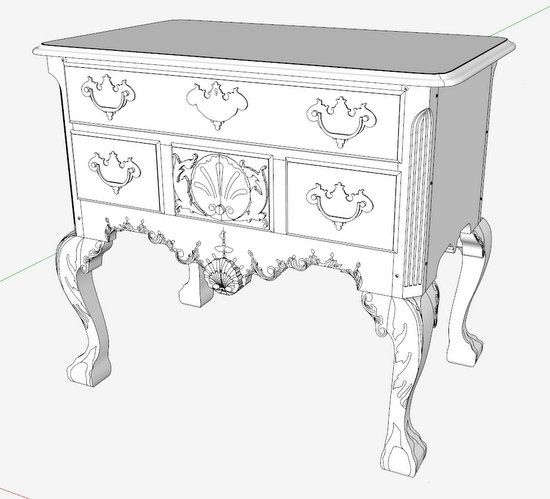
My previous blog entry showed a video of the building of the Philadelphia Lowboy in SketchUp. Several of the components in the SketchUp model showed the carving that is typical of these pieces. These were not “real” carvings in SketchUp having 3D contours, rather they were lines and edges etched into the surfaces of the components.
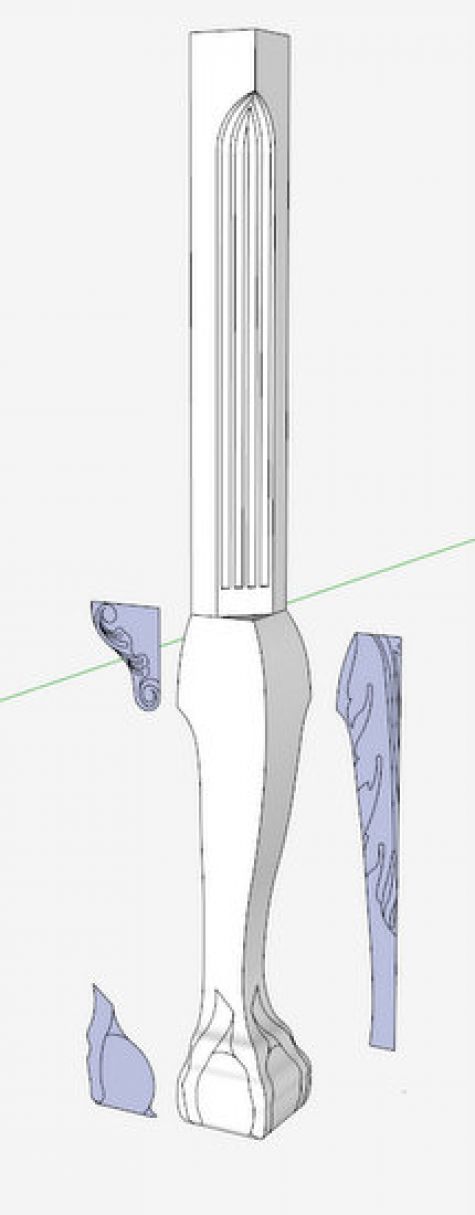
The following video shows how I do the “etching” or branding in SketchUp for the leg’s claw & ball foot. The first step is developing a flat drawing representation of the carving shapes. It is helpful to have a good picture that can be imported to SketchUp. Then this first task is simplified by doing a trace over with the Line and Arc Tools.
The flat drawing representation becomes the “branding iron” that is used to etch the surface face of the component. This involves using SketchUp’s Intersect feature. You control the extent of branding by selecting only applicable surfaces in the component before executing Intersect.
This procedure takes some work, but gets an adequate looking model, while also providing full-size templates for marking up the real lumber pieces in the shop.
Here is the video:
Tim
http://killenwood.com




Log in or create an account to post a comment.
Sign up Log in