How to Turn Furniture Parts
Part 1: A smooth, even cylinder is the foundation
Synopsis: Conquer the learning curve from furniture maker to competent wood turner with this no-nonsense guide by chairmaker Peter Galbert. In this first of two articles, you’ll learn how to turn a basic cylinder and add tapers and tenons. Along the way, you will pick up tips that Galbert wishes he’d known when he started out, particularly things like how to hold the tool and move your body for clean cuts. Master the basics here, including which four tools you need to get started.
I had almost no idea how to use a lathe when I built my first Windsor chair 13 years ago, even though I’d built plenty of furniture by then. So I set about teaching myself to turn by digging through books and magazines for more information. as a woodworker new to turning, I discovered pretty quickly there’s a lot they don’t tell you.
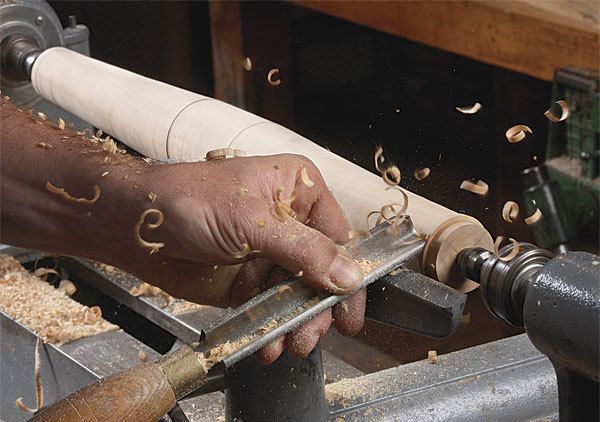
There is a learning curve in jumping from curious furniture maker to competent turner. I’ll show you how to get through it quickly as you turn a basic cylinder, the starting point for any spindle, and then add some tapers and tenons.
Along the way, I’ll share the tips I wish I’d known when I started turning, particularly things like how to hold the tool and move your body for clean cuts. Master the basics here, and in a future article, I’ll take you through adding swells, beads, and coves to fully flesh out an endless array of crisply turned parts for fine furniture.
Luckily, getting started isn’t expensive. Furniture makers turn mostly spindles (workpieces secured at both ends on a lathe), which doesn’t require an especially powerful machine, although a longer one is better. and you can cut almost any shape with a 3⁄4-in. roughing gouge, 1⁄8-in. diamond parting tool, a 3⁄8-in. detail gouge, and a 3⁄4-in. oval skew chisel. Buy those four tools instead of a whole “kit” and you’ll save a pretty penny. You can spend that savings on a few essential accessories I’ll recommend later.
Whether you’re making table legs or drawer pulls, every turned piece starts as a blank. begin with a square one at least 1⁄8 in. wider than the widest diameter of the finished spindle. That should leave room for roughing and shaping.
It’s important to get the blank centered properly on the lathe because if it’s off on one end, you’ll remove a lot of extra material to get an even cylinder. So draw corner-to-corner lines on both ends, punch the two intersections with an awl, and use the indent to line up the lathe’s drive center and tail center.
If you’re using a traditional spur center, remove it from the lathe and hammer it into the end of the blank before mounting the whole piece back in the lathe. Use the spur marks to line up the workpiece.
For the full article, download the PDF below.


Log in or create an account to post a comment.
Sign up Log in