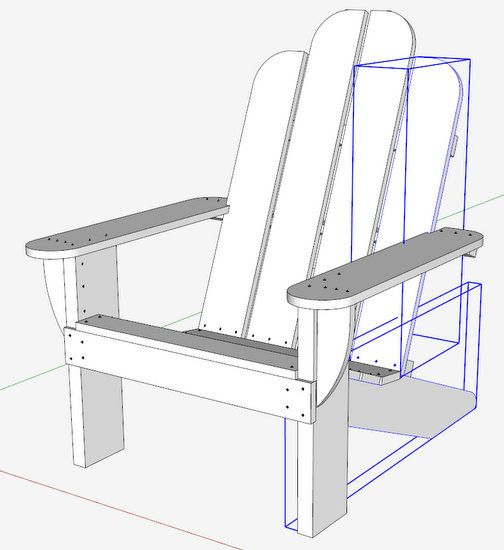
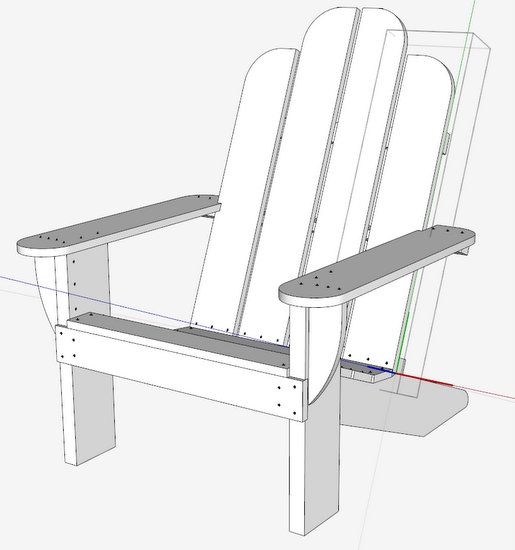
Our local woodworking group (Diablo Woodworkers) will be making several Adirondacks for a Sierra Camp for kids with cancer. I’ve just finished the design in SketchUp and will use it as an example for changing component axes.
One of my previous blog entries showed the building (in SketchUp) of a Philadelphia Lowboy component-by-component. This was facilitated by relocating the components’ axes at points of common connection in the assembly. Then you can easily pull components from the Component Dialog Box and precisely connect in the overall model.
There are other cases where relocation of axes is helpful – Dave Richards has shown how this facilitates positioning of hardware. Also, I find it helps dimensioning of components that have axes un-aligned with SketchUp axes. If you use the CutList Plug-in, you know how important it is to have component axes coordinated with the plank of wood. Otherwise, you get erroneous cutlist dimensions.
Below I’ve created a video showing how to re-align the component axes. I’ve used the Adirondack model since it has components that are initially created “off-axis”. This happens when you build your models component-by-component in the context of the overall assembly. This is good practice and one that Dave and I recommend over-and-over.
Here is a picture of the Adirondack Model showing the initial oversized and unaligned “bounding box” orientation for the Short Back Slat and the Lower Leg.
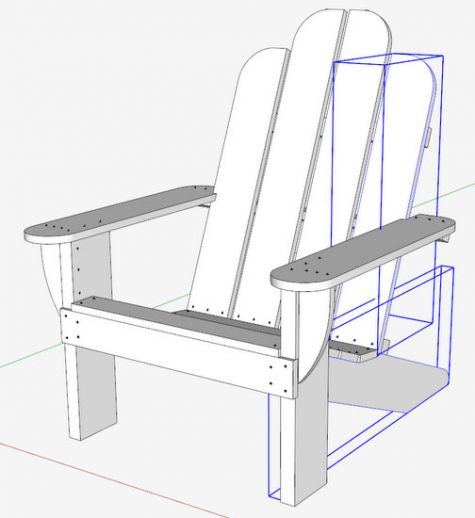
Here is a picture of the new bounding box for the Short Back Slat after making the Axes relocation. This view has the component in edit mode where the component axes are also shown. In the view above, the components are not in edit mode.
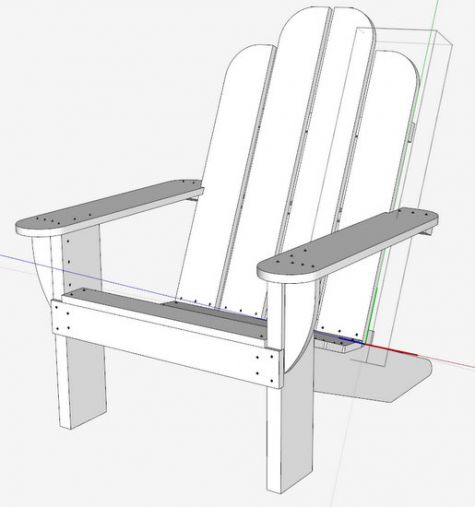
Here is the video:
Tim Killen http://killenwood.com




Log in or create an account to post a comment.
Sign up Log in