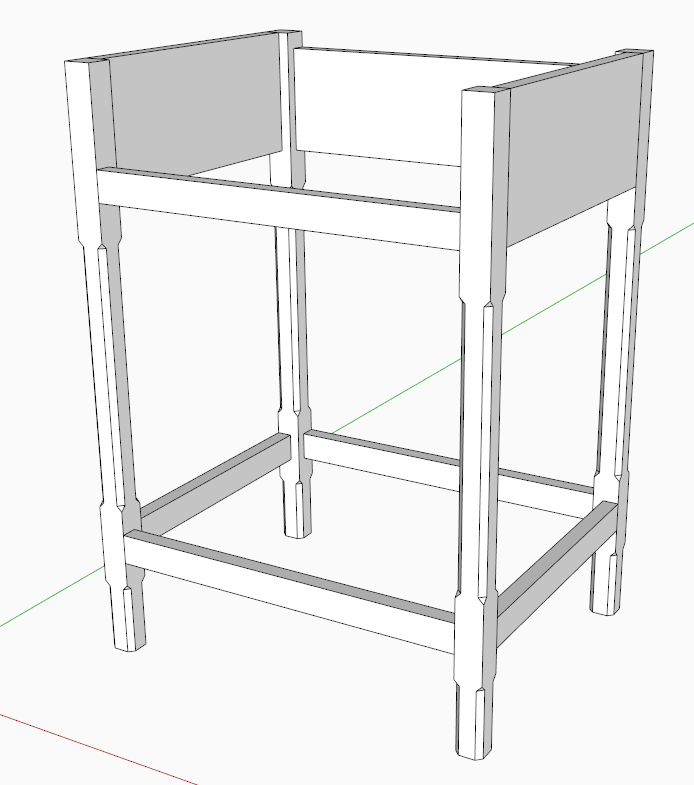
I probably receive the most comments on my eBook “SketchUp Guide for Woodworkers” in the section of Chapter Nine covering mortise & tenon joints in the Chamfered Post Table.
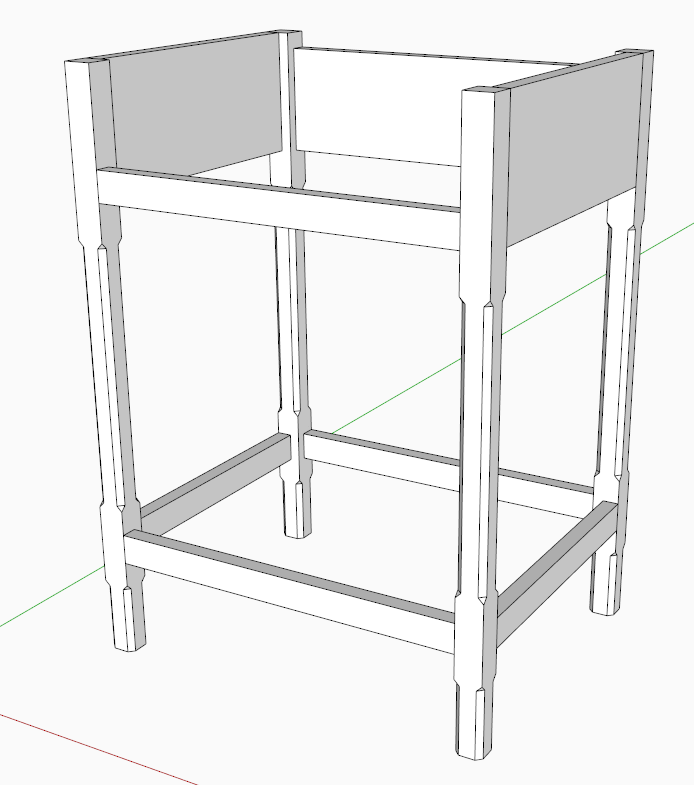
To help show the processes in making these joints, I assembled a video shown below. I’m starting the video after chamfers are cut into the legs, page 48 starting on Step 12. The assembly at this point looks like the following:
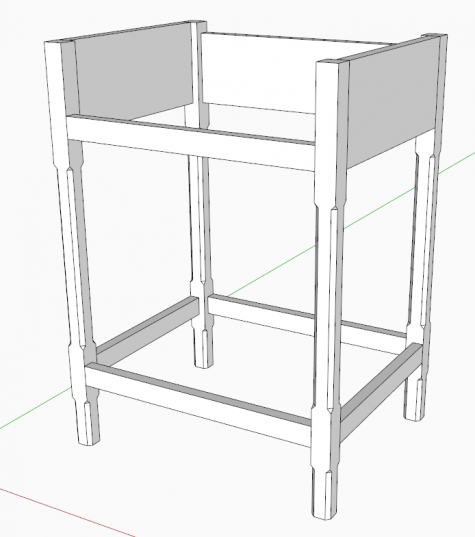
Up to this point in the chapter, the four legs are made from one component definition called “Leg”. Having a common Front and Back Leg will cause a problem when making mortises, as these joints are different in the two locations. It’s efficient to have all four legs identical up to a point. For example, its nice to do the chamfers one time, as they are identical on front and back legs. But after the chamfers are done, its time to separate the component definitions. The video shows how this is done.
Also, as Dave and I have shown often, we try to use existing tenons to make mortises or vice versa. It saves time and ensures proper positioning and sizing. However, it is sometimes hard to see the joinery in X-ray style that may be used to do these joints.
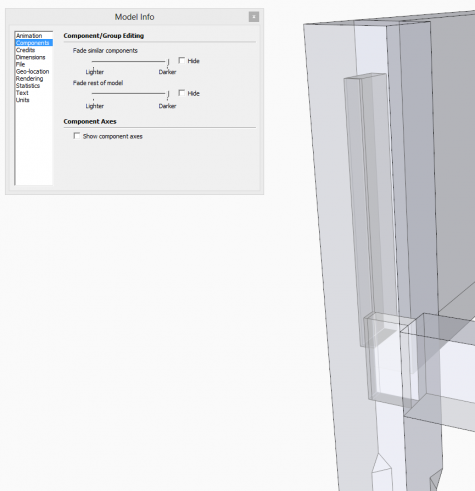
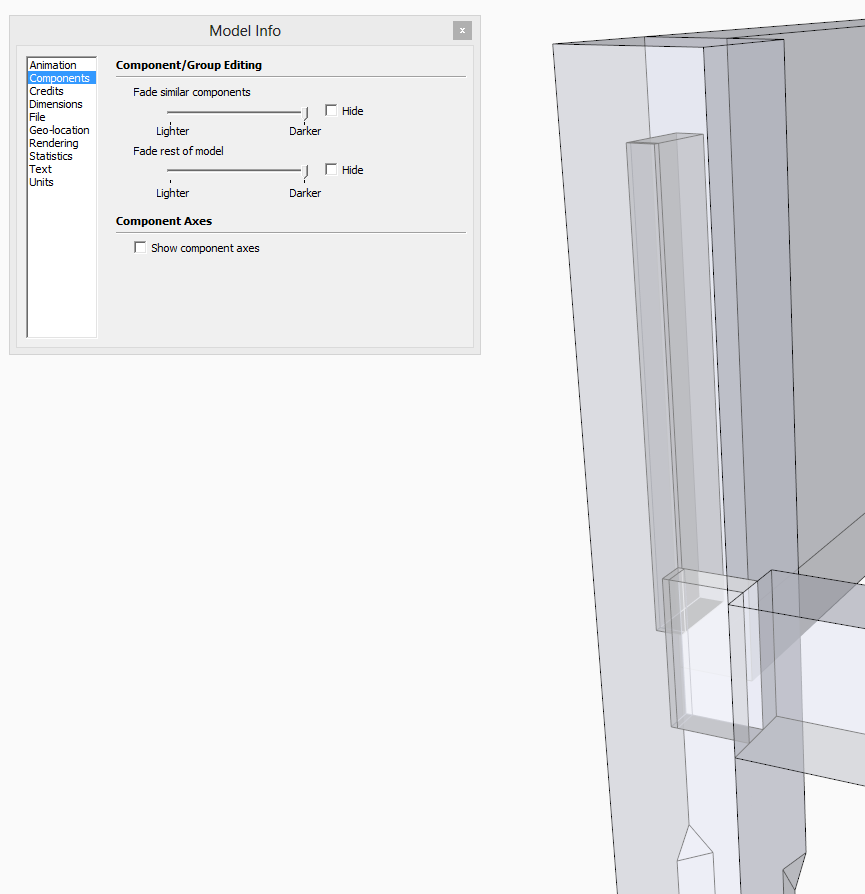
Therefore, I recommend changing the display settings for components that are available under Window/Model Info/Components. A dialog box appears with two slider bars. I move these sliders to the far end to make it easier to see what you’re doing in X-ray. The slide bars adjust the visibility of component edges that are in the background and not the component in Edit mode. It makes a big difference for the process I use. I make these adjustments in my SketchUp template, so they are always at this new setting for all my work.




Comments
I enjoyed this exercise while reading your ebook. This table included several things I had never attempted in SketchUp.
JeffB.... Nice to hear from you again.
Tim
Log in or create an account to post a comment.
Sign up Log in