Knife Hinges on the Router Table
Clever template ensures matching mortises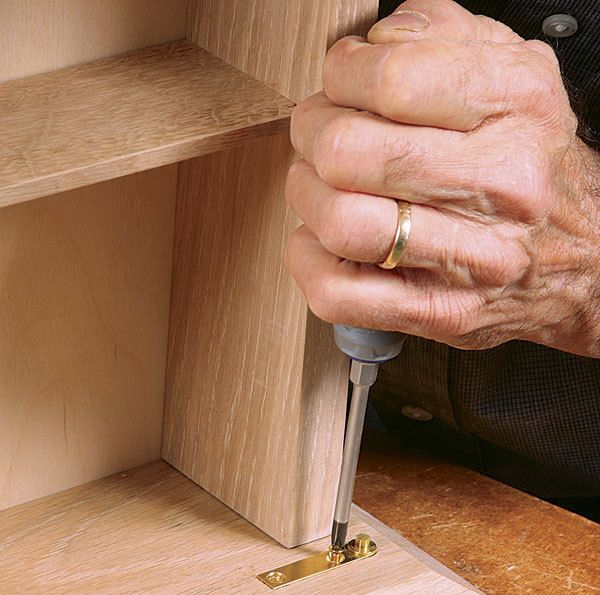
Synopsis: These practically invisible hinges work well for cabinet doors because they are long-lasting and don’t detract from the beauty of the wood. But for them to work correctly, the mortises in the cabinet must be cut before it is glued together, and the installation must be precise. This can be tedious and risky with a chisel or plunge router, so instead, Doug Stowe swears by a method using a simple template and router table. The template is used to set up the router table for all of the hinge mortises, in both the case and doors, ensuring fast, accurate mortises every time.
I like knife hinges for cabinet doors because they’re practically invisible, so they don’t detract from the beauty of the piece. They also work smoothly and wear well over time. But there’s a downside. The cabinet mortises for the hinges must be cut before the cabinet is glued together, and knife hinges require precise installation. The mortises must be sized perfectly and located exactly to prevent binding.
Traditionally, mortises for knife hinges have been cut with a chisel or plunge router. The chisel is a tedious choice; a plunge router is tough to balance on the edge of a door. I have a better way, using a simple template and a router table.
My method works only for straight knife hinges, which are used with overlay doors. Offset knife hinges are for inset doors, and this technique doesn’t work with them because of their l-shape. But you can make a wide variety of beautiful cabinets with overlay doors. I’ll demonstrate on a cabinet with an overhanging top and bottom—a basic design that’s flexible enough for many furniture styles. Give knife hinges and this technique a try on your next cabinet. You’ll get perfect results.
As I mentioned, the mortises in the cabinet top and bottom must be routed before the cabinet is glued together. after you glue up the cabinet, you’ll fit the doors to the opening and rout the hinge mortises in them.
That said, you use the template to set up the router table to rout the hinge mortises in both the cabinet and doors. It’s a simple affair. One end has a slot routed into it that represents the hinge mortise. This template handles all the router-table setups. The front edge sets the fence for the cabinet; the back edge sets the fence for the door. And since it is the full length of the top and bottom of the cabinet, it also sets up the stop blocks for the mortise length.
For the full article, download the PDF below.




Log in or create an account to post a comment.
Sign up Log in