Shaker Chimney Cupboard
An original piece with classic looks and easy joinery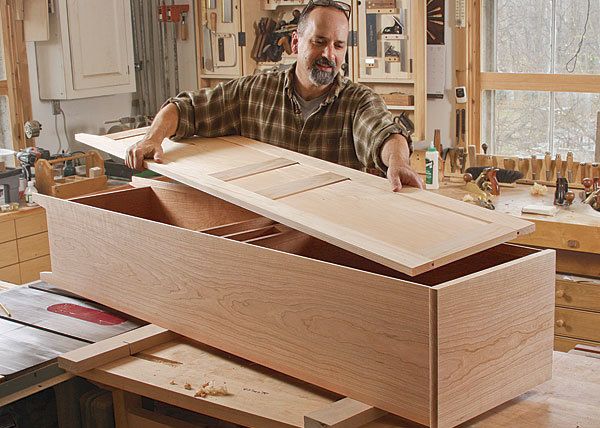
Synopsis:
This Shaker chimney cupboard fits in any room of your home, offering plenty of storage space in a small footprint. The case comes together simply and quickly, with simple dadoes and rabbets for the joinery, allowing you to slow down for the showcase dovetail joints on the drawers. With its asymmetrical drawers and beautifully figured door panels, this piece is sure to become an heirloom. You’ll even learn an ingenious technique for making door and drawer pulls with or without a lathe.
One of the great things about Shaker furniture is that no two pieces are exactly alike. Aside from chairs, the Shakers didn’t make furniture for commercial production. Each piece was essentially a one-off design, made for a specific purpose or even an individual user, so the variations are endless. And in spite of the restrained design sense, there is a playful, subtle originality to each piece. It’s what inspires me to make furniture in the style, and to make it my own.
I’d wanted to make a chimney cupboard for a while because I like the tall, slender proportions of the form. Every original example I’ve seen, though, has just a pair of doors, one stacked on the other. wider cupboards, on the other hand, typically have an arrangement of drawers at waist height that add interest and utility. I like that look so I figured, “why not sneak a few drawers into my chimney cupboard?” The result, in keeping with the Shaker spirit, is an original design in the classic vernacular.
I looked to the Shakers for the anatomy too, but chose elements that are as straightforward as possible. Most of the joints are rabbets and dadoes. There are just a few half-blind dovetails at the top where the subtop rails connect to the case, but they’re hidden, so there’s no need to stress there either.
Dressing up the front is a partial face frame, really just a pair of stiles glued to the sides. The stiles hide the shelf dadoes, but they also allow an opportunity to peg the case to the shelves for added strength. The primary wood is cherry, but I used pine for the frame-and-panel back. The back adds rigidity and the pine lightens up the look of the interior.
Finishing things off is a top with a subtle bullnose profile. It overhangs the front and sides and is attached to a pair of subtop rails. The rails add rigidity to the top and also act as a doorstop. I simply glued and screwed on the top because the grain of all the parts runs in the same direction and seasonal movement isn’t an issue. glue blocks under the bottom shelf and drawer blocks at the center shelves lend additional support.
Added up, this is a very fast and strong way to build a cabinet. This project is also a good one for working entirely by hand, but for that I’d probably do the whole thing in pine.
For the full article, download the PDF below.
Fine Woodworking Recommended Products

Drafting Tools

Stanley Powerlock 16-ft. tape measure
Compass

Get the Plan
CAD-drawn plans and a cutlist for this project are available in the Fine Woodworking store.




Log in or create an account to post a comment.
Sign up Log in