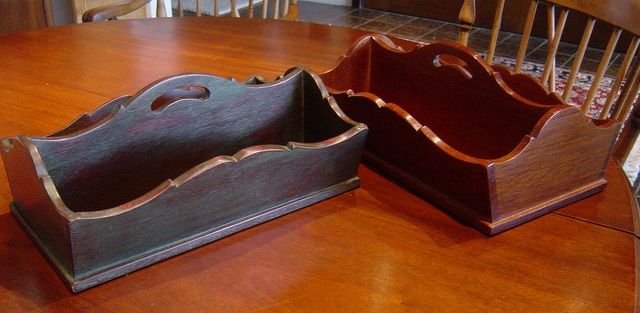
Here’s a worthy challenge for woodworkers using SketchUp. Modeling a Williamsburg Knife Box requires execution of most key SketchUp Tools and features. The Box’s compound angles, bold scroll shapes, beveled dovetails, and non-orthogonal geometric idiosyncrasies, will exercise the brain and test your SketchUp skills.
But there is a payoff – and that is doing the shop work to replicate one or more of these beautiful and useful boxes. And as a result of “building” first in SketchUp, you will have a more effective and efficient experience in the shop. The powerful insight and knowledge of the geometry, structure, detail joinery, and the documentation (including templates) extracted from SketchUp will be important assets for a stress-free shop experience.
Warning! Don’t use this piece as your first project in SketchUp. To tackle this one, you’ll need a good handle of basic SketchUp skills and experience with simpler non-angled orthogonal work. In the same way furniture drawings are advertised for the beginner, intermediate, or expert, I would label this piece “expert” for SketchUp.
About 30 years ago while visiting Williamsburg, we saw a Knife Tray in the Peyton Randolph House. I roughed out a hand sketch from about 20 feet distance. The house docent showed me the inventory book of house furnishings. In that book, I was able to find the overall dimensions.
I’ve made about a dozen of these boxes for family, friends, and our home. Here are two of these in mahogany.
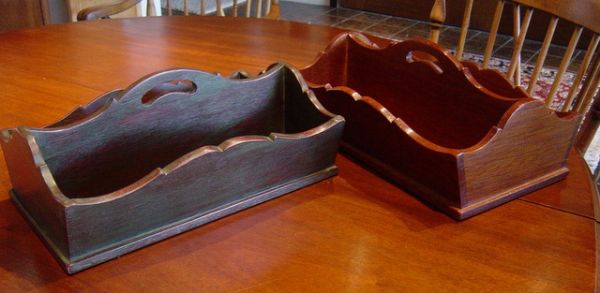
The Knife Tray introduced in the recent Williamsburg Conference is slightly larger, and unlike the example above, the Ends are also splayed. This adds more complexity to the modeling, joinery and dovetails.
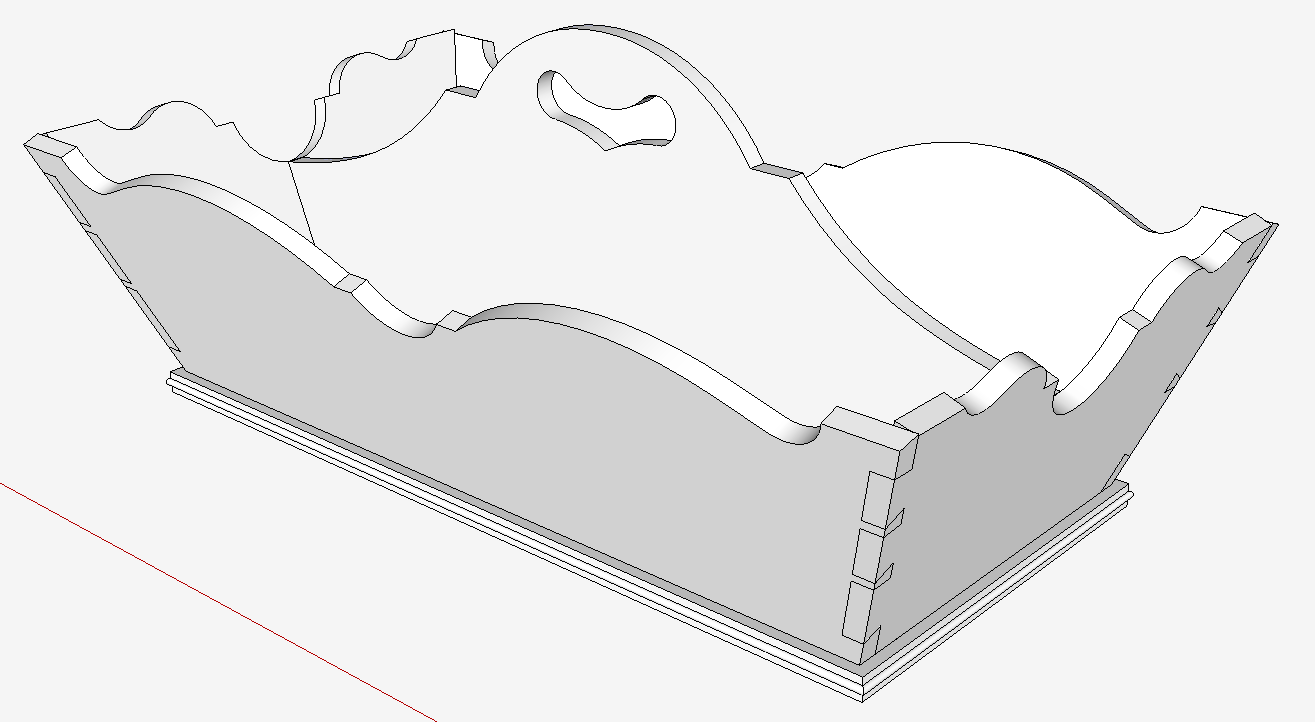
Here is my completed SketchUp model for the new Knife Box.
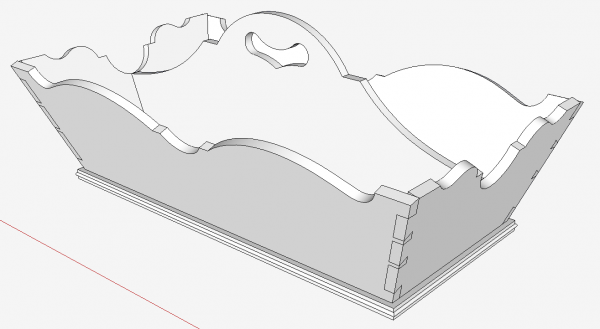
Generally in starting a project like this, I like to have overall dimensions (length, width, depth) and two photos of the genuine piece – one from the front, and another from the side. These photos are then imported to SketchUp. My first step is to trace over the shapes to create SketchUp faces that simulate the real object. I didn’t have these data to start this project. There was a rough handout sketch at the meeting, but without dimensions. So I’ve made assumptions about sizing and detail joinery.
I plan to introduce a series of videos on the building of the SketchUp model for this Williamsburg Conference piece. There are several stages to the modeling including:
Capturing the scroll shapes and sizing from an imported picture
Determining the actual size of the Ends and Sides while considering their splay
Oversizing to ensure full dovetail overlap as a result of splay
Cutting the beveled dovetail joints
Making the connecting joints for the Mid Spar Handle
Clean-up (equivalent of hand planing the dovetail joints after glue-up)
Creating the molding edge applied to the base
I’m not sure how many videos will be required to adequately show these stages of modeling.
Here is an introductory video to get things started.


Comments
Thank you for sharing!
Chris Mobley
http://www.cmobleydesigns.com
Log in or create an account to post a comment.
Sign up Log in