Easy handles for a sliding doors
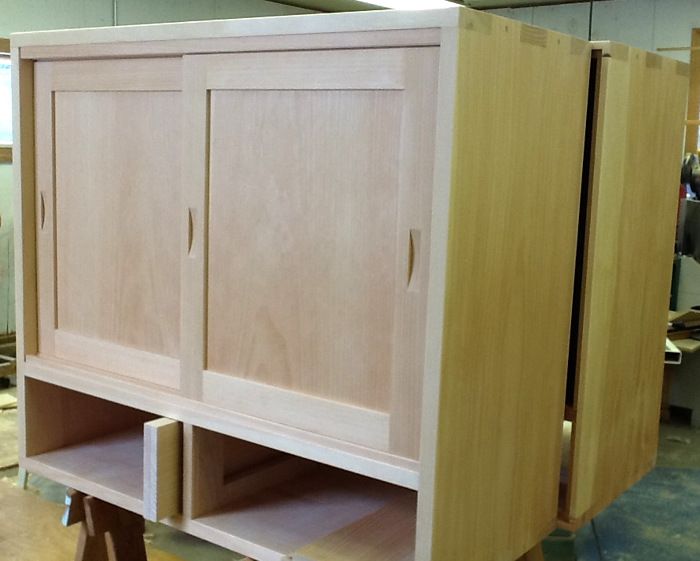
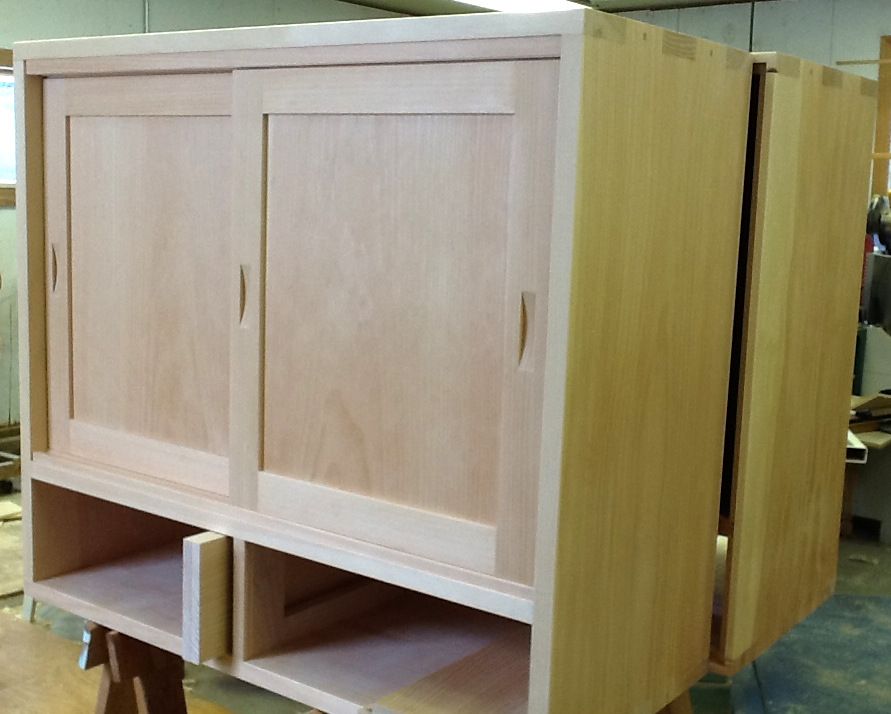
I am making two of these cabinets with sliding doors. Making the 8 handles on the 4 sliding doors is the easiest part, thanks to a neat trick with a dado set. I like their clean, minimalist look.
I love sliding doors and lids, partly because it is an excuse to make these elegant handles in one simple step on the tablesaw (plus a bit of sanding). This technique is just one more reason you should invest in a high-quality stack dado set, one that cuts a perfectly flat-bottomed slot.
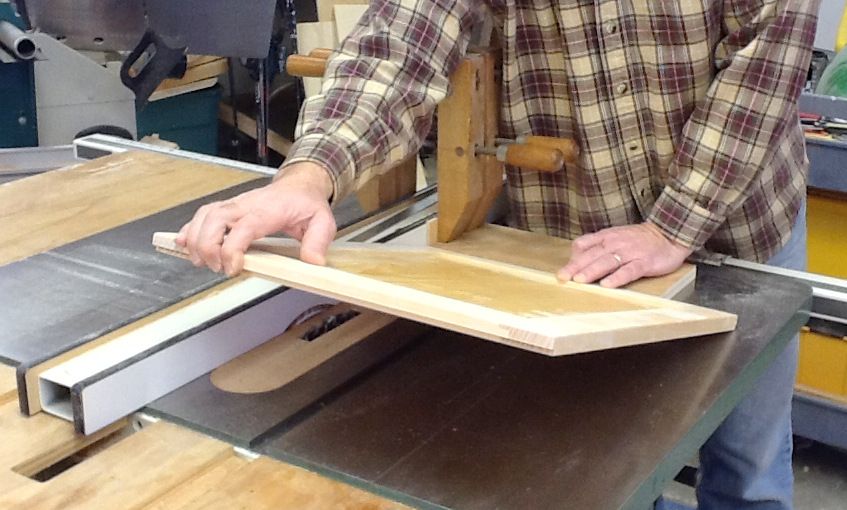
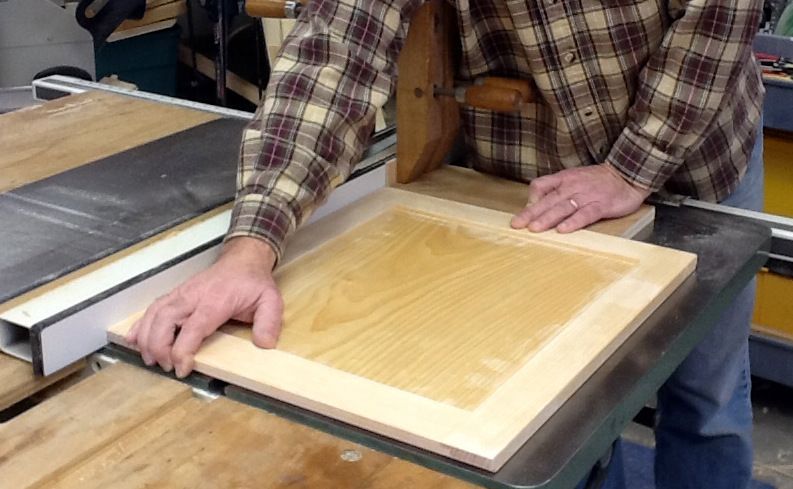
You basically set up a dado set at the height and width you want the handles to be, clamp a stop to the table, and make the handle by tilting the door down onto the dado set in one shot. It’s that easy. It might seem dangerous, but it isn’t, as long as you are pivoting off a stop at the front edge of the door.
The first step is deciding on the size of the handle and its location. For these 2-in.wide siles, I made the handle 1/4 in. deep and 5/8 in. wide, centered on the stile and centered vertically on the door.
I use rectangles of tape on the door stiles to preview the size and placement. You’ll need to make test cuts in some scrap to see how deep to go into the door, and how long a handle that makes. The test cut will also tell you exactly how far from the stop that the handle will appear on the door, and verify that you have the rip fence in the right spot.
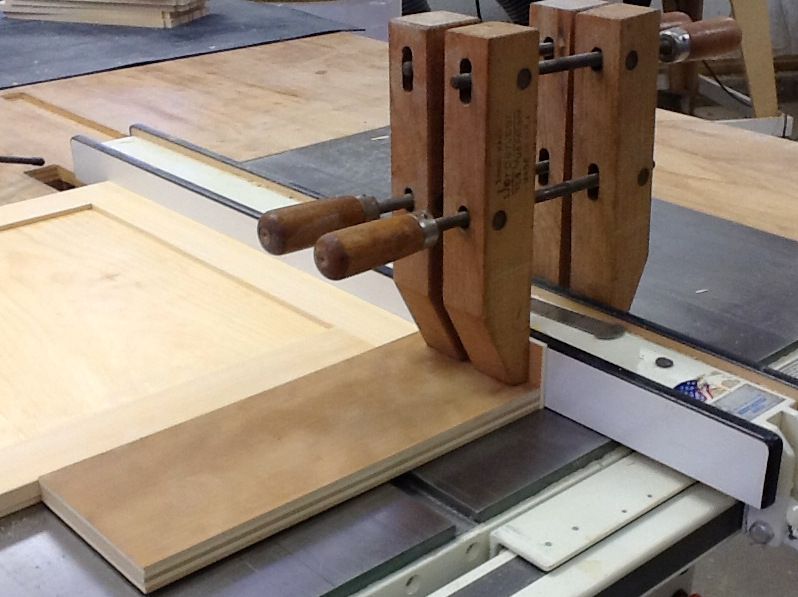
I have a trick for clamping the stop to the tablesaw, tacking a lip onto the end so I can clamp against the rip fence instead of down against the cast-iron table, which can be tricky.
After that, you just turn on the saw, sit the bottom of the door against the stop, and tip the front edge down. Don’t linger with the door agaunst the table, or you will get some burn marks inside the handle, which are a pain to sand off.
You will have to switch the whole setup to the other side of the rip fance to cut a handle on the other edge of the door or doors. Before you move the stop, draw a pencil line along the bottom edge to help locate it after you change the setup.
That’s about it, aside from some sanding. I usually just fold sandpaper into a thin strip to reach into the recess, but you can also make a curved sanding block by drawing a radius just smaller than your dado set by 1/8 or so, and bandsaw a curved sanding block. I stick PSA sandpaper to those.



Comments
This is a great technique. Also works well for bee hive box handles. Have the dado already set for cutting the finger joints. Just drop the side onto the dado and presto, inset handles.
I like the setup but I would think those bulky hand-screws would get in the way. I would use Quick Slip or "C" Clamps with a lower profile.
Good tip, Bill.
Love this tip, but I guess I'm missing something.
If you center the handle vertically on all doors, why would you have to move the entire setup to the other side of the table saw fence?
Hey, GrampaDoodie (my new favorite screen name)--
The handles are centered vertically on the doors, but I didn't want to take a chance and pivot off both the top and bottom of the door. So I pivoted only off the bottom, moving the setup to do so. Another option would be to work far from the rip fence, but no thanks.
My fear was misalignment, in case that wasn't clear.
Aha...good point. Thanks. Very nice project and post Asa.
Gramps.
Log in or create an account to post a comment.
Sign up Log in