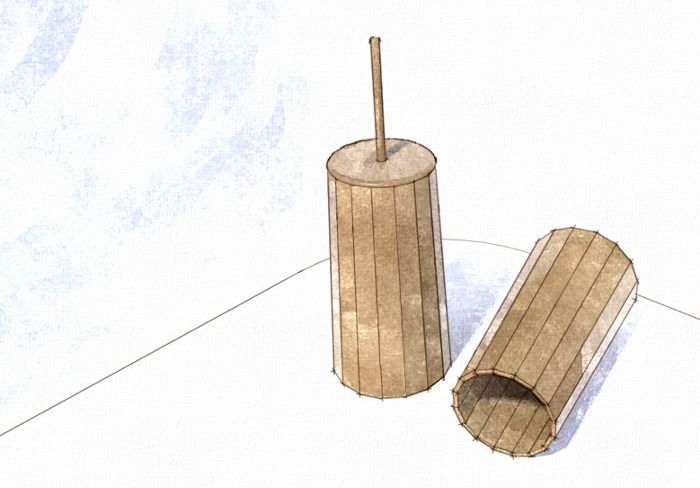
Where do you start when you are drawing something in SketchUp? What is the right way to draw it? Often it doesn’t really matter as long as you get to the end successfully. It can be like the age old discussion related to cutting dovetail joints. Tails first or pins first. Although that topic can cause arguments between woodworkers, in the end, it really doesn’t matter as long as they both get done and the two pieces of wood fit together.
In SketchUp it’s usually the same way. It doesn’t matter which order you do many things while drawing. For example Tim likes to draw a 2D face and make it a component before moving on to make it 3D. I prefer to get it 3D before making it a component although I might not finish working on it, the part at least looks close to its finished appearance before I hit the G key. In the end you usually couldn’t tell the difference, though.
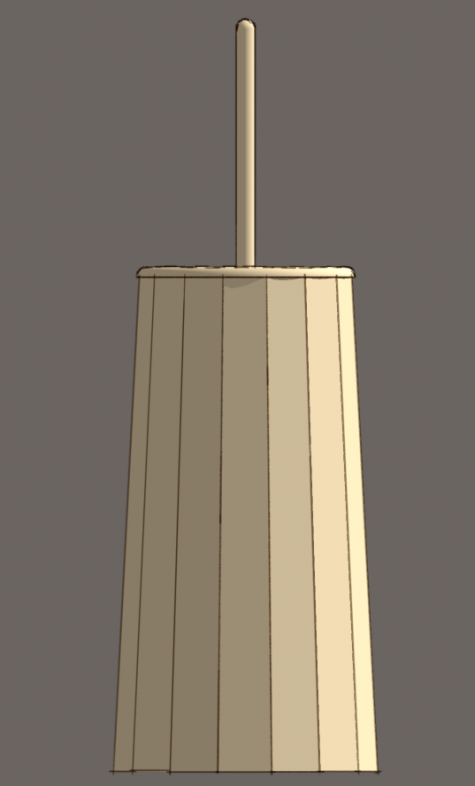
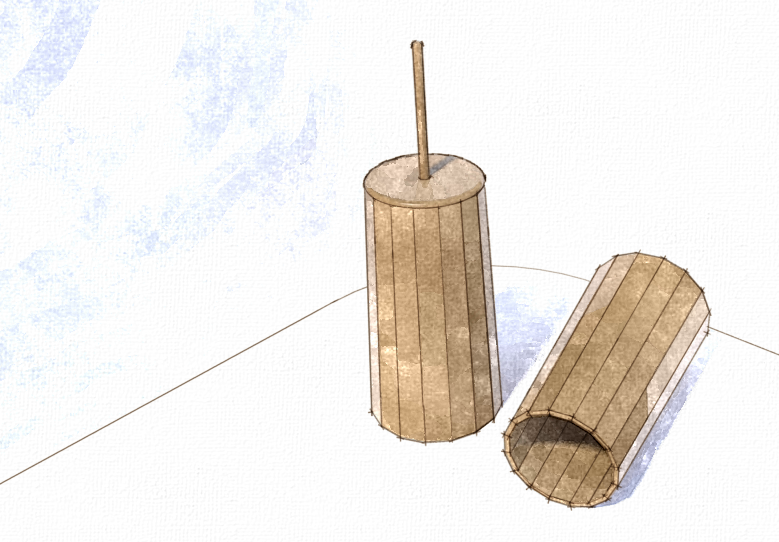
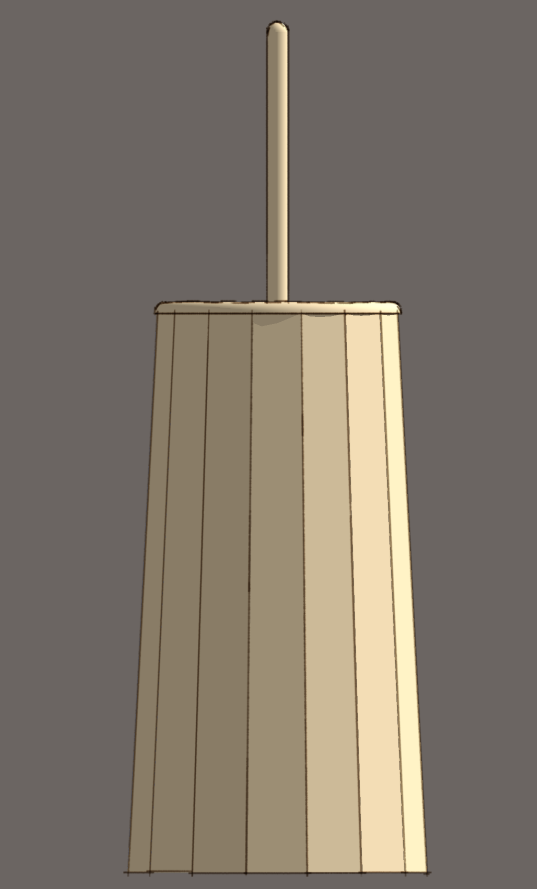
This was a topic that was in my mind earlier this week when an e-mail came in from a gentlemen who was attempting to draw a small butter churn. He had draw, one tapered stave and was trying to sort out the right angle to tilt the stave so that once he had all the staves, he could assemble it to look correct. He was also trying to rotate a copy of the stave and get it into the correct position. this was causing him all sorts of trouble and he was asking for an easier way.

I pondered this for a little while to see if I could come up with a straightforward way to create the barrel for the churn without resorting to a buunch of math and trigonometry. He gave me the width of the tapered staves at the top and bottom and the overall height of the barrel. I suppose with that information and some time with a calculator I could have calculated the diameter of the barrel and the top and bottom and I could have found the tilt angle for the staves. While my high school match teachers gave me the tools to figure those things, I’d rather not do the calculation if I don’t have to. Let’s make the computer tell us instead.
So here’s how I chose to approach drawing the barrel of the churn. I’m not saying this is the only way nor even the best way. It worked for me, though. It was quick and efficient. One of the points I try to stress is no matter how pretty your drawing, no matter how much detail you put in it, you still won’t be able to sit on it or sleep in it or make butter in it. Don’t spend all of your time time drawing something that you’ll turn around and make again in the shop. There is some value in adding enough detail but don’t go overboard.


Comments
Dave,
To get the circles to scale about their centres you can set their axes to the centre of the circle first.
True. I could have done that.
Also when copy-rotating the staves, I would copy from the left hand corner of the stave the the right hand one, then you don't need to know how many degrees it is.
Inferencing should work for that but it doesn't always. I found as I was doing this in practice that inferencing didn't always pick up the corners. Rahter than showing that inferencing might work or night not in this case, I figured it was easier to type the rotation angle.
Very nice (or is that ninja?). Simple, elegant, effective. And I agree- like many things, having a correct strategy is often more important than having advanced technical skills.
Dave,
thanks so much for this! I've been working with tapered polygons and doing it badly. I just reworked an earlier design using this method in a fraction of the time and now I know it's accurate.
Log in or create an account to post a comment.
Sign up Log in