This is Part 3 of a series of videos on building the Williamsburg Knife Box. In the previous blog entry, I showed the making of the half-length symmetrical End and Side components, and ensuring that the rough lengths of these parts provide sufficient overlap in the corners for the dovetail joints.
In this video, I show additional steps in completing the End and Side components – creating the bottom edge bevel, expanding the components full-length by copying and flipping, and establishing full width of the box base or bottom.
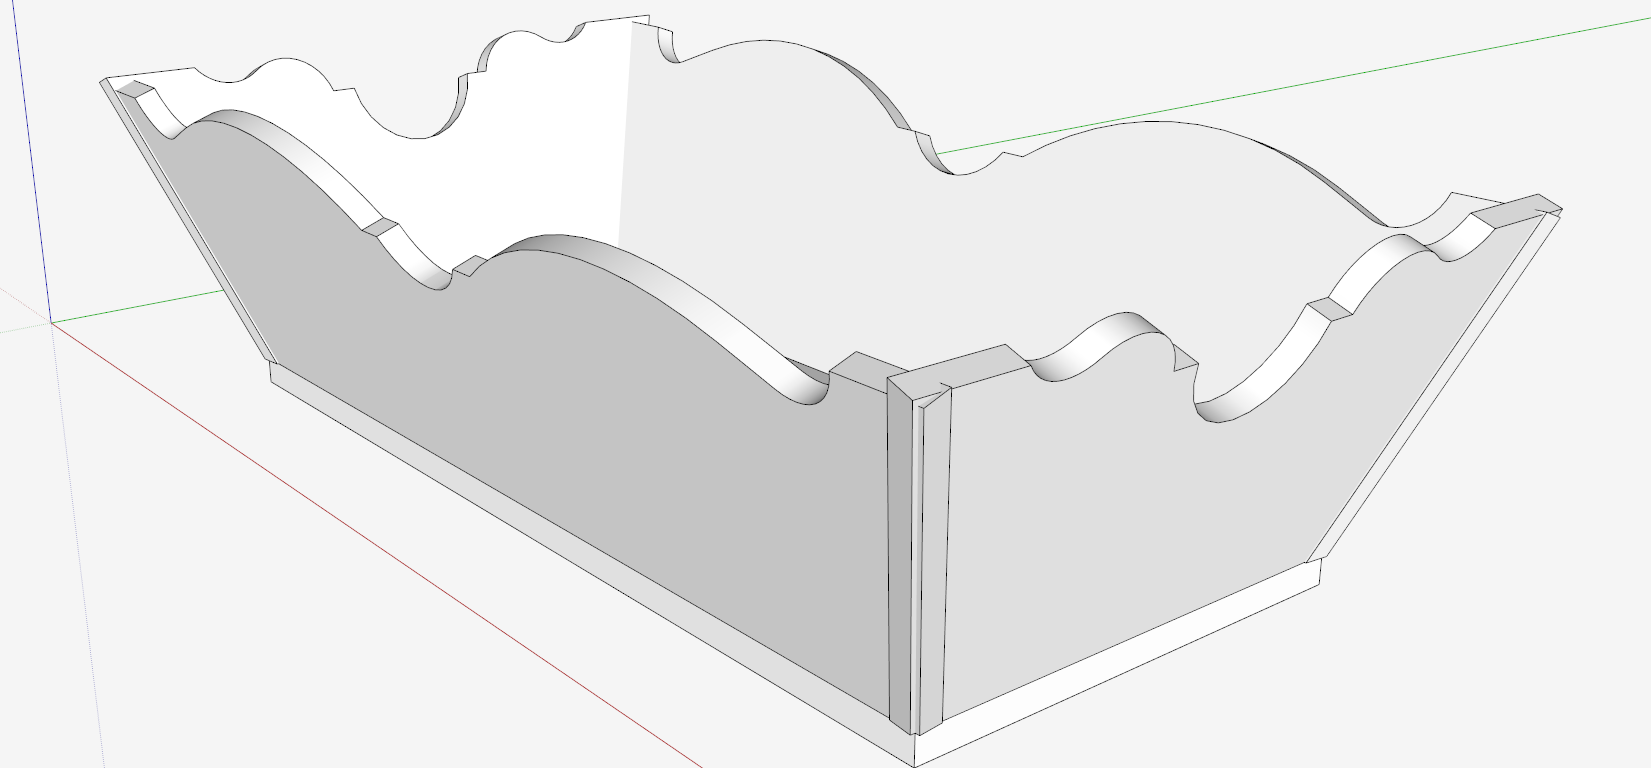
This results in a stage of the model as shown below – i.e., lacking dovetail joinery, a mid-spar handle, and a molding around the base.

So the next entry will cover the making of the dovetail joints.
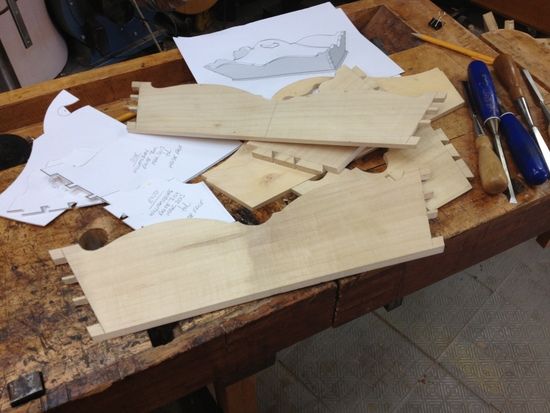
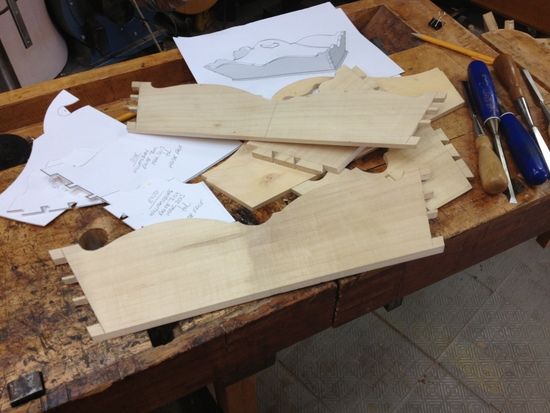
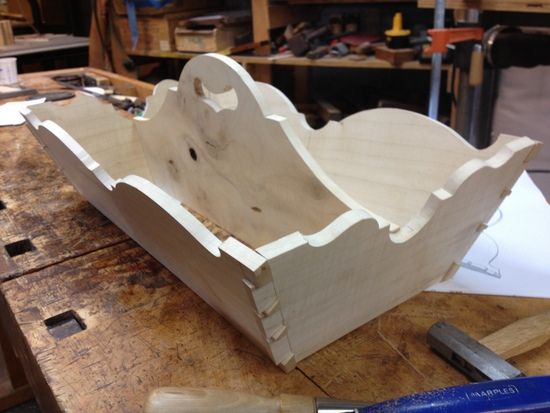
Meanwhile, I’ve started work in the shop in silver maple. The final fitting of these parts is yet to be done, so it is not glued at this stage. Here are two pictures of the shop work. Note the number of templates used produced by SketchUp. I produced templates for both the inside and outside faces of the End and Side components. The splay in two directions creates interesting geometrical realities. I’m glad to have worked them out in my mind in SketchUp before trial in the shop. In this piece, I had to be very careful in setting the marking gauge as working to 1/32 accuracy was required. Also, I had to be very careful in setting the bevel gauge for accuracy in angle marks.

Here is the video:


Log in or create an account to post a comment.
Sign up Log in