Table-Saw Techniques: Safety
Expert instructor demonstrates how to avoid kickback and other dangers on the table saw.
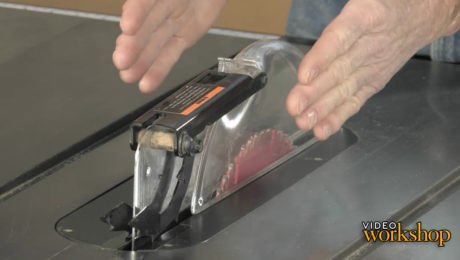
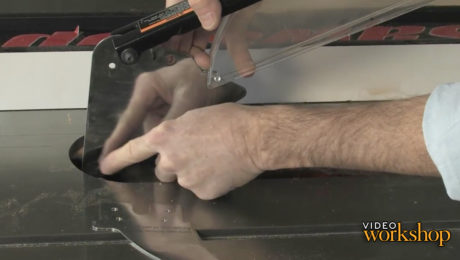
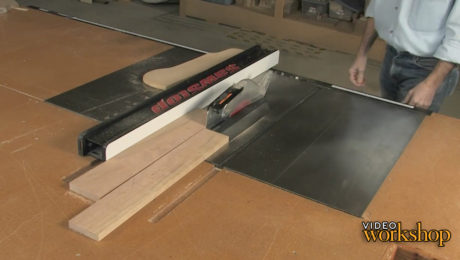
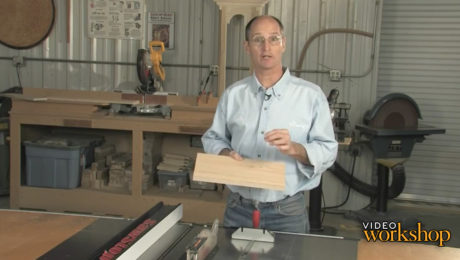
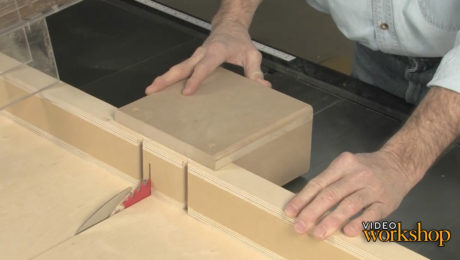
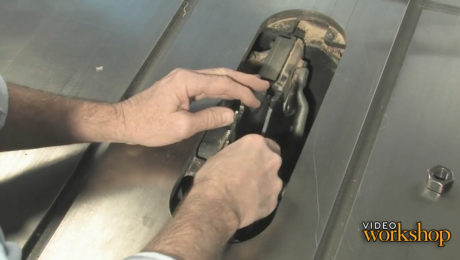
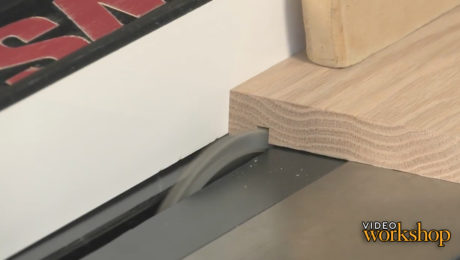
Hundreds of students pass through Marc Adams’ woodworking school each year, so he needs rock-solid safety practices for everyone who comes in, regardless of skill level. Table-saw safety is essential, and in this video workshop series he shares his core principles for staying safe and avoiding kickback during any operation: Maintain control, use a splitter to avoid kickback, and limit your exposure to the blade with essential gear such as push sticks, pads, and the blade cover.
He also gives valuable lessons in:
- Ripping
- Crosscutting
- Building a sled
- Cutting joinery
A knowledgeable operator is critical to staying safe at the table saw (and any other woodworking machine or power tool). If you understand how the saw works and know the best practices for its use, the chance for a bad accident can be virtually eliminated. Machines don’t think, but you can.
In this episode Marc discusses safety.
Videos in the Series
-
Table Saw Techniques: IntroductionMarch 26, 2013
-
Table-Saw Techniques: SafetyMarch 26, 2013
-
Table Saw Techniques: RippingMarch 26, 2013
-
Table Saw Techniques: CrosscuttingMarch 26, 2013
-
Table Saw Techniques: Build a Crosscut SledMarch 26, 2013
-
Table Saw Techniques: Gear Up for JoineryMarch 26, 2013
-
Table Saw Techniques: Grooves, Dadoes, and RabbetsMarch 26, 2013
-
Table Saw Techniques: Tenons and MitersMarch 26, 2013



Comments
What are the dimensions of your push stick? My guess, looking at your video, it might be overall 2' by 6".
What about using a thin kerf blade with the stock riving knife designed for a 1/8" kerf?
They don't call it a "Splitter" for nothing, you know. (Seriously, what's wrong with making your own Thin Kerf Splitter, Turnertoo?)
I've heard that you should raise the blade so that the gullets clear the piece. This allows the blade to run cooler.
Log in or create an account to post a comment.
Sign up Log in