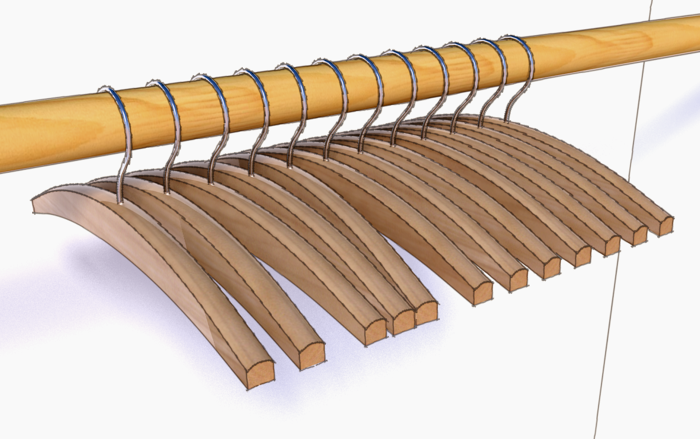
Often when you are drawing curves in SketchUp, you can manage using the Arc tool locating the end points and either the height of the arc (the bulge distance) or the radius. The Arc tool only draws circular curves, though. Sometimes, the curve is not circular so the Arc tool wouldn’t be appropriate. For those non-circular curves you need another tool. One option would be Bezier.rb which I have written about in the past. Bezier curves are great for many curves however they can be a challenge because the control points are not located on the curve but instead off to one side of the curve or the other.
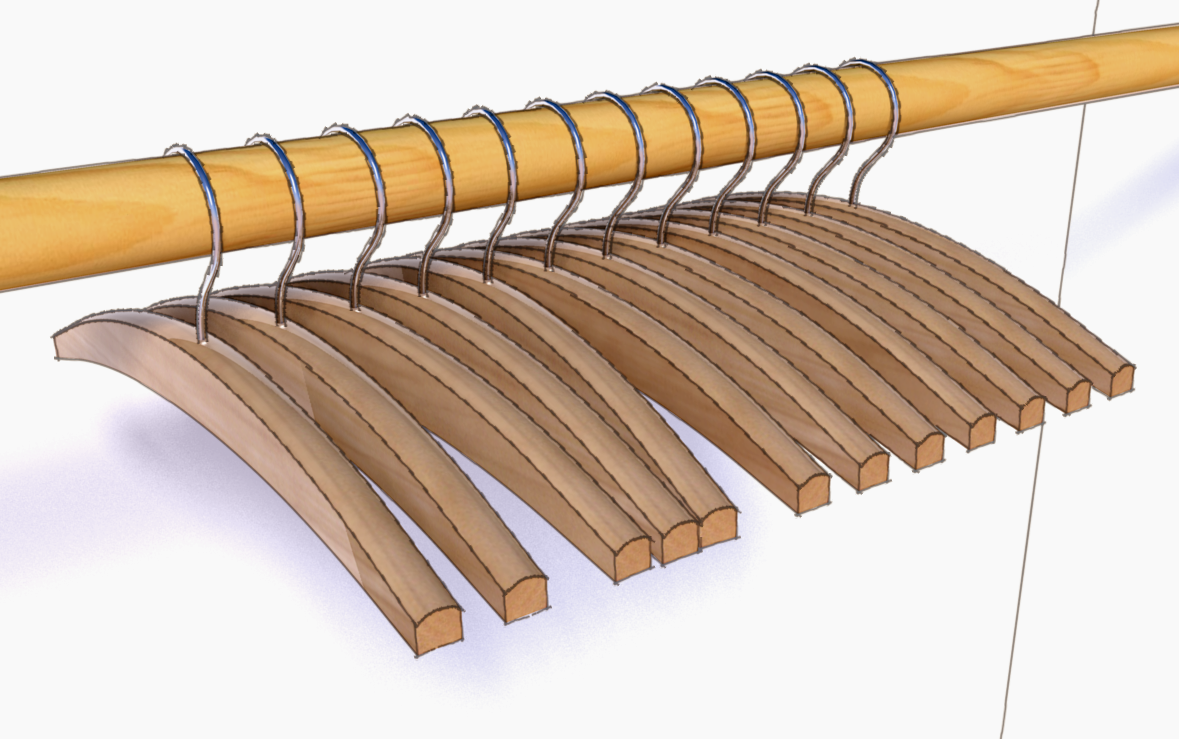
In cases where you know the locations of points on the curve, you might want to use a Catmull Spline instead. You can draw this type of curve using the Catmull tool in the BZ Spline tool set by Fredo6. Here’s a simple example of using that tool to create a couple of curves for a wooden clothes hanger. The dimensions I have to work from are similar to those that boat builders would work from. That is distances from some baseline located at stations along the base line.

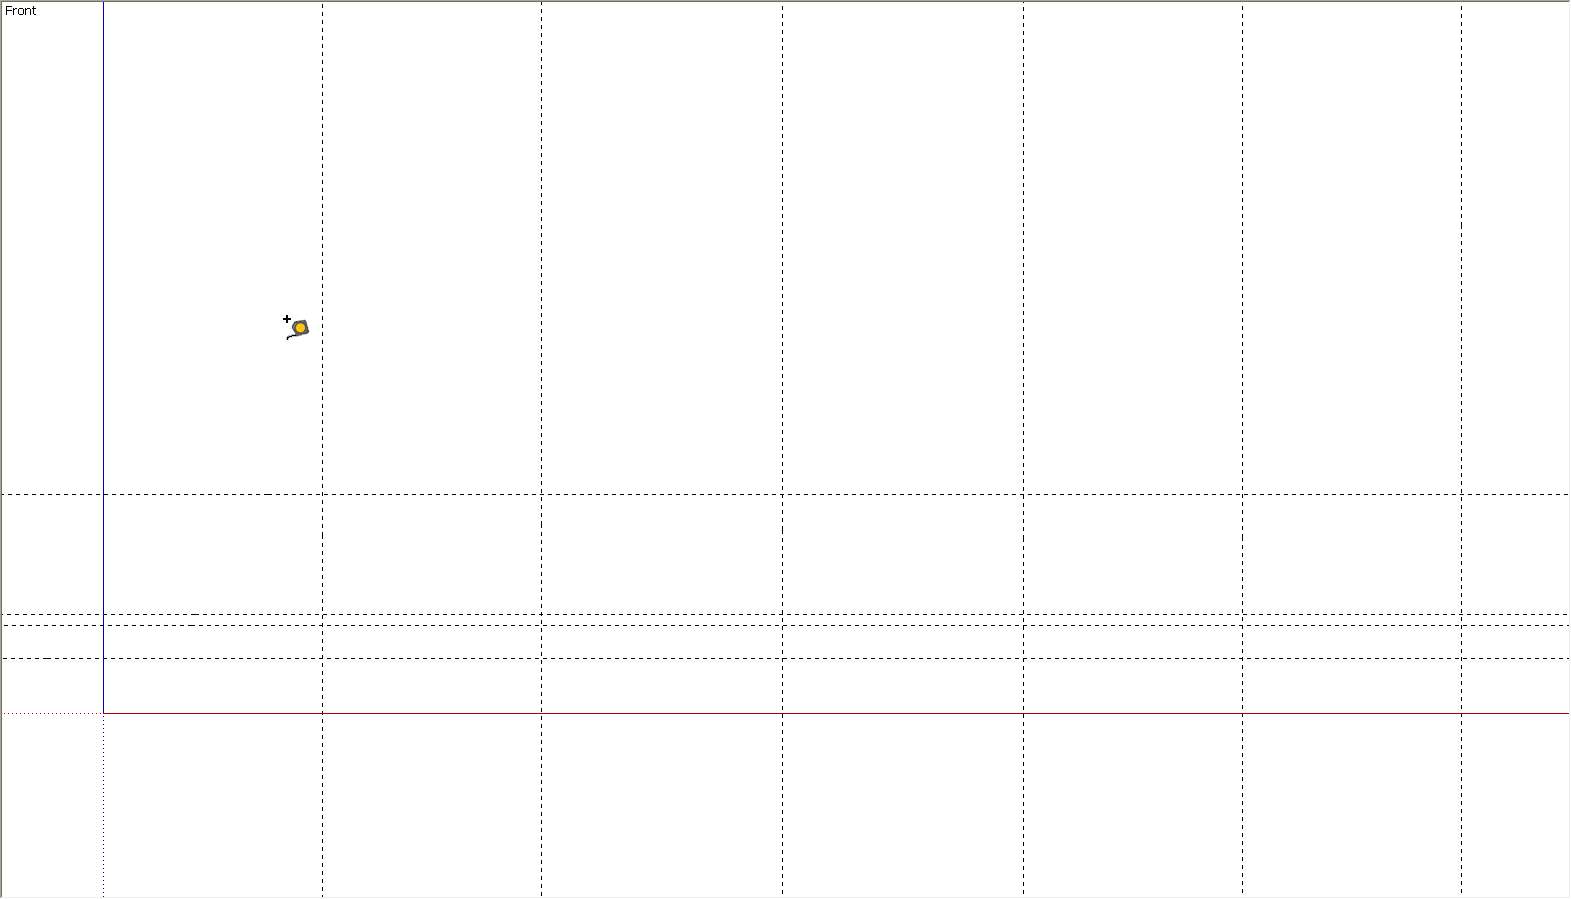
To start with I set the Camera to Parallel Projection and the view to the Front. The Catmull tool is able to draw curves in three dimensions but in this case I want a couple of 2D curves. then I set out a few guidelines for the distances above the base line and for the stations. the intersections of these horizontal and verticals are the points on the curve.

In the image above I’ve set out only the points for the lower curve on the hanger. Doing one curve at a time just helps to reduce the chance of errors.
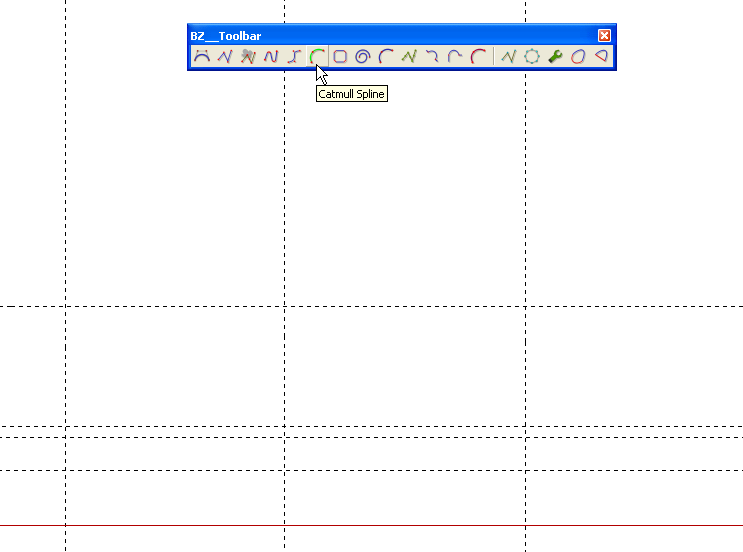
Next, from the BZ_Toolbar, I chose the Catmull Spline tool.

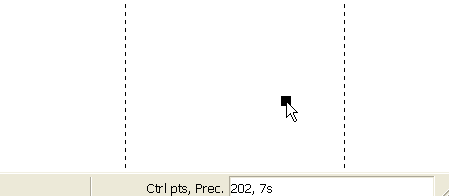
The VCB, bey default, shows ‘202,7S’ which means you could put in up to 202 control points with a curve precision of 7 segments. You can change these values if you wish. I usually don’t bother changing them at this stage, though.

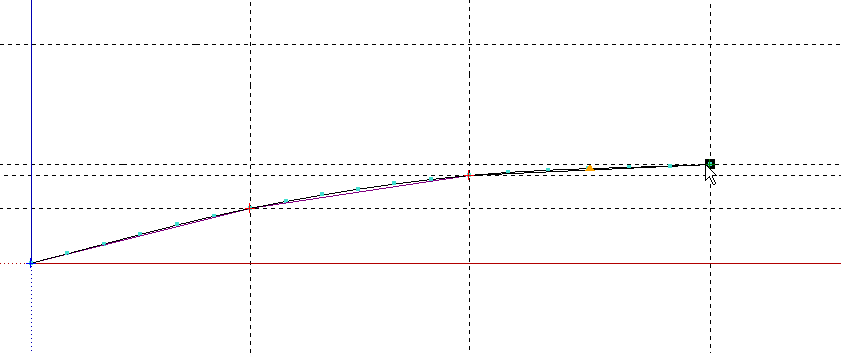
Now, just click at the intersections of the guidelines. The curve is shown developing as you go.

When you reach the last point, simply double click to finalize the curve.

At this point you could modify the curve’s control points and precision if you want. Increasing the precision will create a smoother curve. Unless the curve is for something very large in the model, I rarely find the need to increase the precision above the default 7 segments.
For this model I deleted the horizontal guidelines that I didn’t need and put in the ones I did need for the upper curve. Then I repeated the process and drew the top curve. After that I use the Line tool to connect the curves and create the face from which I drew the the hanger.
This is a very simple curve but the tool is capable of much more complex curves so give it a try.




Log in or create an account to post a comment.
Sign up Log in