In the last blog post (Part 4), I showed making the dovetail pins in the Side component. In this video, I show how to use these already-made pins to create the matching tails in the End component.
One way to use the pin geometry is to copy it and place it within the definition of the End component. First you open the Side component for Edit and draw a select box around the existing pin geometry. You can use Ctrl-C to copy this geometry, or go to the Edit Tab and pick Copy from the menu. Close the Side, then open the End component for Edit. Click on the Edit Tab and pick “Paste in Place”. This will place the pin geometry within the component definition of the End. Now the geometry is used to make perfectly matching tails or sockets in the End.
Here is the video:
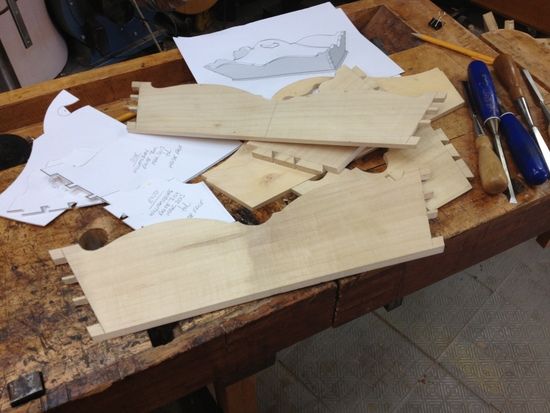
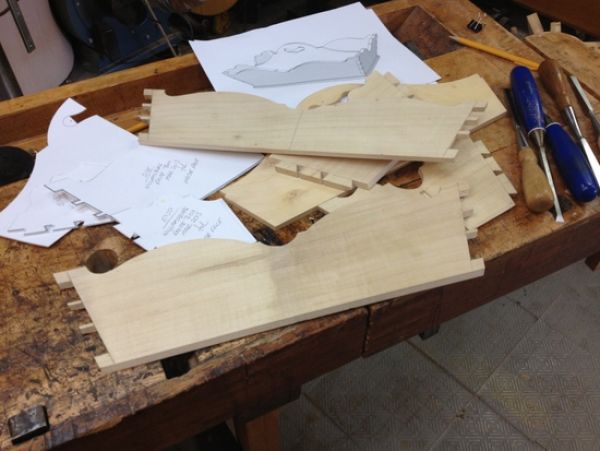
The following picture shows the pieces of the box ready for gluing. The templates were a by-product of the SketchUp model, and extremely helpful in marking out the hand cut dovetail joinery.
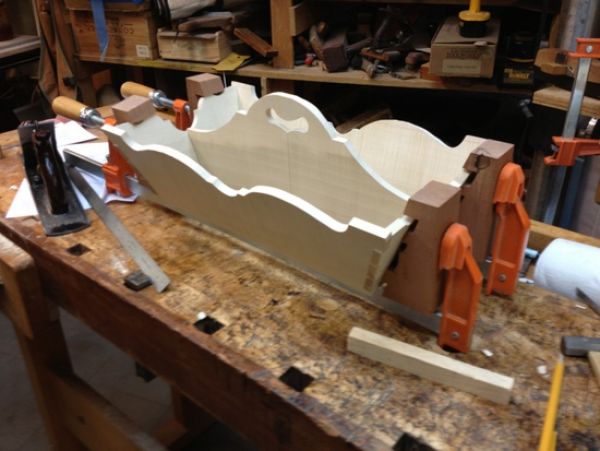
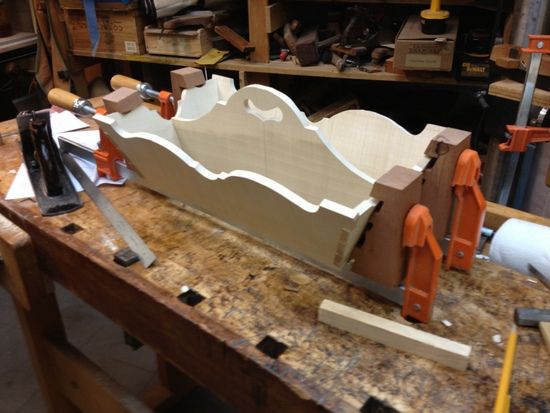
Here is my method of clamping the glued up dovetails. Special clamping cauls are very helpful, and of course the Cauls were designed in SketchUp, and quickly bandsawed according to the SketchUp template.
There are still three parts to make in the SketchUp model- the Mid Spar or Handle, the Base, and the Base Molding. I’ll show these in the next part.
Tim


Log in or create an account to post a comment.
Sign up Log in