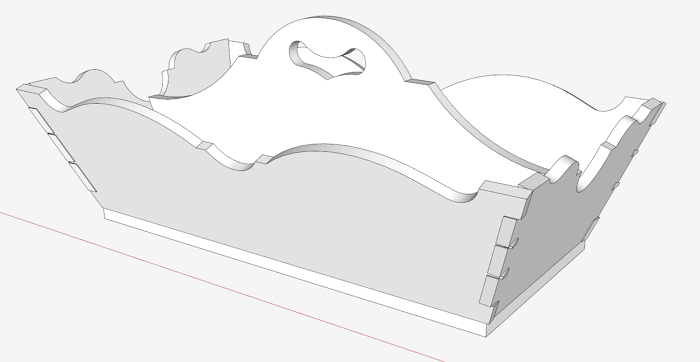
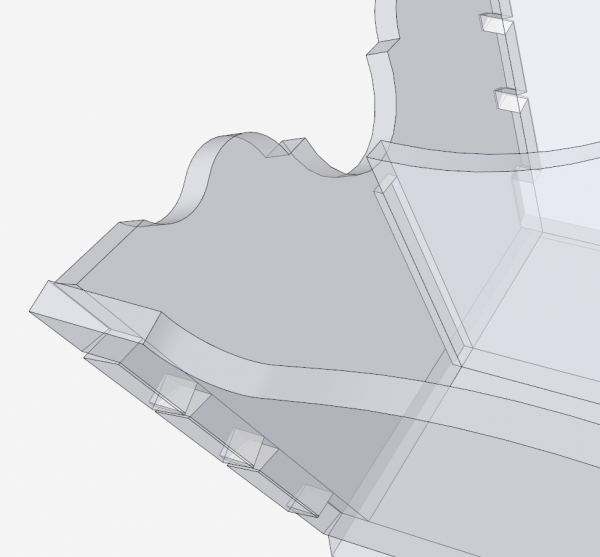
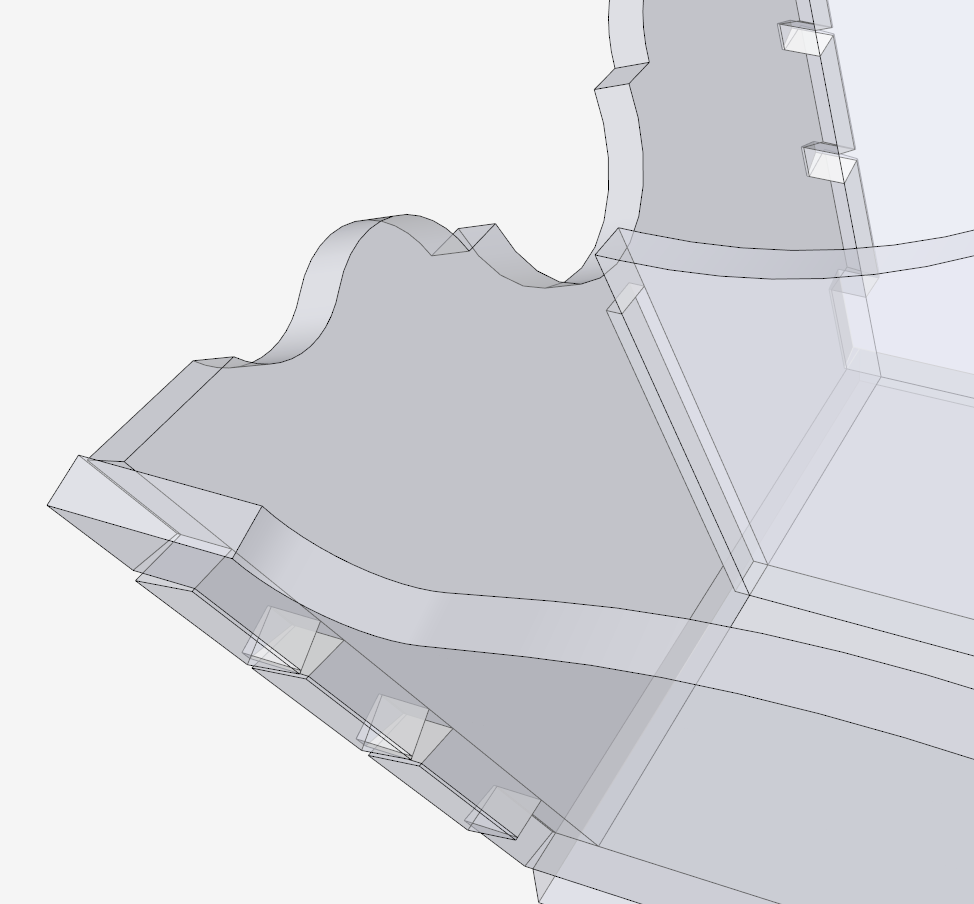
We’re getting close to the end of this series – one more to do after this one, covering the base molding. In this penultimate part, we will add the Handle to the existing assembly of the Knife Box. The Handle is held in place by protruding into stopped dadoes in the End components. Here you can see that connection in X-ray style.
The first step is to get the handle shape as created in Part 1 of the series. The shape exists on the Scan that we used in that first video.
To precisely position this handle within the box, I make three separate movements along each of the three (red, green, and blue) axes. Also I find the center position of the handle by referencing off the midpoints of the edges on the base or bottom of the box. This is where I like to use the right, left, and down arrows to force movement along these axes, and allowing the cursor to find helpful midpoints to stop the movement.
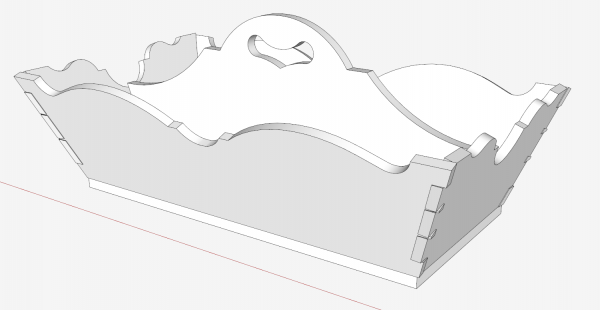
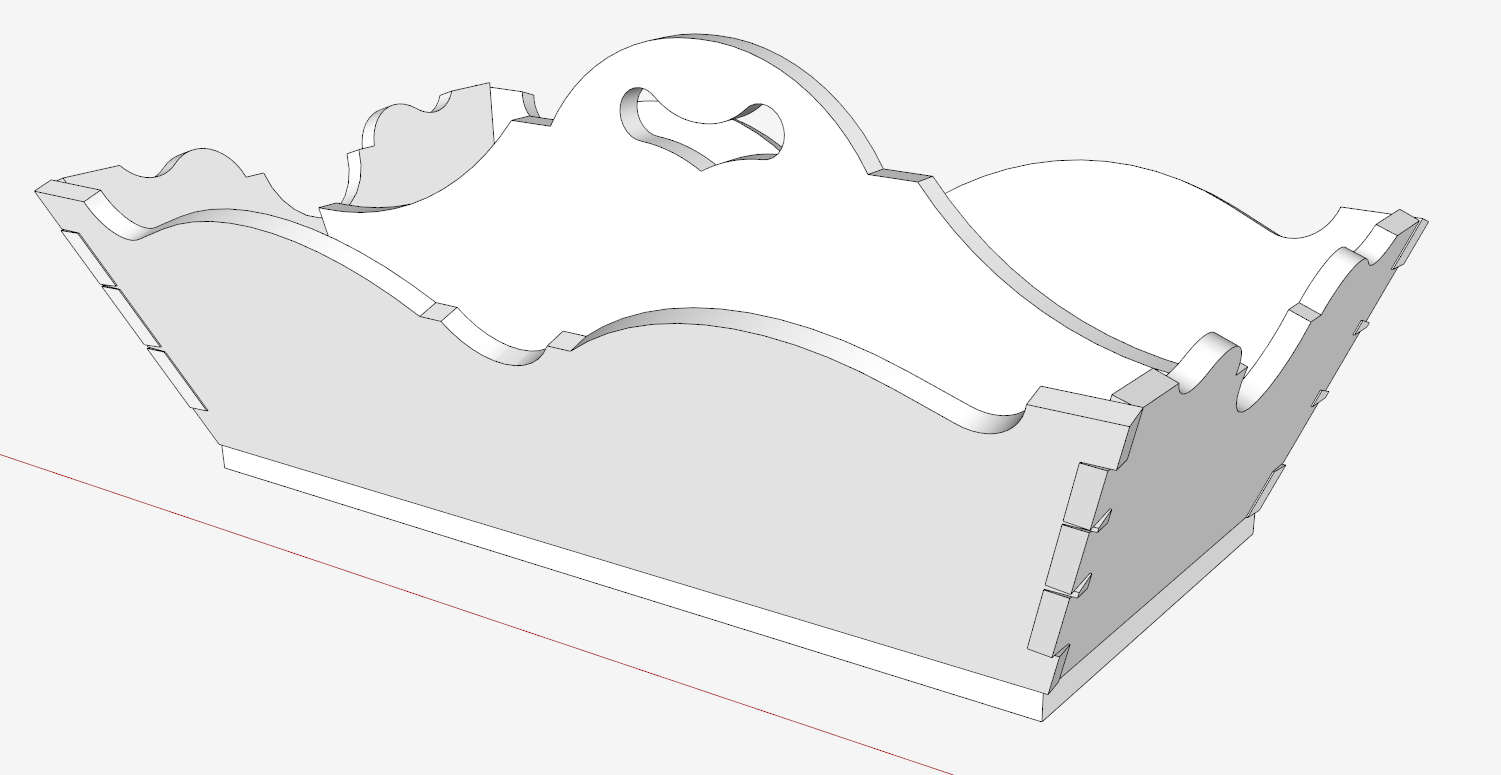
Here is the completed handle.
In the last part of this series, I’ll create the wrap around mitered molding.


Log in or create an account to post a comment.
Sign up Log in