Get It All!
UNLIMITED Membership is like taking a master class in woodworking for less than $10 a month.
Start Your Free TrialAbout This Video Workshop
Up Next
Featured Workshop

With its graceful curves, cabriole legs, and ornamental back splat, a Queen Anne side chair is a bucket list build for many woodworkers. Dan Faia had a very specific Queen…
Featured Projects & Plans

Discussion Forum
Highlights
-
Shape Your Skills
when you sign up for our emails
This site is protected by reCAPTCHA and the Google Privacy Policy and Terms of Service apply. -
 Shop Talk Live Podcast
 -
 Our favorite articles and videos
 -
E-Learning Courses from Fine Woodworking
-
-
 Fine Woodworking New England Event
 -


Comments
Thank you for the series. Neat project.
Excellent project. Thanks for the info.
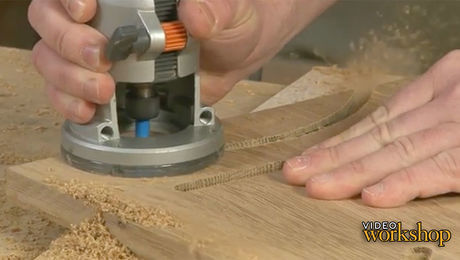
I love the things I learn from watching great videos like this one. For example: avoiding tear out by not cutting all the way through when routing the mortises with the template. Drilling a hole through the remaining material so as to get a flush trim bit in to ride against the already-routed portion of the mortise wall - pure genius! That's the kind of technique that's really helpful to us beginner-types. Thanks Gregory Paolini and Fine Woodworking!
I Always learn a lot from Gregory. The project was just what I was looking for. Reggie N.
I am guessing it was to mimick aged oak.maybe. Gothic revival and all that. I have some brown oak, which is softer than white oak. It is oak that has a fungal infection. It is easier on my tools, and I prefer the look.
Very interesting video. We had fume cupboards in the chemistry lab at school.
You wouldn't want to use a running fume cupboard for this. It would remove all the fumes. Though if it was one you could seal off you could use it while switched off instead of a tent.
Great project and learning experience, Gregory! Thanks very much. Can’t wait till your next one
RandyG
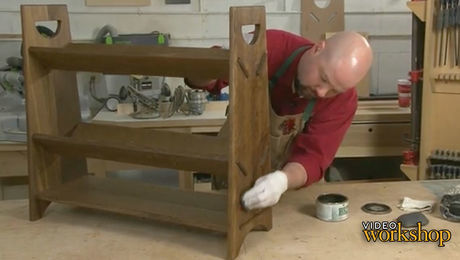
Great video. I am fortunate enough to have some brown oak rather than fuming. I much prefer fumed White oak to not fumed. But my preference is for brown oak. I don’t like varnished oak and I avoid steel screws to avoid black staining. That book rack looks lovely and is a great design. I wonder if you can’t just brush on diluted ammonia outside In the fresh air on a windy day and then wash it off with water when it’s the right colour.
His advice on the need to use fully concentrated ("lab grade") ammonium hydroxide fits neither my experience nor what I understand about chemistry. My experience is that household strength ammonia will produce the same darkening of white oak, though it might take longer. (Just try putting a scrap of white oak and some household ammonia in a plastic bag or other container and waiting a few hours.) Some chemical reasoning, which I'd be happy to see supported or refuted by an actual chemist among us, is as follows: The concentration of ammonia refers only to how much it is diluted with water, not to its molecular composition. Less concentrated ammonia might fill the enclosure with ammonia gas more slowly at a given temperature, or require a larger volume of ammonia solution to be used, but it would not affect the final fuming result. I have used "janitor strength" ammonia from a hardware store, which is more concentrated than "household" ammonia (marketing terms), but which is still far below "lab grade" ammonia. I believe that the insistence on fully concentrated ammonia is a longstanding (though not universal) myth in woodworking circles, one which inclines people to use a chemical that is more dangerous, more expensive, and harder to obtain than necessary. If I'm right, FWW has had more than one presentation helping to perpetuate it. Chemists, please jump in as appropriate. My only chemical backup on this topic was a brief and casual exchange with a chemist friend of mine many years ago and we might have been enjoying a beer at the time.
Log in or create an account to post a comment.
Sign up Log in