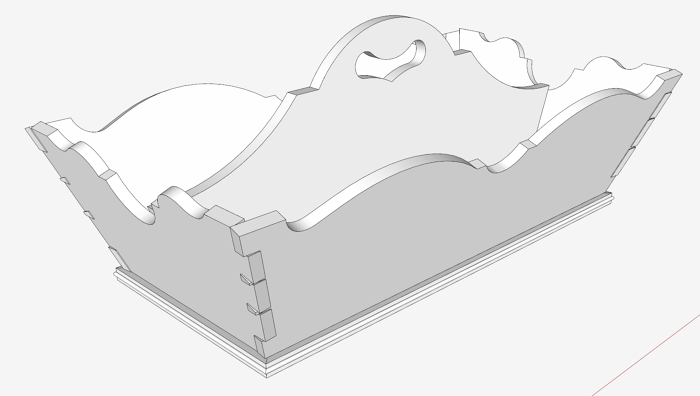
In the last lesson (Part 6), I showed how to make and install the Handle or the Middle Spar. This is the last of a series on the Williamsburg Knife Box, and it covers the wrap around small edge molding on the box’s base. This molding is installed with mitered joints.
After making and placing the molding shape or profile, the Follow Me Tool is used to extrude the shape around the base’s perimeter.
The Follow Me needs a “path” – in this case the perimeter of the base. You can draw a perimeter tracing over the edges of the base. Another way to get the path is to copy the Base’s perimeter and use it as the path. This involves a Copy then a Paste in Place function under the Edit Tab.
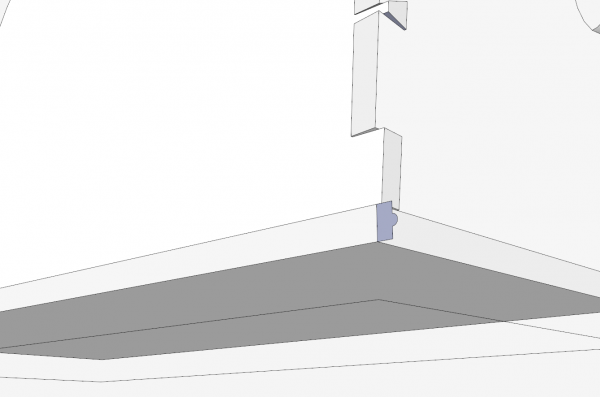
When making a mitered frame using the Follow Me, you’ll find that it does not completely make the miter joints. So you have to edit the extruded molding and apply some short line segments at each corner to complete the miter.
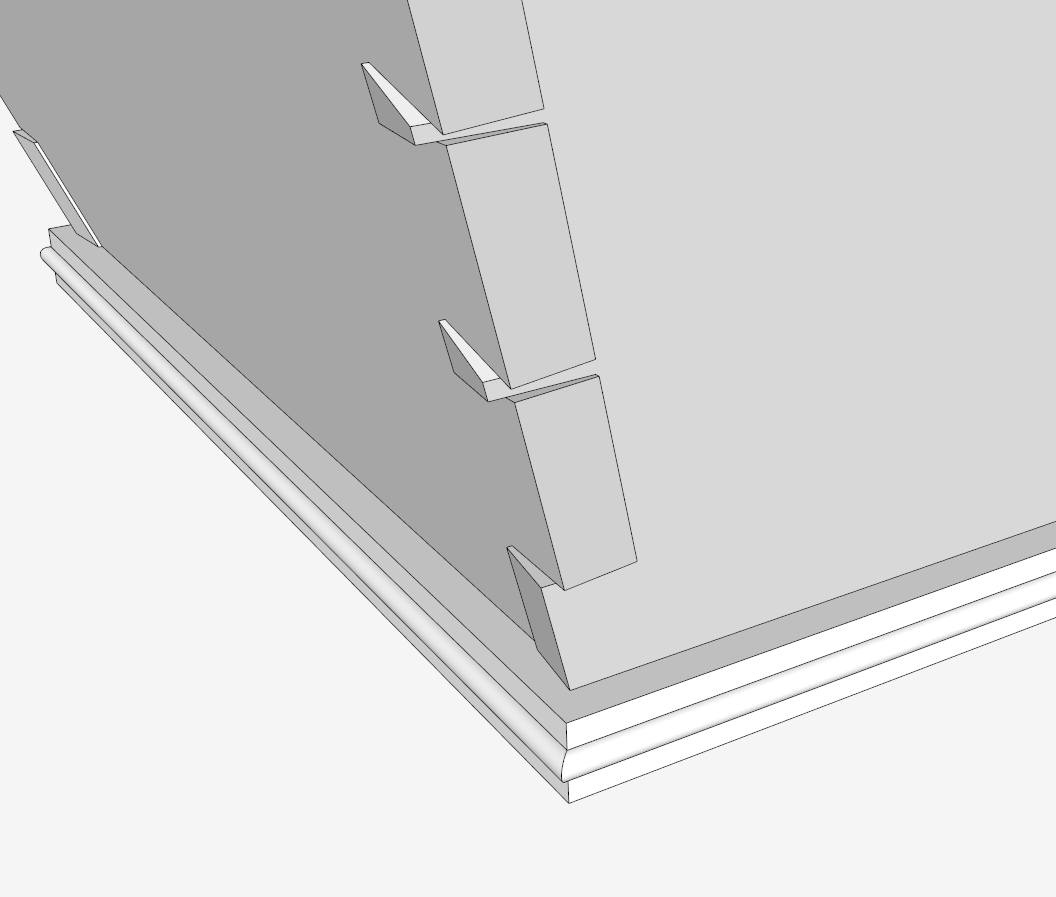
This picture shows the missing miter joint lines.
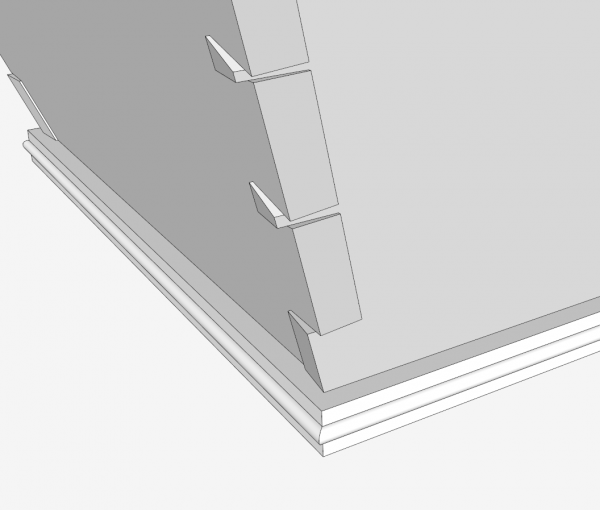
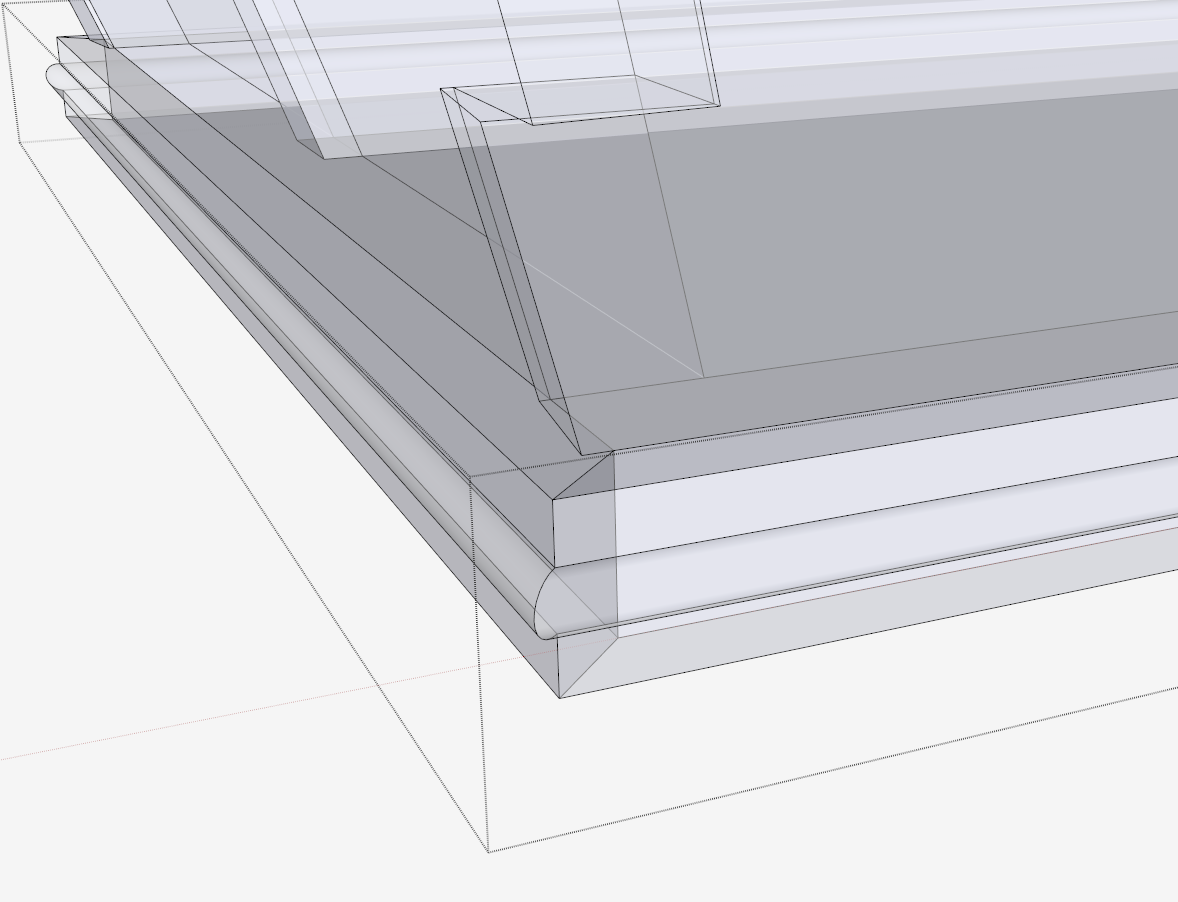
After adding the line segments, a hidden face appears at the miter joint. Here you can see this in X-ray Style.
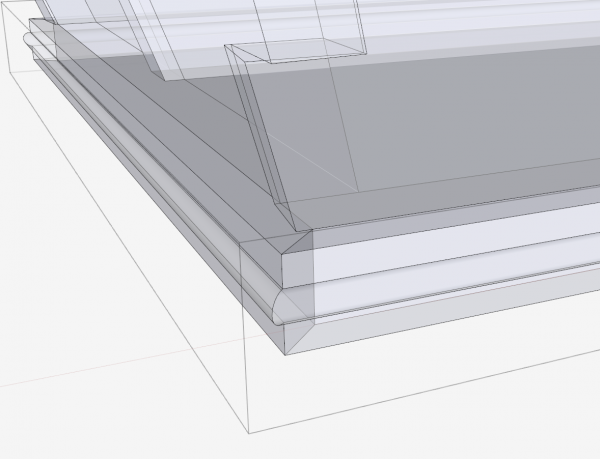
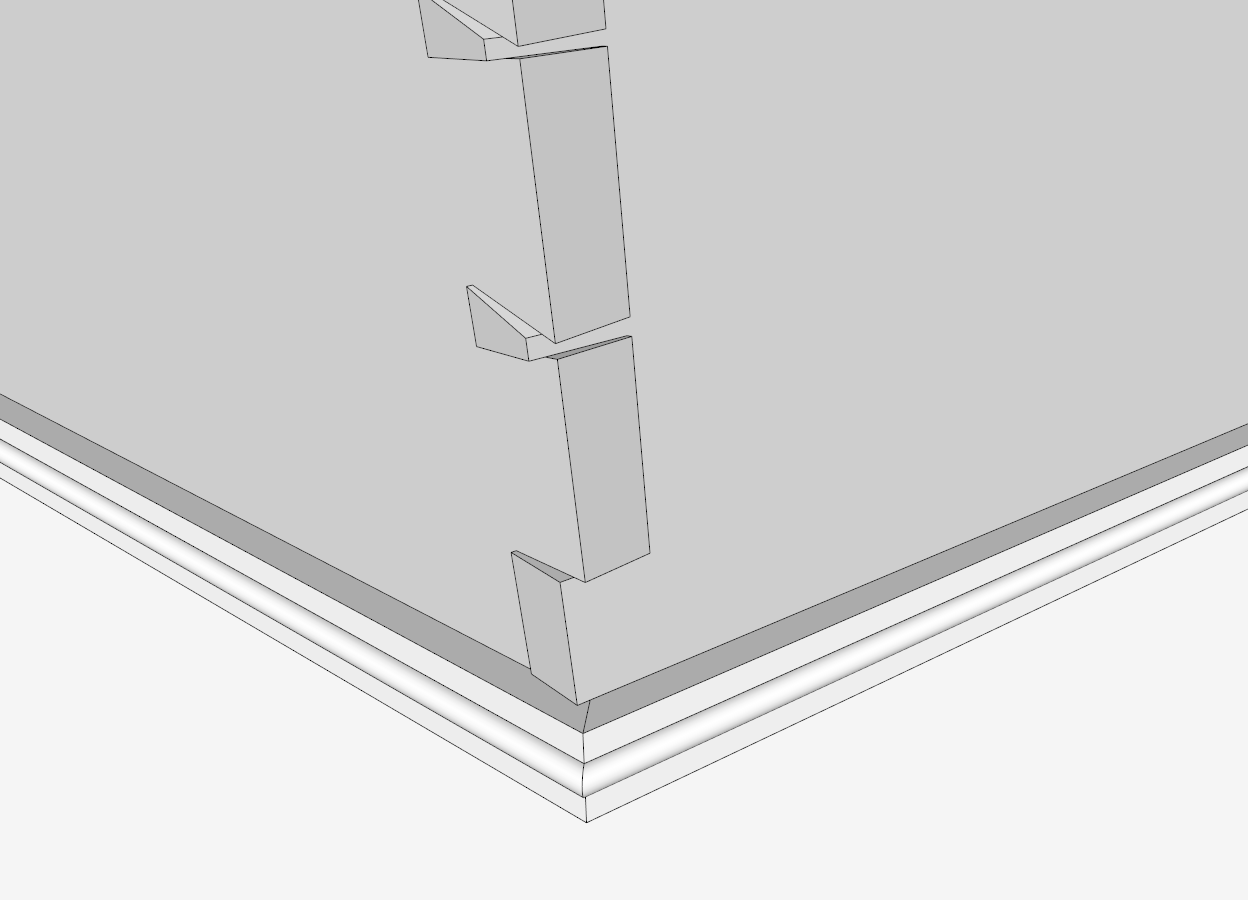
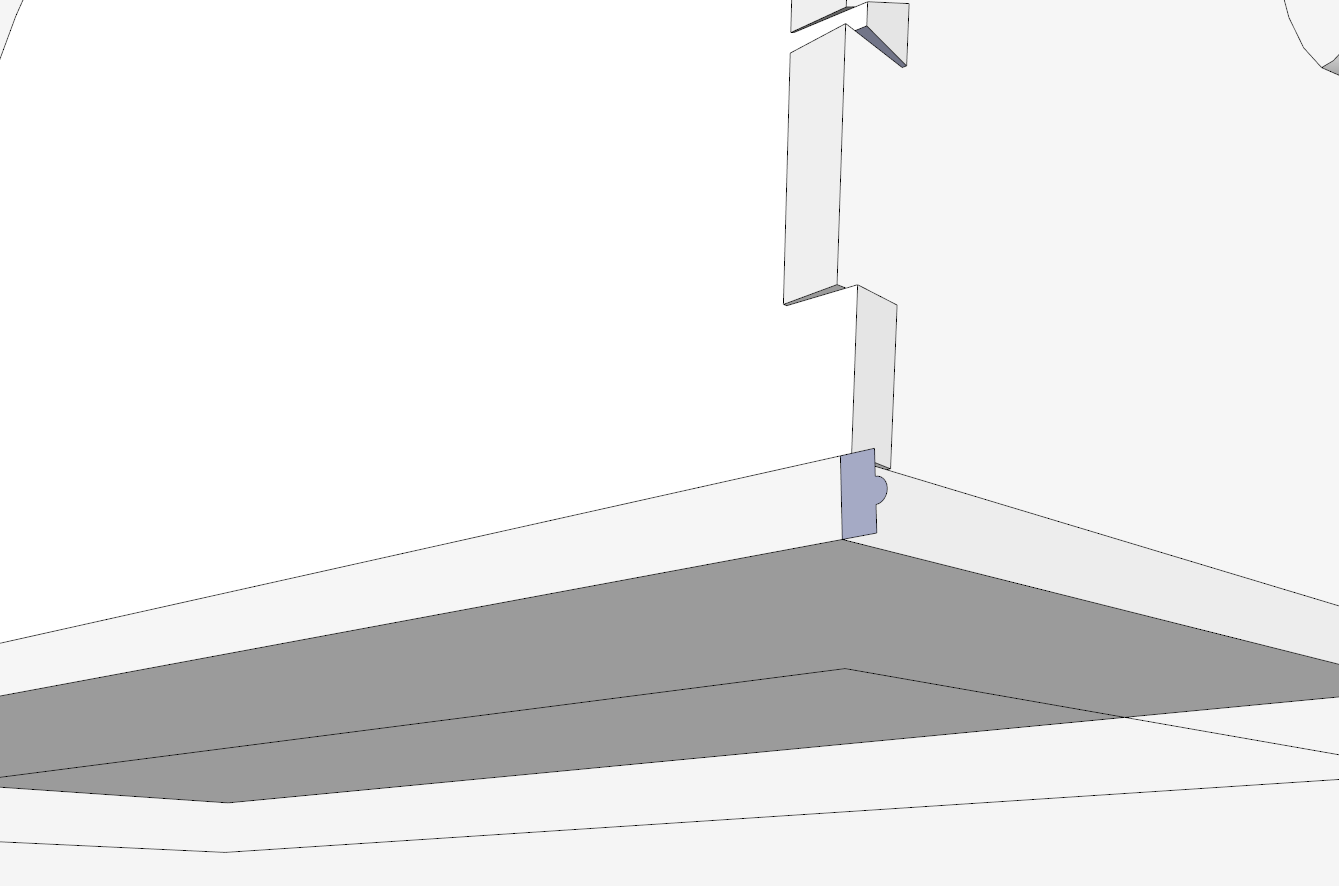
Here’s the completed joint.
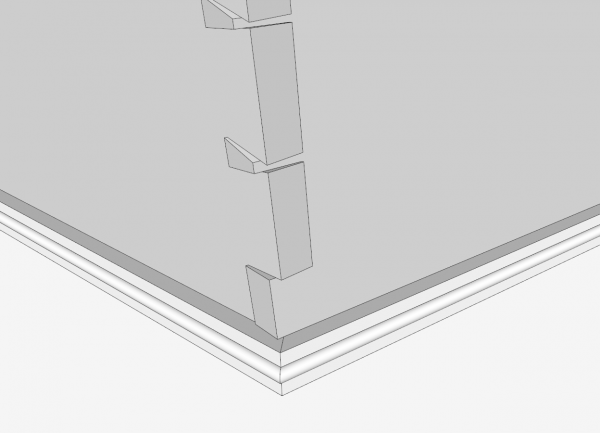
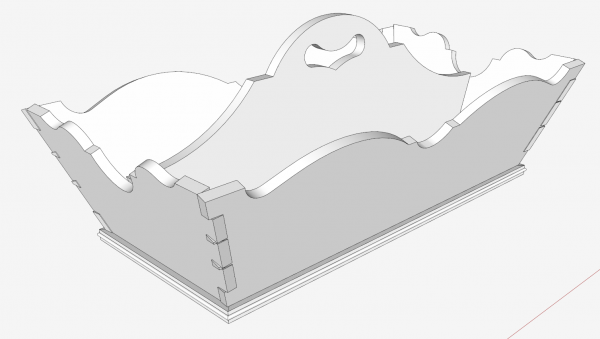
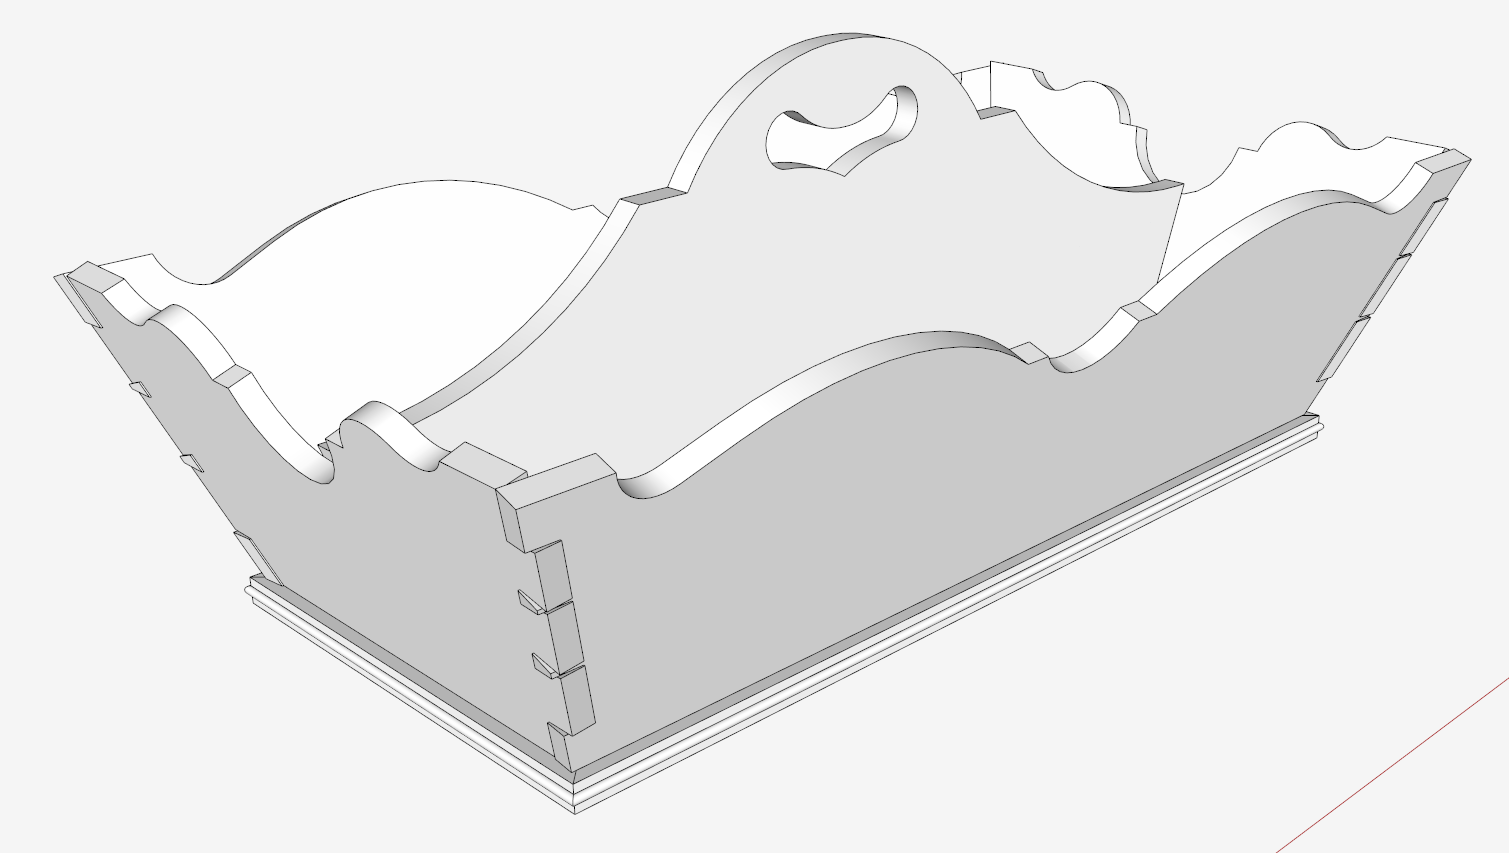
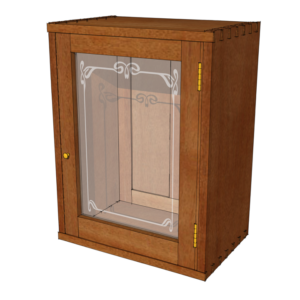
That completes the making of this beautiful Knife Box that was typical of Colonial Williamsburg and the 18th Century.




Log in or create an account to post a comment.
Sign up Log in