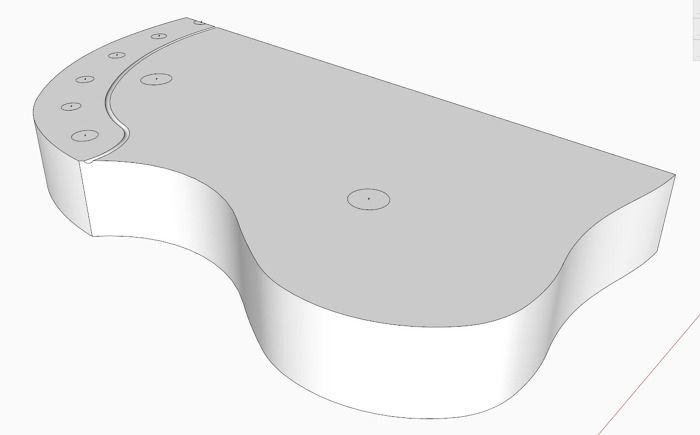
This is Part 2 of “Making an Un-braced Bowback Windsor Chair”. Last time I showed the tracing of the magazine drawing of the seat. And we made three components from these tracings – the plain seat outline, the seat sockets for legs and spindles, and the sight lines. The sight lines will have to be modified later in the process.
In this Part 2, I show a video of making the seat, including the seat sockets for the legs, bow, and spindles. Also I show the carving of the “gutter” that separates the front sculptured part of the seat, from the back flat area for spindle and bow sockets.
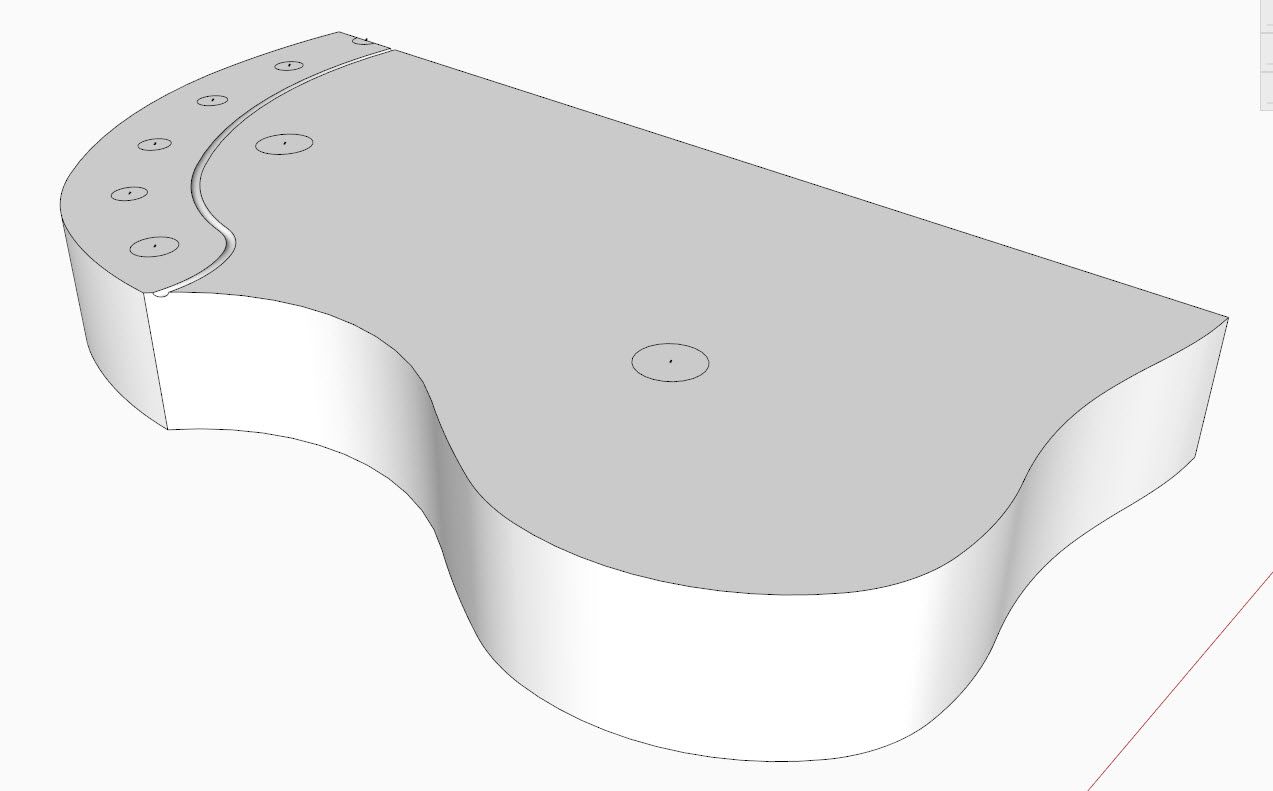
Here is the final seat with sockets and gutter……
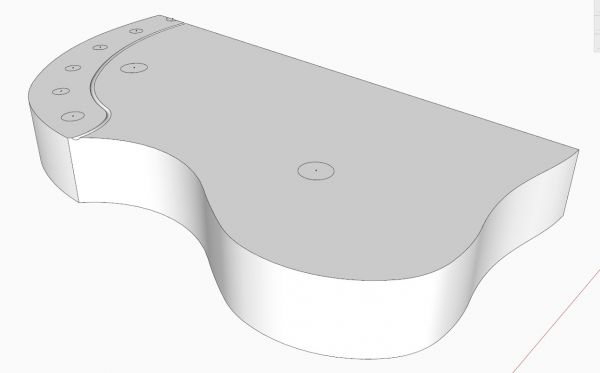
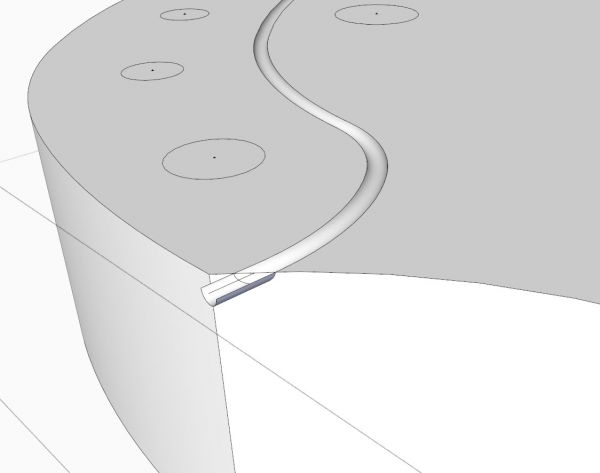
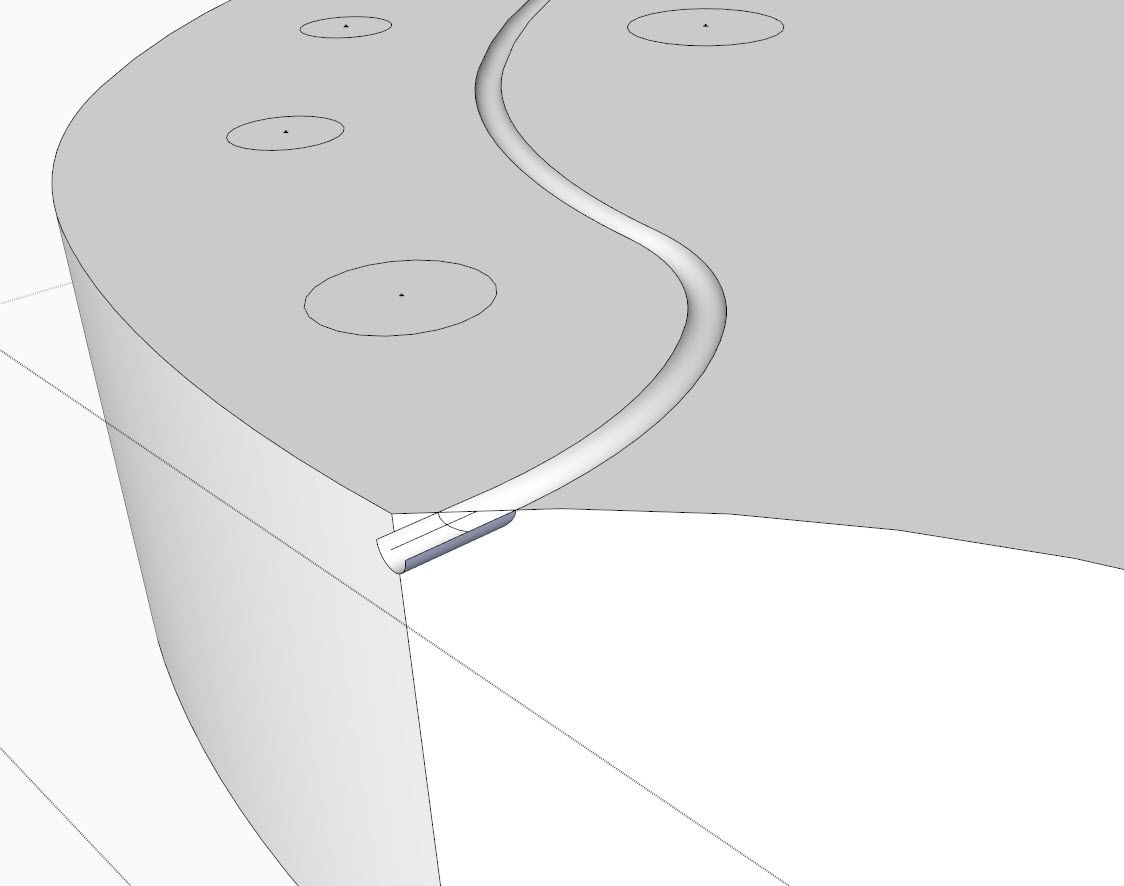
Making the gutter using Follow Me is somewhat tricky. You need to extend the path beyond the edge of the seat and use Intersect to have a successful result. Also, I find that you eliminate problems with small facets by scaling-up by a factor of 10 before running the Follow Me.
In this picture, you can see the gutter extension that is removed after Intersection with Selection.
The seat needs legs, so in the next stage I’ll show the making and placement of the legs into the seat sockets. This is when we start working with angles so typical of Windsor Chairs.
Tim
http://killenwood.com




Comments
I am not able to see the video. Has something changed?
Fred, it is working for me. Could it be that you need to clear the cache on your computer?
Log in or create an account to post a comment.
Sign up Log in