Simple Tips for Turning a Baby Rattle
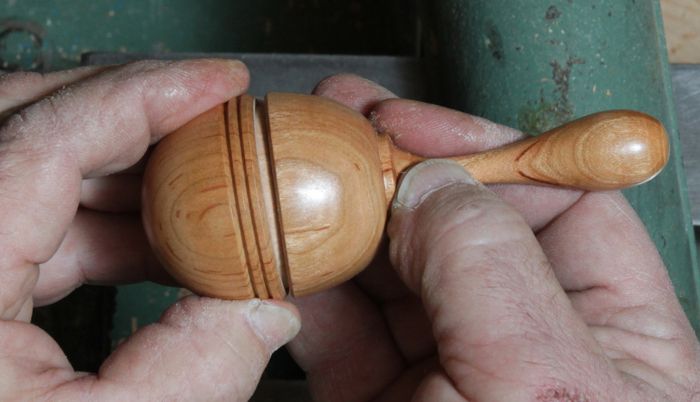
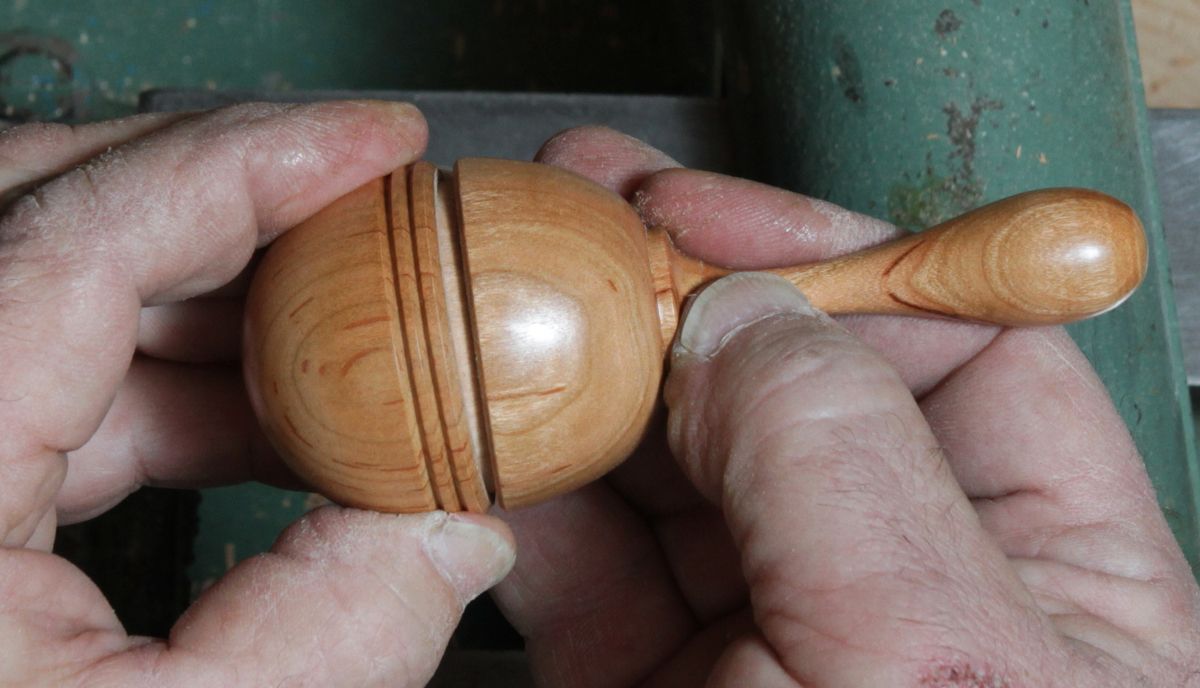
The completed rattle.
My woodturning friends are always looking for a great project to make. I got this idea after turning a few hollow egg forms. I decided to make the walls thinner than usual, add a handle and deposit some rice and glue the joint. I have made this rattle in different variations dozens of times, and my family and friends who receive them are thrilled.
CAUTION: To avoid a choking hazard, be sure each half of the rattle is at least 1 3/4 inch in diameter. I aim for 1 7/8 to be on the safe side. Use “safe” woods like cherry, maple and birch. Use shellac or mineral oil or leave the rattle unfinished. Make sure the joint is tight and use white or carpenter’s glue. Be sure to use rice or some other non-toxic material. I only give these rattles to friends, family and colleagues, and that allows me to tell them the precautions I made when making the toy. Despite this, I also tell them not to leave the baby unattended when playing with it.
The numbered steps below, the photographs and accompanying time-lapse video will allow you to make one of these “heirloom” toys, but be prepared to make a lot of them!
For the bigger “kids” in you life, consider increasing the dimensions and make a set of maracas.
1.Start with a blank 2 1/4 inches by about 7 inches long of maple, cherry, or birch. Avoid woods that can irritate such as black walnut, cedar, etc.
2.Rough turn and create a tenon on each end to fit your 4-jaw chuck
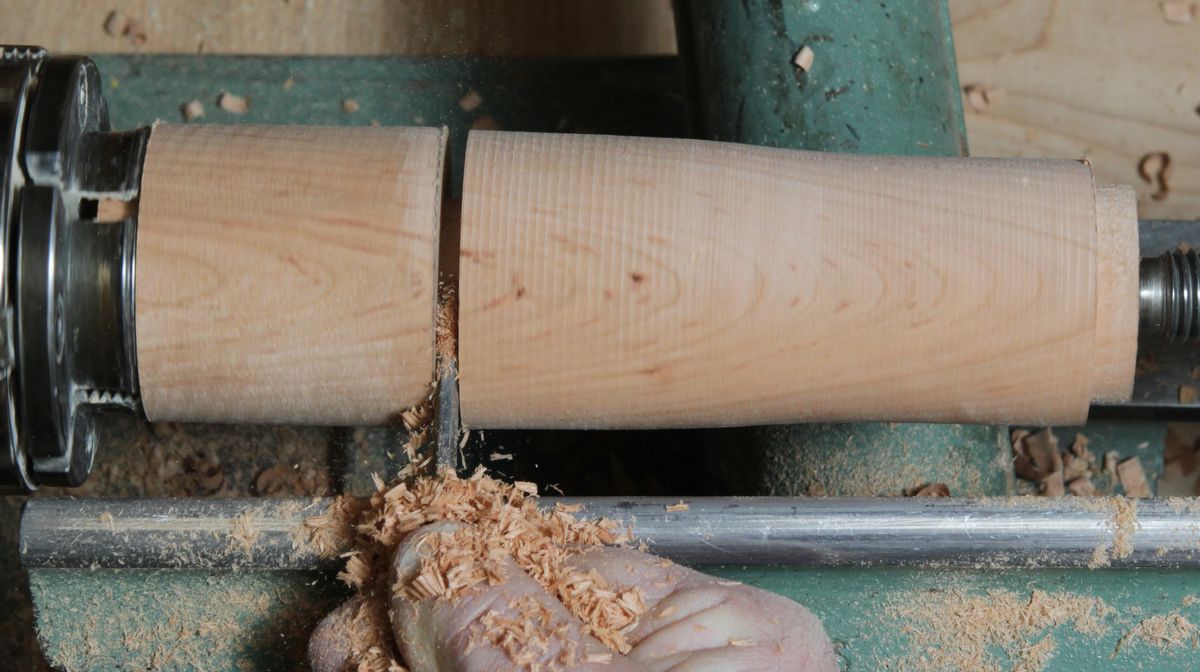
3.Part off leaving 2 ½ inches extending from the chuck, setting aside the approximate 4 inch piece that will form the handle and lower half of the rattle.
4.Turn and true the piece to at least 1 7/8 inch in diameter and clean up the end grain at the rim. (I prefer using the skew long point down.)
5.Drill a 3/8-inch hole 1 inch deep and mark a point 1 3/16 inch from the rim on the outside, which will determine the outside shape of the rattle’s lid.
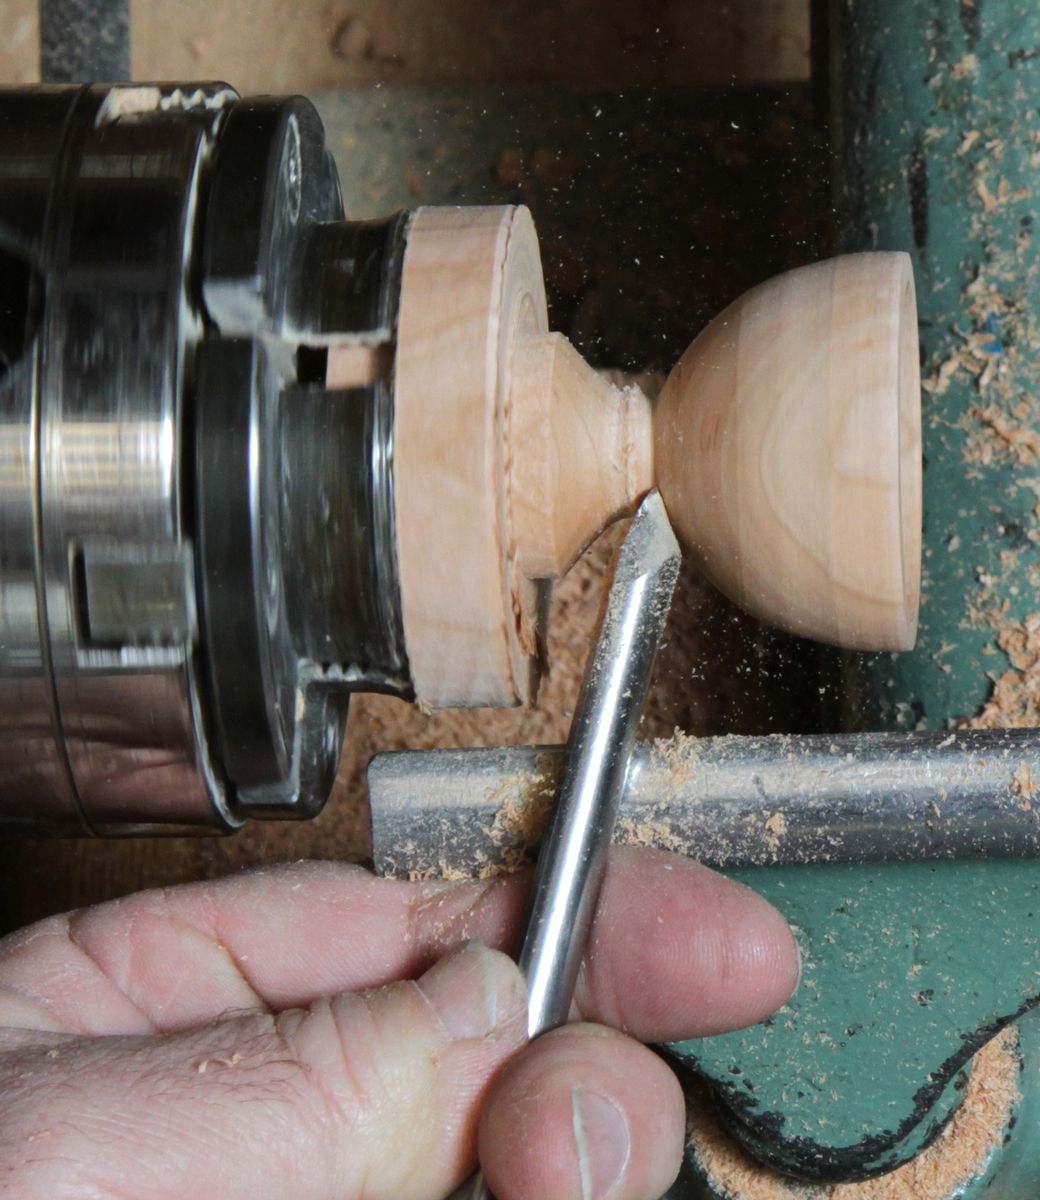
6.Hollow the lid to the 1inch depth and hollow to about 3/16-inch wall thickness to the rim, aiming for a flowing curve. The last 3/16-inch from the rim must be parallel to allow easy an easy fit with lower portion of the rattle.
7.Part to the waste side of the outside mark and start to turn the curve to match the interior, increasing the part depth in steps as you continue to match the interior curve.
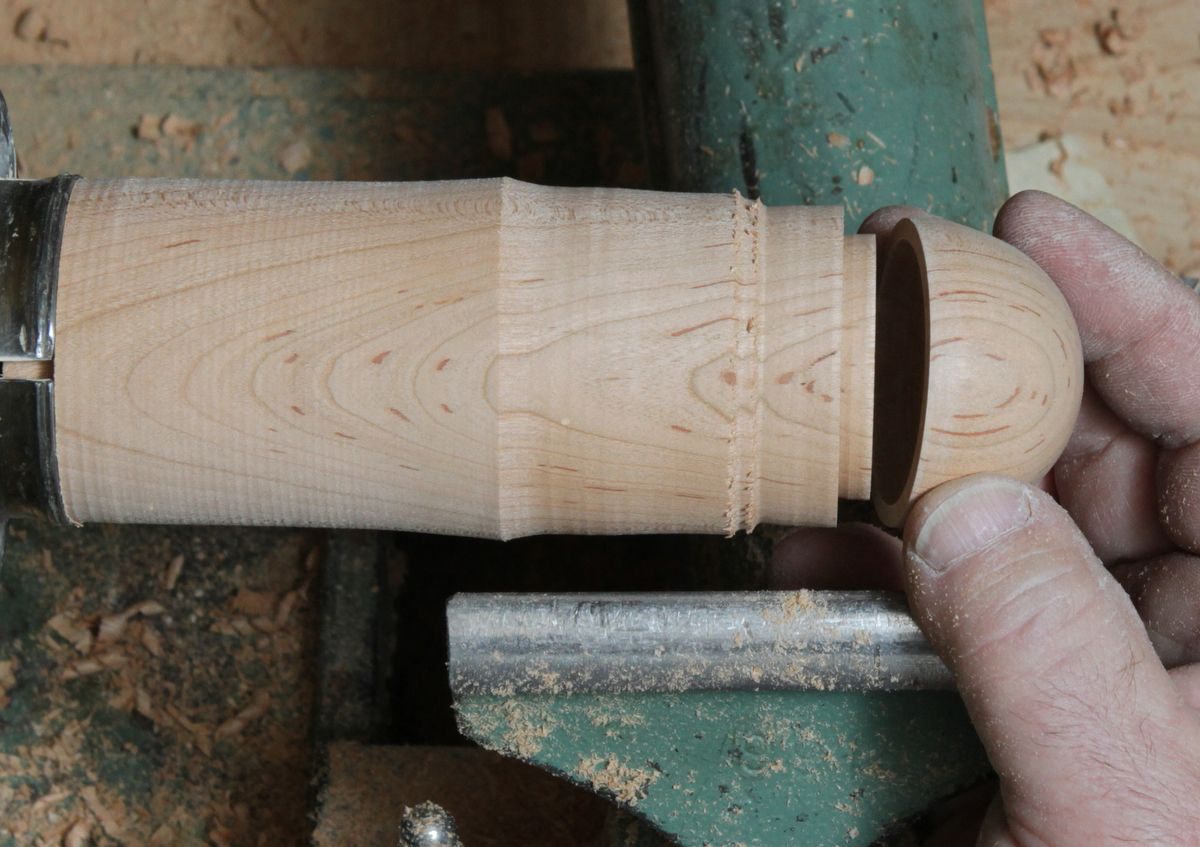
8.Part off the lid, and chuck the handle part of the rattle in the 4-jaw chuck.
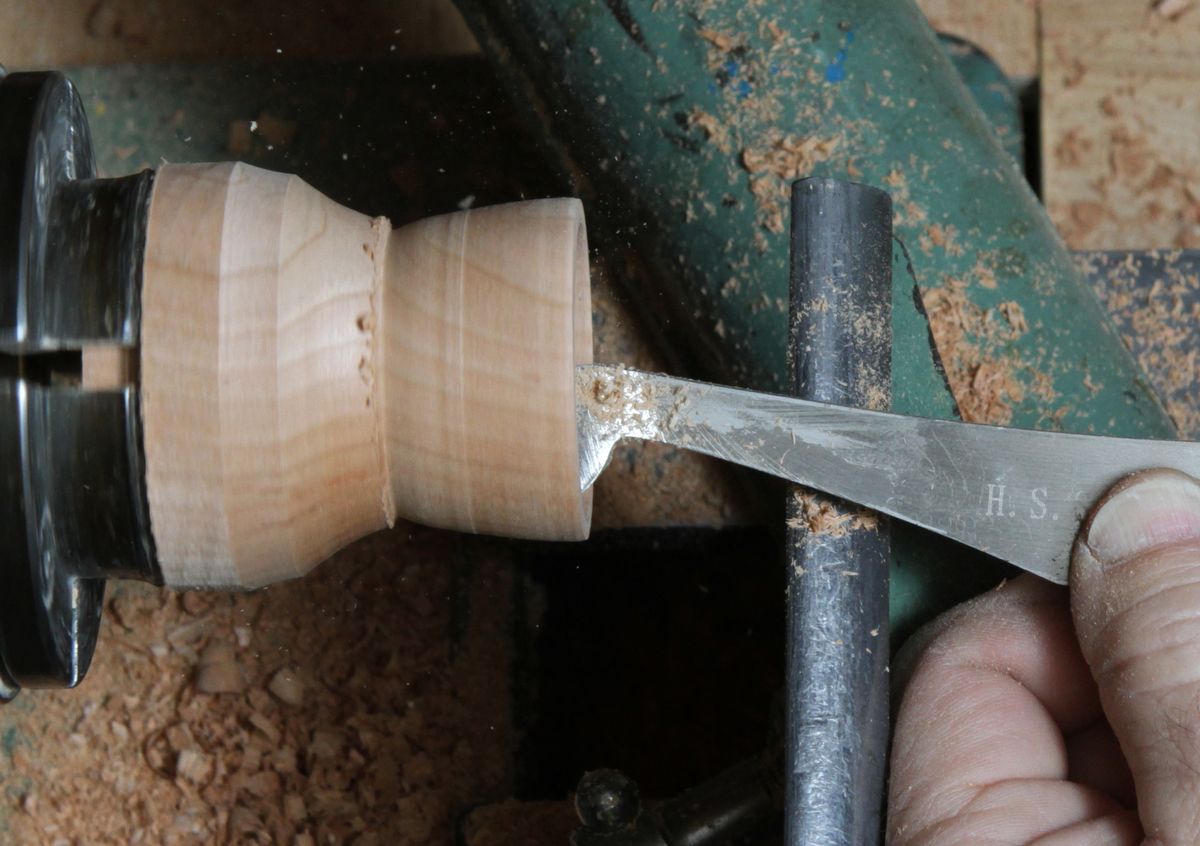
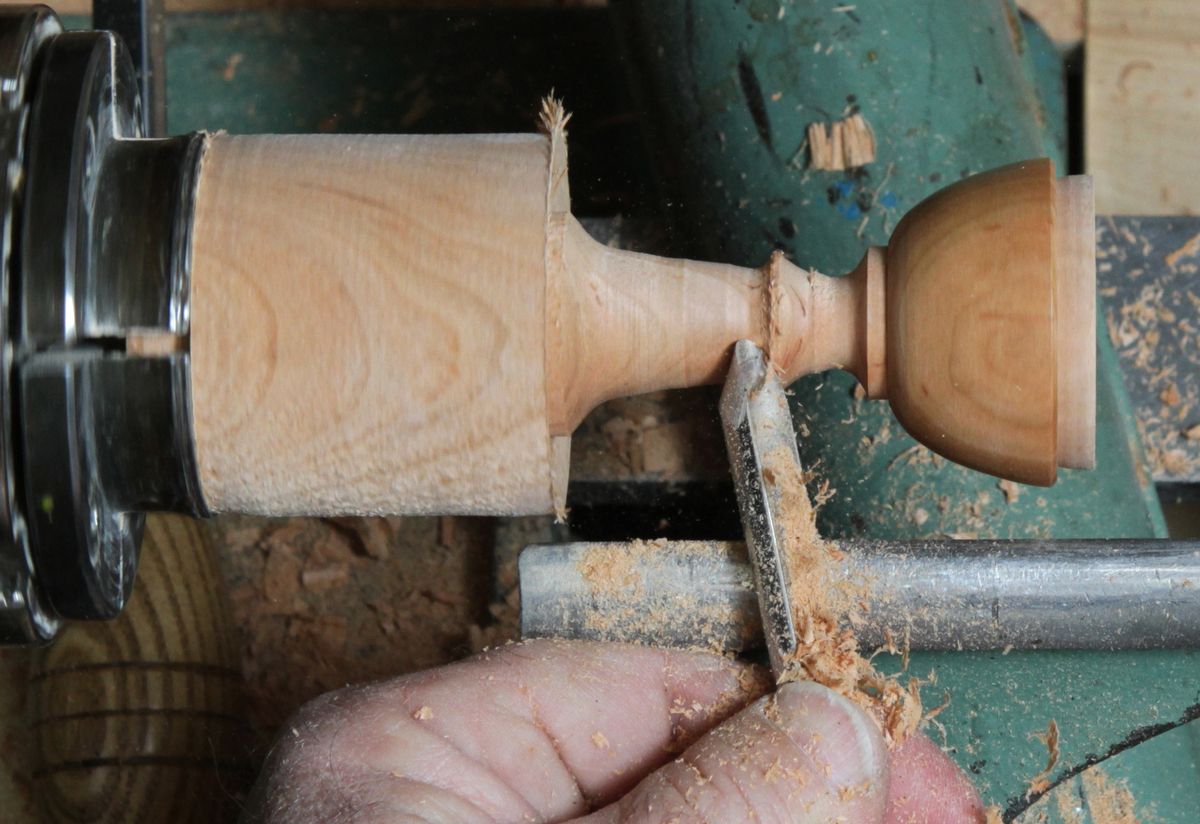
9.Make a tenon and fit the top half snugly, then proceed to hollow, being careful to undercut the area near the shoulder of the tenon. Keep the sides of the opening parallel to allow for reverse chucking.
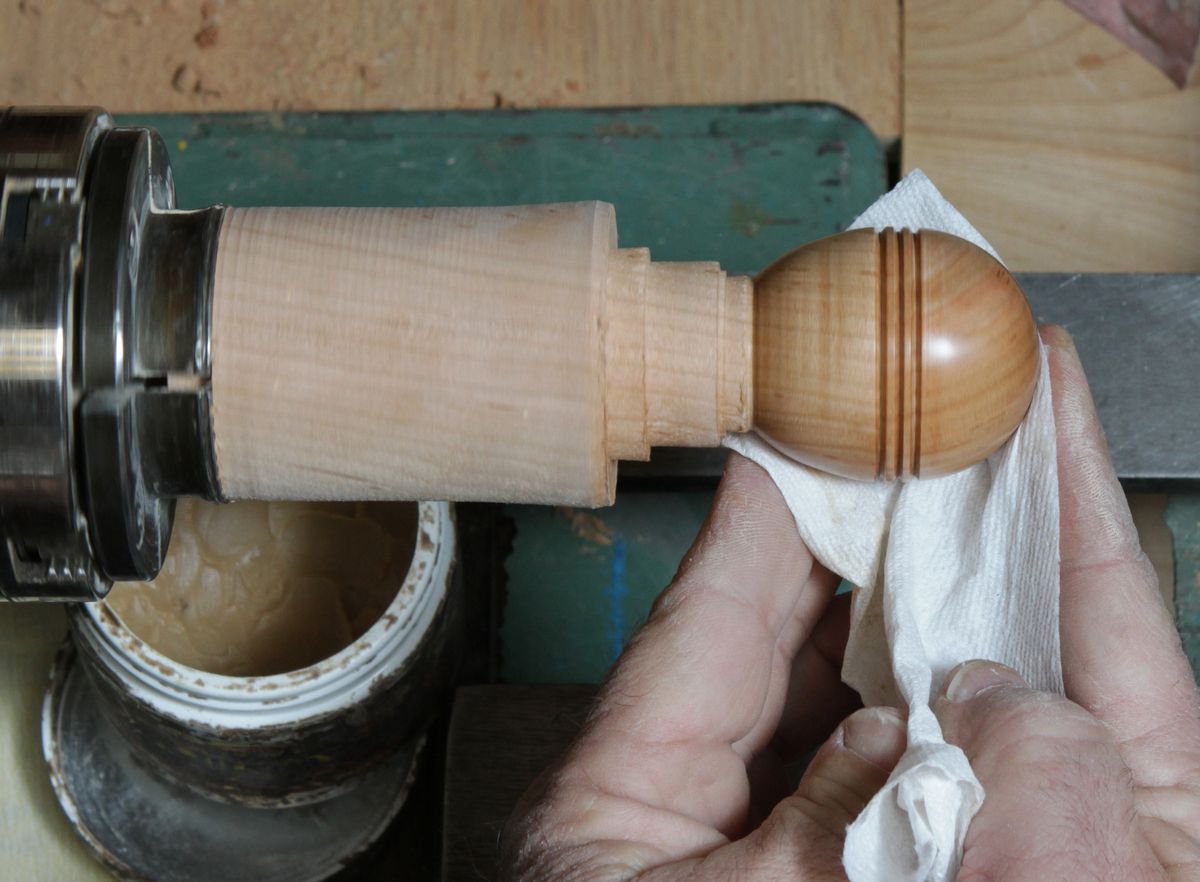
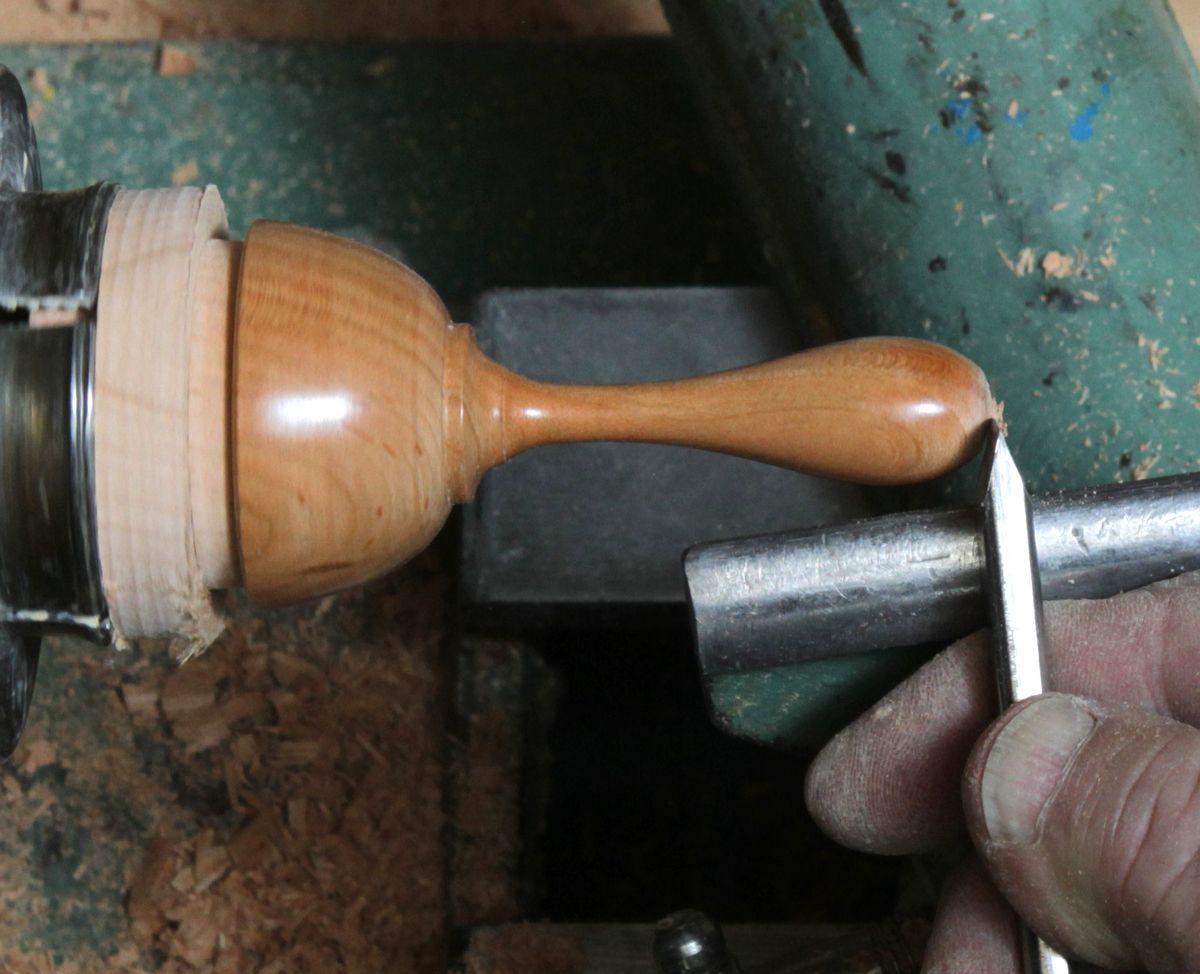
10.Form the handle and apply oil or shellac, being careful to avoid the glue area in the joint. Turn a tenon on the waste, and reverse and jam chuck the handle portion. Carefully finish the end of the handle.
For those of you who are members of the American Association of Woodturners, check out the Baby Barbells article I wrote for the February 2011 “American Woodturner” journal, or go to this link: http://www.joelarese.com/#!about





Comments
Worthless.... These instructions have you with two halves of a rattle and no idea how to put it together and finish it. Without blowing it apart on the lathe. I just wasted two pieces of Maple trying to make a rattle for my great nephew... I'll go find instructions from another site.
Log in or create an account to post a comment.
Sign up Log in