Build a Vanity Cabinet
Add a handcrafted touch to any bathroom
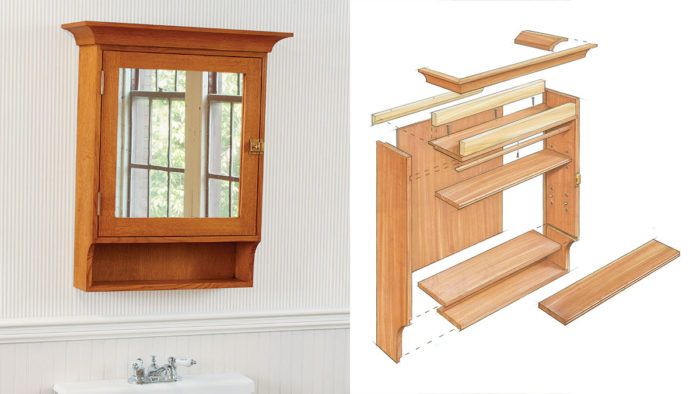
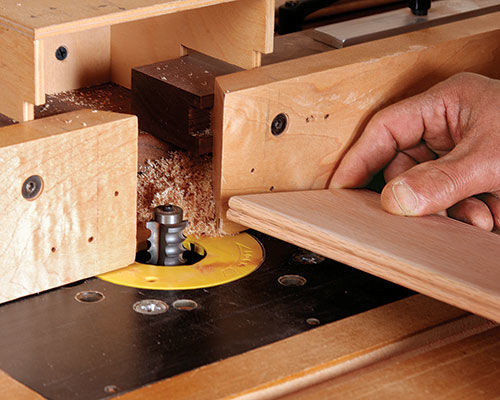
Synopsis: This vanity has great proportions and simple lines, with a mirrored door that is simple to make. All the joinery is cut at the tablesaw using a dado set. The door is assembled with slip tenons, and the frame is rabbeted before assembly to ensure a perfectly square recess for the mirror. The cove molding for the cornice is cut at the tablesaw and assembled before it is attached to the cabinet. Non-mortise hinges add to the look and the simplicity of assembly.
Size: 6 in. deep by 20-1/4 in. wide by 29 in. tall
Browsing at a country flea market one weekend, I came across a vendor selling interesting architectural pieces. There were fireplace mantels, stained-glass panels, doors, and some odd lengths of ornate moldings. What really caught my eye, though, was a bathroom wall cabinet of Victorian vintage. It was simple and graceful, with a soaring cornice and nearly perfect proportions. Miraculously, it still wore its original finish. Over the years the cabinet had developed a deep, rusty color and a wonderful patina, punctuated by a brass Victorian cupboard latch. This was a piece worth copying.
I took some measurements, snapped a few photos, and then returned to my shop to draw up plans for a similar piece. This cabinet is the result. I made it out of quartersawn white oak. The ray-fleck grain patterns give a nice flair to the simple lines of the cabinet. What’s really nifty is how the mirrored door is made. I assembled the parts with slip tenons—nothing revolutionary—but before cutting the joinery, I rabbeted the pieces for the mirror. This method creates half-lap joints and a perfectly square recess for the mirror without any need for chisel work in the corners. This piece is a popular class at my school, and I understand why. It doesn’t take long to build, and it adds a handmade touch to any bathroom.

Case joinery comes first
The joinery is really straightforward, and it’s all done at the tablesaw using a dado set. However, all the joints are visible, so make sure they’re clean and tight. Once the case joinery is done, use a bandsaw to cut out the arc on the bottom of each side. This arc gives the cabinet a slimmer look and provides more clearance to reach items stored on the bottom shelf.
Plane and sand all the parts, then you’re ready to glue up the case. After assembly, drill for the shelf pins that will support the adjustable shelves. To ensure the shelf-pin holes were aligned side to side, I made a drilling template out of 1⁄4-in.-thick plywood. I clamped it to one side of the cabinet, drilled the holes, then slid it to the other side to drill the others.
Cut the cove for the cornice
Making your own molding is a great way to add a custom touch. Most can be done with a router, but the cove molding for this piece is too large for standard bits, so I used a slick technique on the tablesaw (see p. 38). I passed the stock over the spinning blade at an angle, guiding it between two fences clamped to the saw top.
For the full article, download the PDF below:
Fine Woodworking Recommended Products

Festool DF 500 Q-Set Domino Joiner

Freud Super Dado Saw Blade Set 8" x 5/8" Bore

Get the Plan
CAD-drawn plans and a cutlist for this project are available in the Fine Woodworking store.


Log in or create an account to post a comment.
Sign up Log in