Triangle Marking System
There is no marking system more efficient than the triangle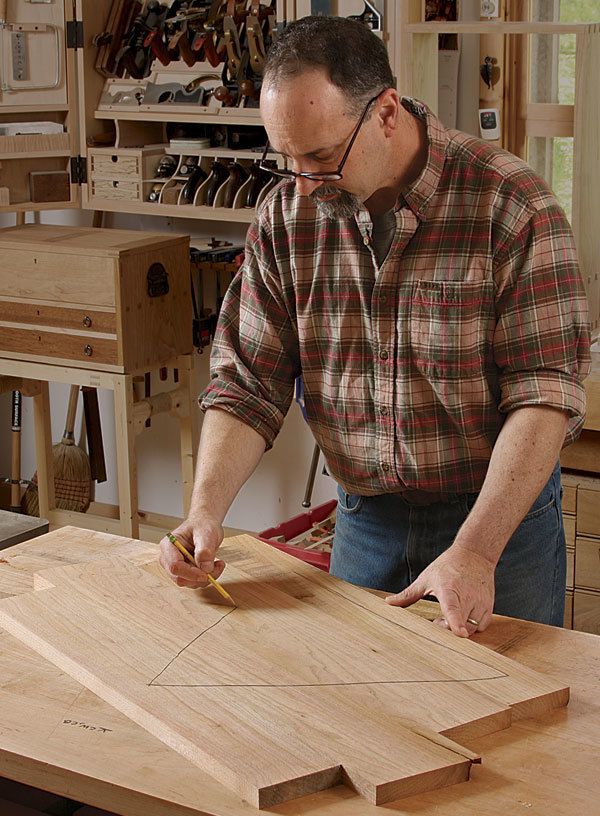
Synopsis: If you’ve ever spent half a day dovetailing a drawer only to cut the last set of pins in the wrong direction, you know how important it is to mark your parts clearly and refer to the marks often. Michael Pekovich uses the carpenter’s triangle, a deceptively simple mark that shows how each piece should be oriented and heads off mistakes before they happen.
They say that good joinery starts with good layout. I’d add that good joinery and good layout require clear orientation marks. If you’ve ever spent half a day dovetailing a drawer only to cut the last set of pins in the wrong direction, you know how important it is to mark your parts clearly and refer to the marks often. As your projects become more ambitious, and doors and drawers multiply, so do the opportunities for mix-ups. Without a system for quickly identifying and orienting all those otherwise indistinguishable parts, you’re inviting mistakes.
To avoid the pain and suffering of miscut joinery, I use the carpenter’s triangle, a deceptively simple mark that magically unravels the DNA of every part I’m working with, and heads off mistakes before they happen.
Unlike more complicated marking systems that use matching numbers, letters, or hieroglyphics, the simple triangle gives you all the information you need for every part—which face and edge go out and up, and which joints go where. Whether you’re doing a simple tabletop glue-up or making a complicated case piece with lots of parts, using the triangle is the easiest, most intuitive way to keep track of all of them.
How triangles help
Every part gets marked with a partial or complete triangle on its face or top edge, with points facing forward or up. For a frame-and-panel door, for example, you’d start by ganging up the stiles. Mark one triangle, pointing up, across the front face of both pieces. Then gang up the rails and mark them with another triangle that points up. Finally, mark the panel. Each part now has a mark to identify its placement on the door, its front face, and its vertical orientation.
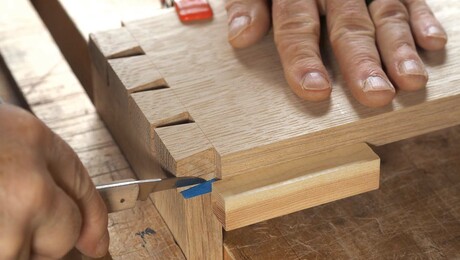
Instead of their faces, drawers get triangles across their top edges, pointing forward. Draw one across the tops of the sides, then another across the tops of the front and back. Treat case assemblies and table aprons the same way, with triangles on the front and top edges.
Table legs get a different approach. If you mark one triangle across the top of all four, the front two legs will get just a slash each, making it easy to confuse them. Instead, mark the tops in pairs, using right triangles to distinguish the left legs from the right. This way, you have enough information to taper the legs and cut the joinery with confidence. Right triangles also come in handy anytime you have two of the same elements in a piece, like drawers or doors. If you have more than two, number them in the most straightforward, systematic way possible.
For the full article, download the PDF below:
Fine Woodworking Recommended Products

Veritas Precision Square
Leigh Super 18 Jig
Pfiel Chip Carving Knife





Log in or create an account to post a comment.
Sign up Log in