Crisp Tenon Shoulders with Your Chisel
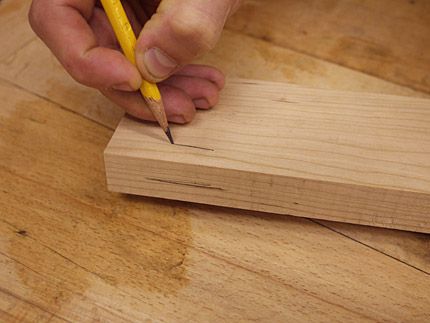
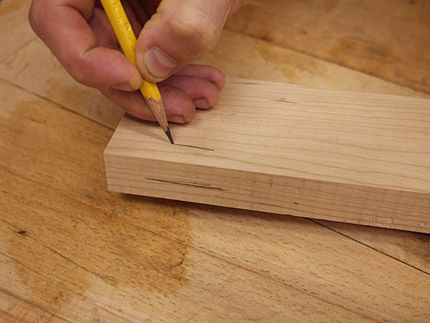
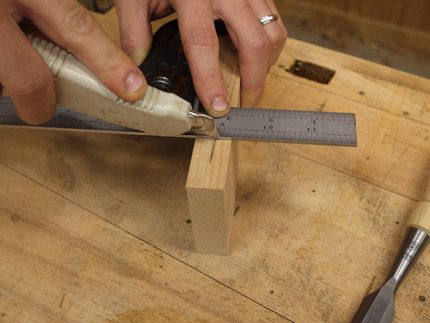
1) Begin by marking out your two reference surfaces with pencil.
Here’s an age-old woodworking tip straight from the workshop of one of the finest period furniture pros out there.
Phil Lowe has been cranking out top-notch pieces for well over 40 years. A graduate and former instructor at Boston’s North Bennett Street School, Phil’s the kind of woodworker you can learn a whole lot from, simply be watching him ply his trade. Case in point: Phil’s method for cutting super-accurate tenon shoulders. Here’s the play-by-play, as I learned during a recent Video Workshop shoot for an upcoming series on building Phil’s Workbench That Works.
Scribe Shoulder Lines from Reference Faces
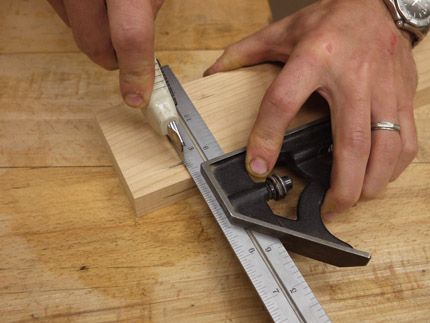
Before marking out for joinery, Phil first selects an adjacent face and edge of a board that converge to form a dead-square corner. This corner is marked with a pencil and all of the scribe lines he cuts into the workpiece to denote his tenon shoulder are marked with his square’s fence lining up on either of these two surfaces only. This results in a scribe line that wraps around the board, and meets up perfectly.
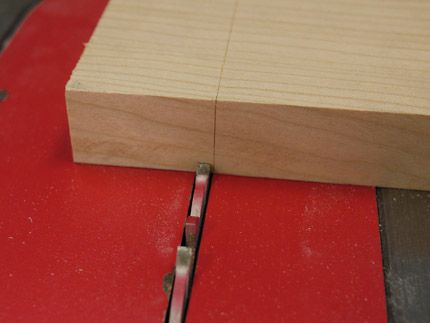
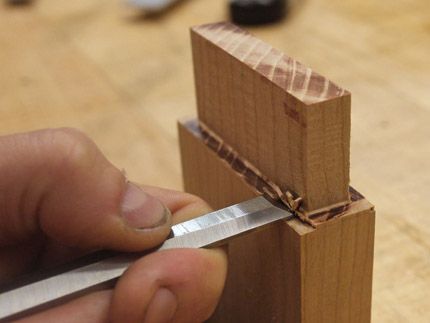
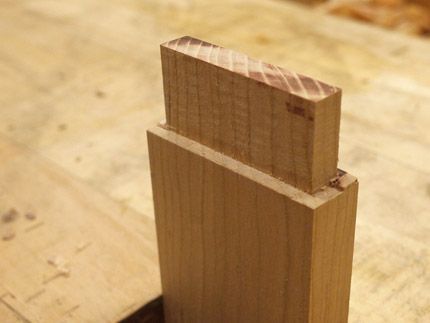
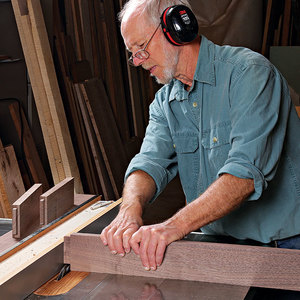
Next, Phil heads to the tablesaw. He likes to use a dado set to cut his tenons but note: he does not cut right to the scribe line. Rather, he cuts just shy of the line and then finishes by paring with a chisel.
Why Bother?
Plenty of folks will wonder to themselves-or in the comments section below-what’s the point? Phil finds that he’s able to pare more accurately and doesn’t have to worry about blowout at all. At the end of the day, most folks will choose to simply cut to their scribe lines but Phil’s technique allows us to break out our beloved chisels and do things a bit more slowly, and deliberately. This technique is essentially a vestige of a bygone era when tenons were always cut by hand. It may be an anachronism, but it’s a technique which-when executed by a pro-is a beauty to behold.




Comments
I also use the same technique when time permits; which at times can be a challenge. But sneaking up on the quality of fit says alot about time honored techniques.
Photos 4 and 6 really don't do Phil's work justice.
I agree with Bob. Could it be that the photos are actually from the editor's workshop to illustrate the technique? Also, It looks like the dado blade needs some shapening.
Nevertheless, The method is well suited to combine speed of execution and hand tools workmanship. At the end of the day, amateur woodworkers take their pride in quality hand tools workmanship. There is always the option of precut furniture (IKEA) to save time.
Bob, you must mean photos 5 and.6.
Phil's not using a dado blade. Photo 4 shows a saw blade, and Phil makes that point in the write up.
Over the years I have tried to align my power tools yo pinpoint accuracy so as to be able to make simple joints without resorting to hand tools. For me it almost never results in a precise crisp joint that satisfies me. So I rely on a saw and a chisel, rabbet plane and shoulder plane for most every operation. There
Is only one imperative that was not mentioned. Very sharp tools are required. What is very sharp? It is sharp enough to do the task. So skip the foolish terms such as scary sharp and hone your edges so they slice cleanly, easily and leave a polished surface in the end grain. I call that sharp enough. You can call it what you can call it whatever you like.
I also noticed (how could it be missed) that the cuts with the tablesaw are horrible. Whether it's the editor or Phil, he needs to either clean that blade or get it sharpened.
That said, with this technique you can use a crappy blade to make your rough cuts, since your chisel provides the final surface.
Also, why bother providing a link to a supposedly large picture, which displays small. It's 2013 (though this could have been said years ago); what's with this websites aversion to large pictures?
There is no mention of it, but I learned the advantage of making a slight back cut on the shoulders as a way to yield a tighter fit. I imagine Phil knows of this, but maybe doesn't endorse it.
Although not really the point of the post, The photos are not Phil. They must be the editors.
After its practiced, the technique is not really all that slow. You have to figure in the time to dial in your saw cuts. And sometimes you have to factor in the do-over when a machine eats your furniture part!
Try comparing the techniques from the point you mark out to where you push the joint in the mortise. When you factor in dialing in the saw cuts on the machine, you might be surprised at the result.
Roughing out cuts on machines and then tweaking them at the bench with hand tools can be a very effective approach to high quality work. You don't have to slave over your machines and setups and the accuracy you can get after a little practice is amazing. But you gotta learn to sharpen an edge tool!
Log in or create an account to post a comment.
Sign up Log in