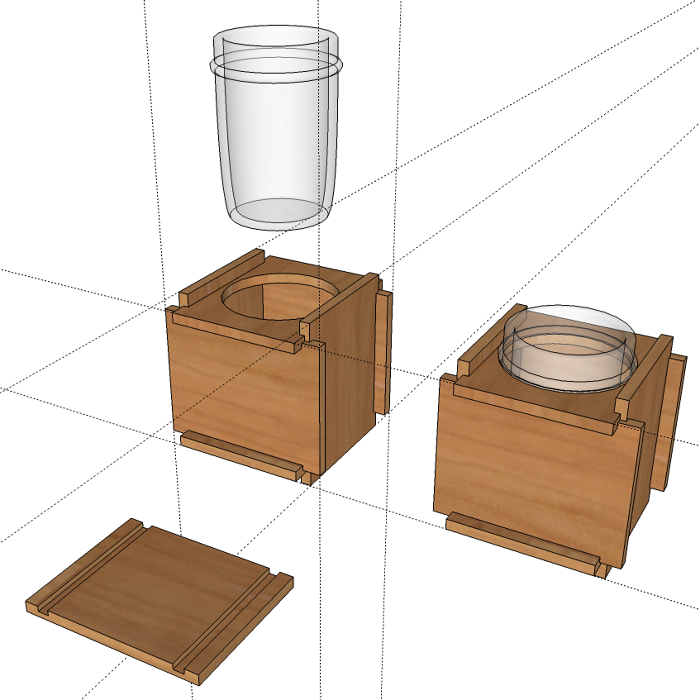
Earlier this week I had an e-mail conversation with a friend and long time SketchUp user. We were talking about resizing his model or rather part of it. We started out talking about the Scale tool which does it but I mentioned that it can also be done with the Tape Measure tool. Despite his years of using SketchUp, he wasn’t aware of this particular feature of the tool. Maybe this is not as well know as I had thought.
The common uses of the Tape Measure tool are to measure distances in SketchUp and to place guidelines. I probably use the latter more than the former in my drawing work. Guidelines are like pencil lines drawn on a board or chalk lines snapped on a surface. One of the things that can be very useful is that they are infinite in length so you can use them to extend a reference from another part of the model.
Guidelines a created by clicking with the Tape Measure on a line, e.g. edges, axis lines or other guidelines. These lines will always be parallel to the reference lines. That can also be useful information. You can place them precisely by typing the desired distance from the reference line.
You can also place guide points using the Tape Measure tool. To do this you’ll click on a point, e.g. the origin, and intersection, a corner or an endpoint of an edge, and then click where you want the guide point to be. Guide points can be located by typing the distance from the reference point. You can also locate with either absolute or relative coordinates. Absolute coordinates are based on the origin being at 0,0,0. To enter them type the coordinates inside square brackets as in [3,4,6] which indicates 3 inches down the solid red axis, 4 inches down the solid green axis and 6 inches up the solid blue axis. For relative coordinates type them inside less than and greater than symbols as . The same orientation applies but now this is relative to the reference point instead of the origin.
The other use for the Tape Measure tool is resizing the model or part of it. If you measure a distance between two points clicking on each point, you can type a desired distance and SketchUp will resize the model so that length measures the distance you’ve typed. this is a scaling operation and it affects all of the dimensions. If you open a group or component before measuring, you’ll be able to resize only that active group or component. I use this frequently for adjusting polygons when I want to define the length of a side.
The yellow Protractor tool is similar to the Tape Measure in that it can create guidelines and measure angles but it is used for creating guidelines at an angle to a reference line. When placing angled guidelines you can type either an angle in degrees or a pitch. If you type something like 75 and hit enter, you’ll place the guideline at an angle of 75 degrees. You can type a pitch such as 1:9 or 4:12 instead.
Sometimes you might want to draw finite length guidelines like you would use the Line tool. The Tape Measure tool can sort of do that if you start from a point and draw guide point after guide point. There is a nicer tool for that in the Pen Tools + plugin. This plugin offers a number of different line-drawing tools. The green tool is called Guide Draw. One use for it might be to draw dashed lines to represent hidden lines in your model.
If you use guide lines when you’re modeling your model space can become quite cluttered. To prevent confusion, periodically clean up your work space. Use Edit>Delete Guides to get rid of the guidelines and points. I do this frequently enough that I have created a keyboard short cut for it.
Have you found other ways to use guidelines when you are modeling? I’d be interested to hear what they are.


Comments
Thanks Dave. Didn't know you could scale portions of a model. Useful to know.
I've upgraded to '13 pro and wanted to use "point at centre" in a circle. In previous versions you could right click on the circle and one of the options was "point at centre". Where has it been moved to now?
Keith,
Point at Center is indeed a useful tool. It has always been packed as part of the Ruby Script Examples plugin. Now instead of getting downloaded with the program, you'll get it through the Extension Warehouse. Go to Window and click on Extension Warehouse. In the top right corner of the window there'll be a search line. Type in Ruby Script Examples and you should go right to it.
While you're doing that, also get Bezier.rb.
If you install any other plugins, download fresh copies. Don't just move them from your SU8 Plugins folder. There were some changes with SU2013 that required updates to quite a number of popular plugins. The old versions of them won't work.
Thanks Dave.
I can't add to the uses for guide lines which you describe , but I would like to say that they are a terrific feature in SketchUP which I use all the time .
There is something about the quality of the lines as they appear on the screen/in the drawing which I think is fantastic
They add enormously to the quality of the drawing experience , getting close to the the actions you would perform if you were doing a drawing manually on a drawing board . I am not surprised lots of people like using SketchUp..
Thanks Dave. Relieved to have 'point-at-centre' back. Found it, all sorted. I'll reload all the plugins as well
Log in or create an account to post a comment.
Sign up Log in