Video: Template Routing Basics
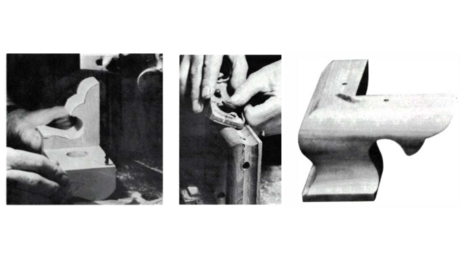
Learn how to impart smooth curves on your furniture parts with template routing tips from a furniture proWhen it comes to imparting curves onto furniture parts, you could saw to a line, and then spokeshave or sand the curves to a smooth finish, but that makes for some tedious work. Template—or pattern routing—allows a craftsman to produce one template that can be used over and over again—whether it’s for multiple parts on the same piece of furniture, or for future use when building duplicate pieces.
In this short video, Timothy Rousseau, an instructor at the Center for Furniture Craftsmanship, demonstrates his tried-and-true techniques for combining templates with his router table to produce beautiful, smooth, repeatable furniture parts.






Comments
Hey Tim, nicely done. I was wondering though where you got the additional bearing to slip over the other end to allow you to rout like that?
Many blade companies offer dual bearing pattern bits; freud, mlcs, eagle america come to mind fright off the bat.
Two points:
1) I always make the template and stock piece a few inches longer than necessary. That way, I can put screws or nails at both ends, in addition to double stick tape (the ends will eventually be cut off).
2) Whenever possible, I prefer NOT to use a router table. I prefer to use the router hand-held and climb-cut (go backwards) to insure there will be no tear-out. The last pass is always going in the right direction. Only one bearing needed, and no need to change the depth of the bit, either. This does take skill, however--taking care to NOT tipping the router and screwing up your piece!
I second the question about the extra bearing. Also, what kind of tape do you use and where do you get it?
Log in or create an account to post a comment.
Sign up Log in