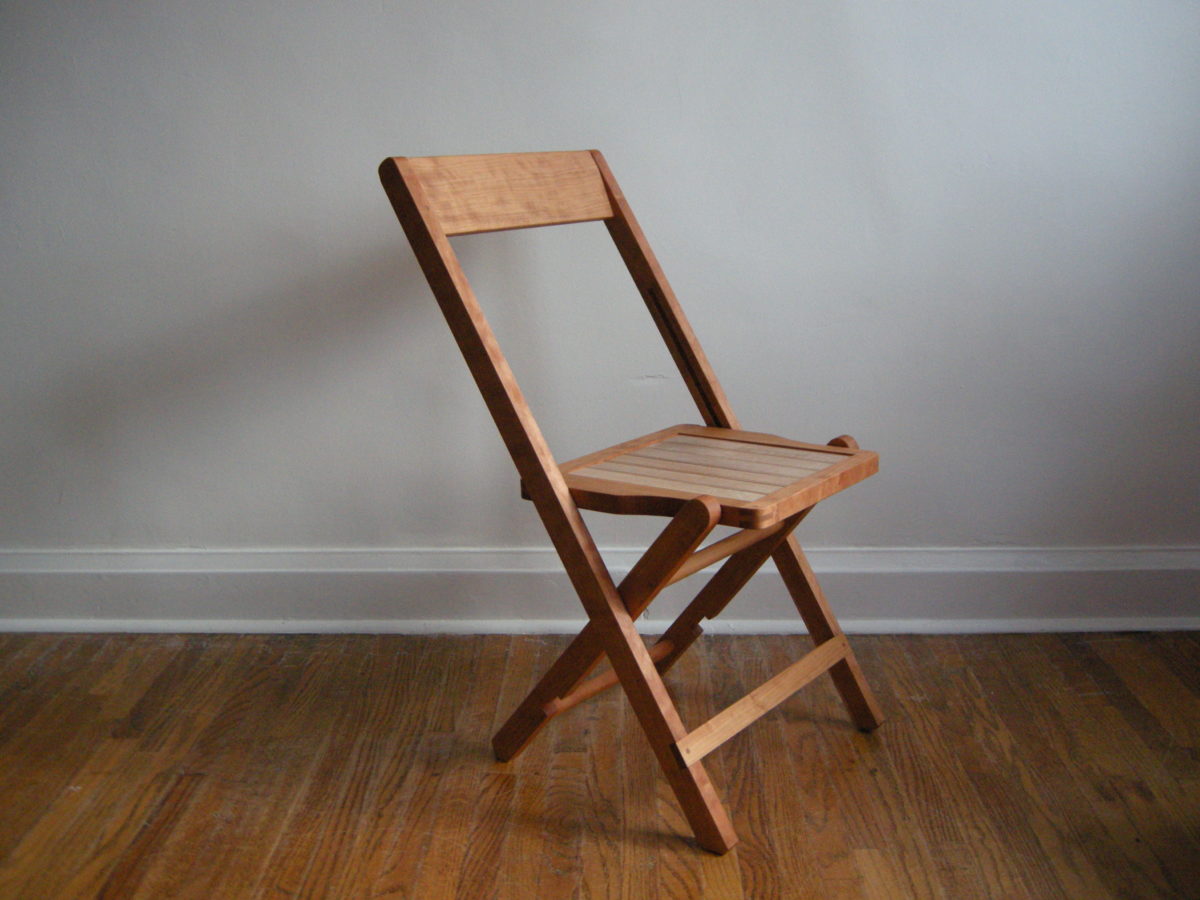
The Funeral Chair Part One: Assembling the Cut List.
The Funeral Chair
part one: assembling the cut list.
Well at long last, I’m pleased to bring you the first video installment from my new book, The Unplugged Woodshop – Hand Crafted Projects for the Home and Workshop
If you haven’t picked up a copy yet, you really should before starting this video series. The video’s aren’t meant as ‘stand alone’, how-to video’s, but more a companion to the book.
The book gives you step-by-step instruction with detailed building plans and illustrations and probably the most important part- a cut list. Tips and techniques are clearly described and together with these videos, you’ll be able to tackle the projects with confidence and clarity. That said, let’s begin.
REFERENCE PAGES AND MATERIALS
Part one of the Funeral Chair video series is assembling the cut list. Now before you hit the play button, read through pages 27 to 31. Have a close look at the illustrations and take note of the joinery and the cut list. You’ll only need about 4 board feet of 4/4 material which is one of the best things about this design. The longest parts are the back legs at 36-in. so you really won’t need much by way of material and it shouldn’t take you too long to assemble your cut list.
I’ve built three versions of this chair so far, all with slight variations in wood species and shaping the parts. That in itself is one of the best parts of hand crafted furniture- no two are ever really the same when the hand of the maker is present.
I used flat sawn cherry for the first one I built, mahogany and leather for the second, and then quarter sawn cherry with curly maple seat slats for the third. Solid walnut or ash would also be very cool and give the design an entirely different feel with a much more modern aesthetic.
When you build your own, make sure to send me an email with some pics- I’d love to see what you come up with for yours.
This example is quarter sawn cherry, and is the version you’ll see here in the video and in the book.
Speaking of the book, the first project chapter you’ll find is the Sawyer’s Bench and believe me, if you plan on tackling any of these furniture projects, then it’s a great project to start with. It makes the process of breaking down stock and assembling the cut list much easier and more enjoyable. It was the first thing I made when I started the book back in November of 2011 and I really couldn’t have made the rest of the projects without it- especially the Architect’s Table with it’s laminated table top!
TOOLS USED
As for the hand tools I used, you’ll see me begin by cross cutting the plank to rough length and then ripping widths for the parts. Both of these saws are vintage, 26-in. Disston D-8′s. One is filed cross-cut at 8 ppi (points per inch) and the other is a rip tooth with 5 ppi. If you’re just getting started in wood working, and thinking about purchasing only one saw to begin, go with a rip tooth pattern. It’ll work for your cross cutting needs but may leave a slightly jagged edge. Just remember to leave a little extra waste material when you lay out the parts and you’ll be fine. Reference the cut list and clearly label everything as you go.
I usually leave about 1/4-in. of waste if my stock seems pretty stable and straight. If you’re using really rough wood, with lots of figure and/or knots, you may err on the side of caution and leave a little more waste material.
The video was filmed, edited and produced entirely by me, here at the Unplugged Woodshop. If you like it, tell a friend and share it.
Cheers!


Comments
Please note:
If the video doesn't play, try adjusting the video player settings to 720p HD. Thanks and enjoy!
The funeral chair video reminded me of the dignity and peacefulness of creating without power tools.
This is just what the doctor ordered. Just last week I put my order in
For two Diston D8's so as to retire some machinery. Funny! Where and whats the name of the books ? Im looking forward for the next video already. Nicely done. Christopher M.
Thanks for the comments folks!
Christopher M.-
The new book is The Unplugged Woodshop- Hand Crafted Projects for the Home and Workshop
available here at The Taunton Store.
all the best
Tom
Anyone else see the irony in a "unplugged workshop" using so much high tech electrical video equipment to put out video on the internet? Ah, the simple life...... I also get Google pop-up ads for a hospice service while watching these... hilarious! Very well done though! I do love that Mr. Fidgen resists the urge to talk on them. The videos do stand alone very well if you have a woodworking background.
Edward
How depressing!!! Who would want to make a funeral parlor chair? Good Grief!!!
I have used my wonderful 'funeral chair' for family gatherings, weddings, park excursions, and music festivals. I also use my Ford Fiesta for more than just religious celebrations. Sometimes I use it to pick up groceries and drive my kid around.
I understand why it is called a funeral chair. What I don't understand why, as a host, you would offer your guests such an uncomfortable chair, at such a distressing occasion. Why not arch the upper part of the back legs slightly forward ? This will improve seatingposition and diminish the back rest cutting in your upper back.
It can easily be done by laminating the back rests on a very simple jig.
Log in or create an account to post a comment.
Sign up Log in