In the last session, I modified the bow by tapering the end and extending the tenon through to the bottom face of the seat. In the process of making the bow, I also created the bow steam bending profile full size template.
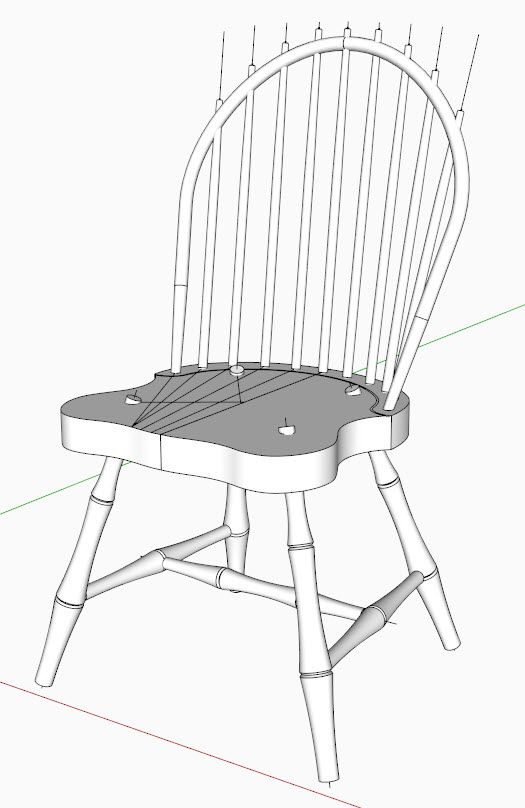
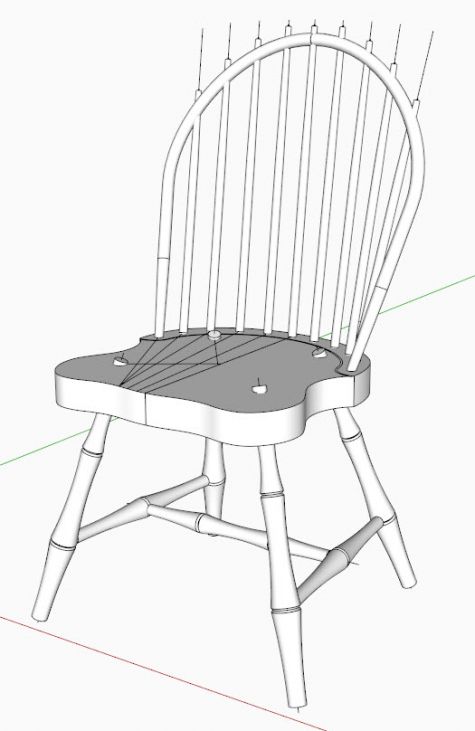
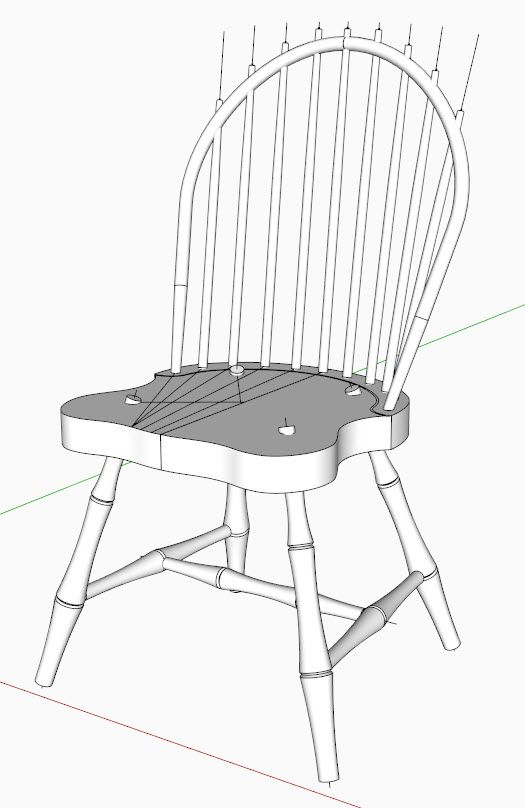
In this session and video shown below, I’ll complete the Windsor Chair by placing all the remaining spindles into proper position with respect to the bow. Here is a picture of the completed Windsor Chair model (that is, without seat sculpturing).
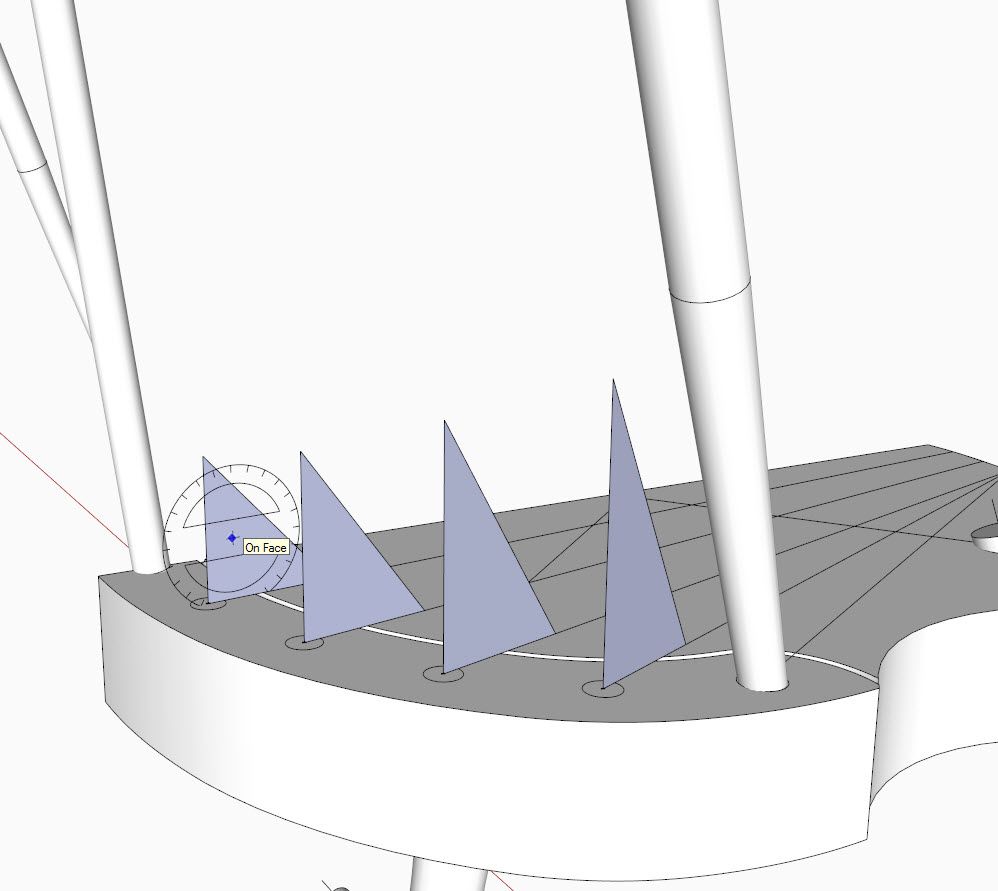
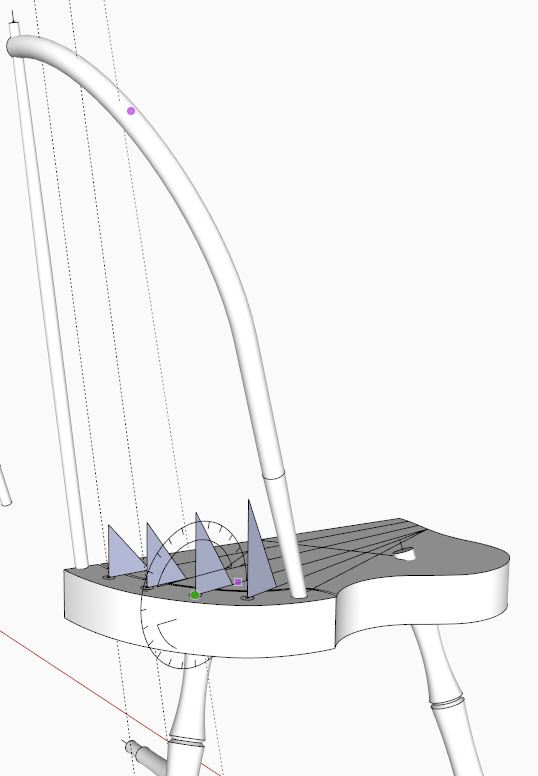
The first thing in positioning the new bows is to create the face or plane of rotation for the spindles. These reference faces are made by drawing small triangles along the sight lines and blue axis as shown here.
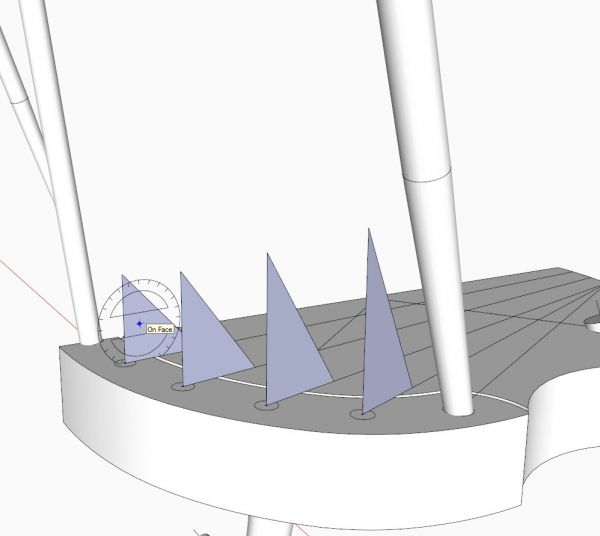
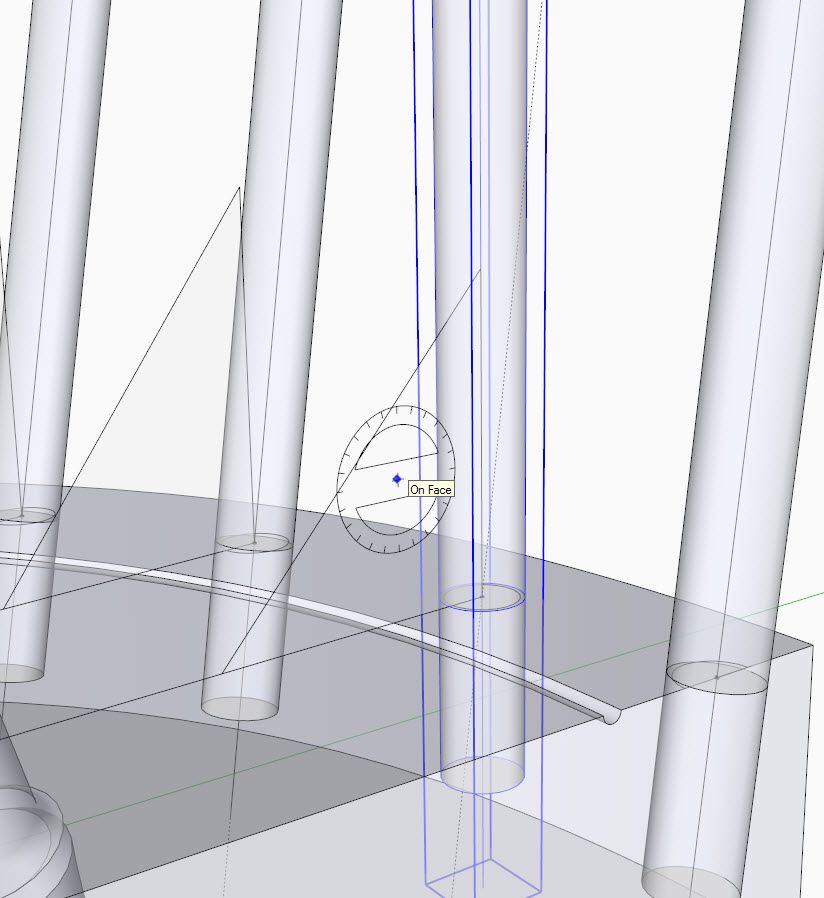
Then pick the Protractor Tool and hover over the triangle face. And raise a guideline to intersect in the center of the bow. Repeat this process for each of the spindle locations. Then do an inspection of the spindle alignment and spacing. Orbit around for a front view. Check for any adjustment required for spindle spacing.
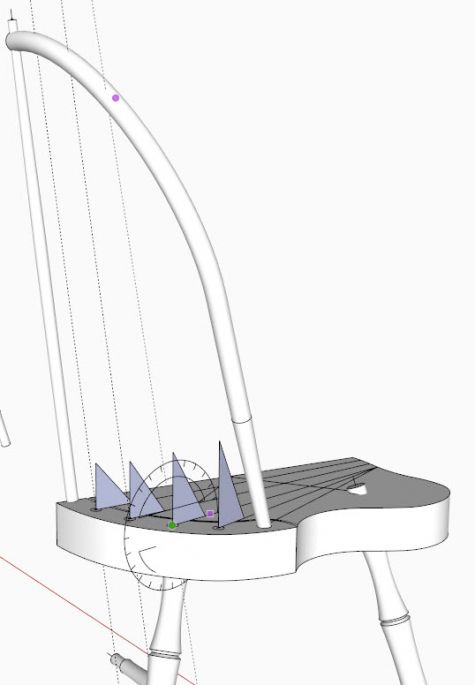
Now I can place copies of the spindle component and rotate them into place. I turn on X-ray to use the previous guidepoint to precisely connect to the seat. Copy the spindle over to the other sockets on the seat. All of these spindle copies are positioned in alignment with the Blue axis.
To rotate them into the bow, select the spindle and pick the Rotate tool. Hover over the triangle face and hold the Shift Key. Click at the center of rotation, then click again at the endpoint of the centerline. Rotate over to the guideline and click to stop the rotation.
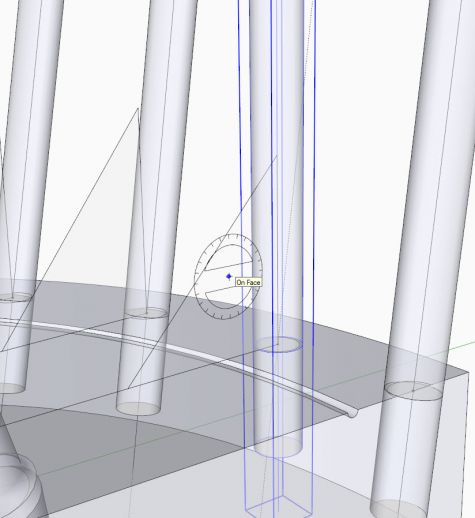
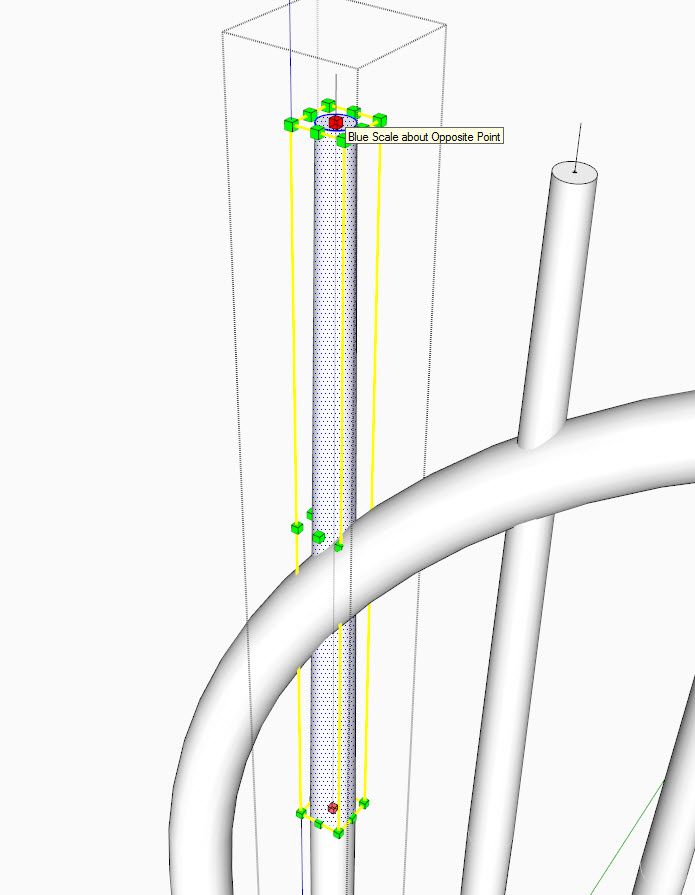
You’ve probably noticed that I’ve used one spindle component (full length) for all locations. Obviously this creates some excessively long spindles. We can create additional spindle lengths by using the Scale Tool. Also, be sure to select Make Unique so that each spindle becomes a separate component definition.
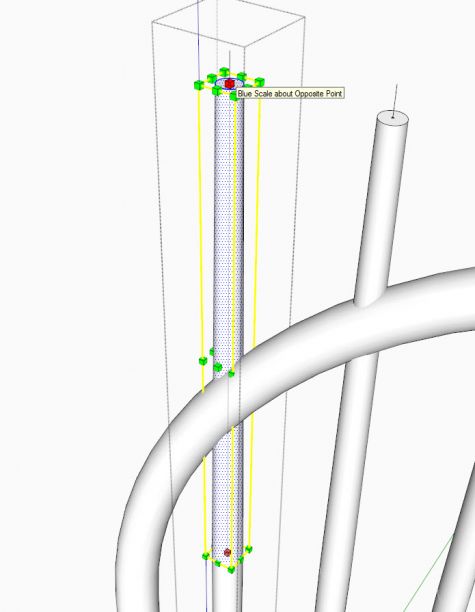
One more thing needs to be checked – the actual as-built angles for the spindles. I suspect they are a degree or so off of those specified in the Magazine article.
It’s taken about 8 blogs or 16 weeks to demonstrate SketchUp for the Windsor Bowback. That represents about 160 minutes of video – less than 3 hours. So about 3 hours work in SketchUp gets you a model, but there is still important work in creating the dimensioned scenes that result in shop drawings and full-size templates.
https://youtube.com/watch?v=8PWaE1tPFCw%3Flist%3DUU1pIa0qnoERn5zoFytwoA_Q
Tim




Log in or create an account to post a comment.
Sign up Log in