In a recent blog post I wrote a bit about drawing chess pieces and how to go from a profile to the 3D shape. Once you’ve got a turned shape, it might be nice to make a pattern you can use at the lathe. How do you get the pattern, though? Here’s a couple of ways to do that.
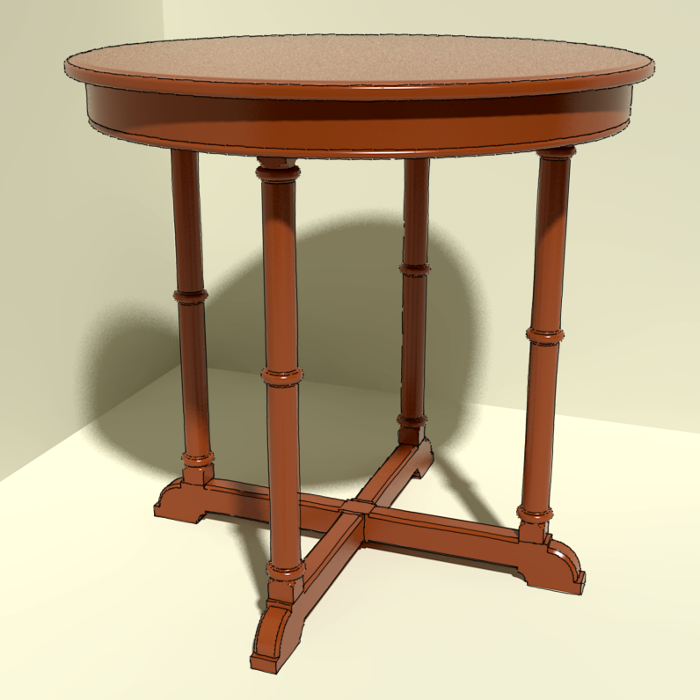
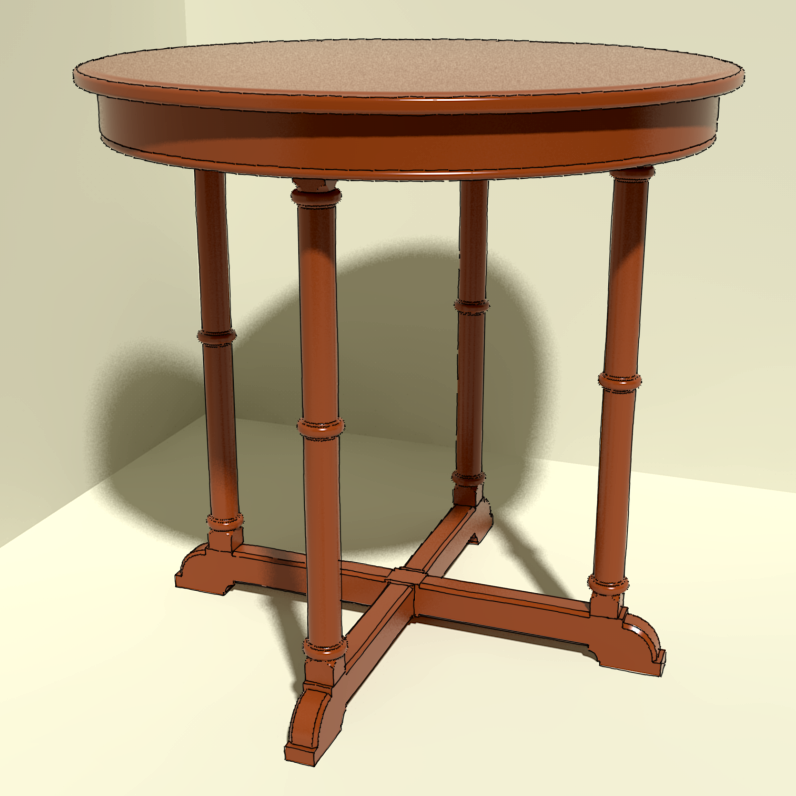
Probably the easiest way to get the pattern is to anticipate the need up front. I did that for the leg for this table. I drew the pattern to use with Follow Me, on the left, and made a component of it. Then I made a copy of the component and used Make Unique to break the relationship with the original. By doing that, I keep the original profile in the In Model components library and, when I run Follow Me on the copy, I still have that profile.
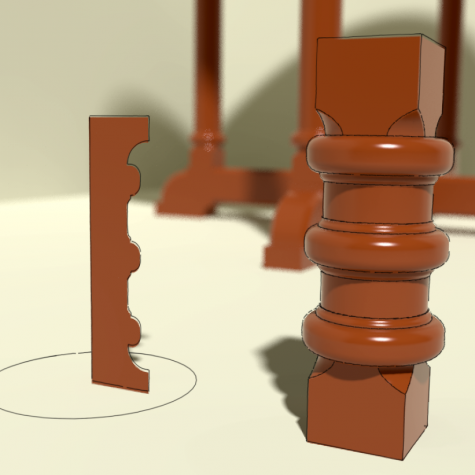
Note that I’ve drawn the profile rather short. I did that to make it easier to see and work on the whole length. Since the sections between the beads are straight, it was a simple matter of lengthing the leg afterward.
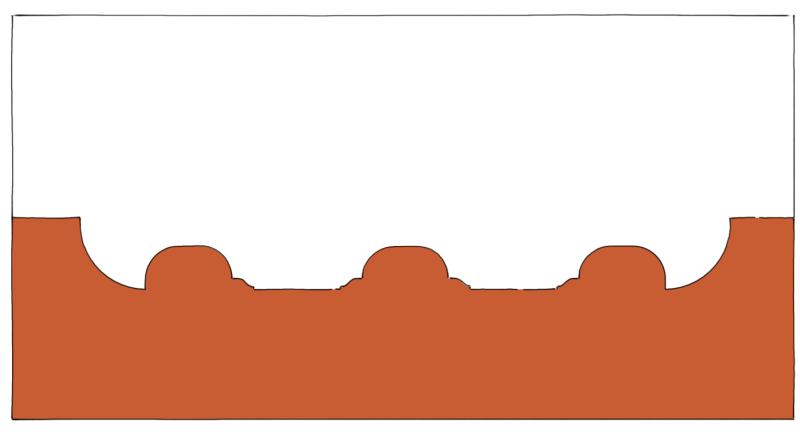
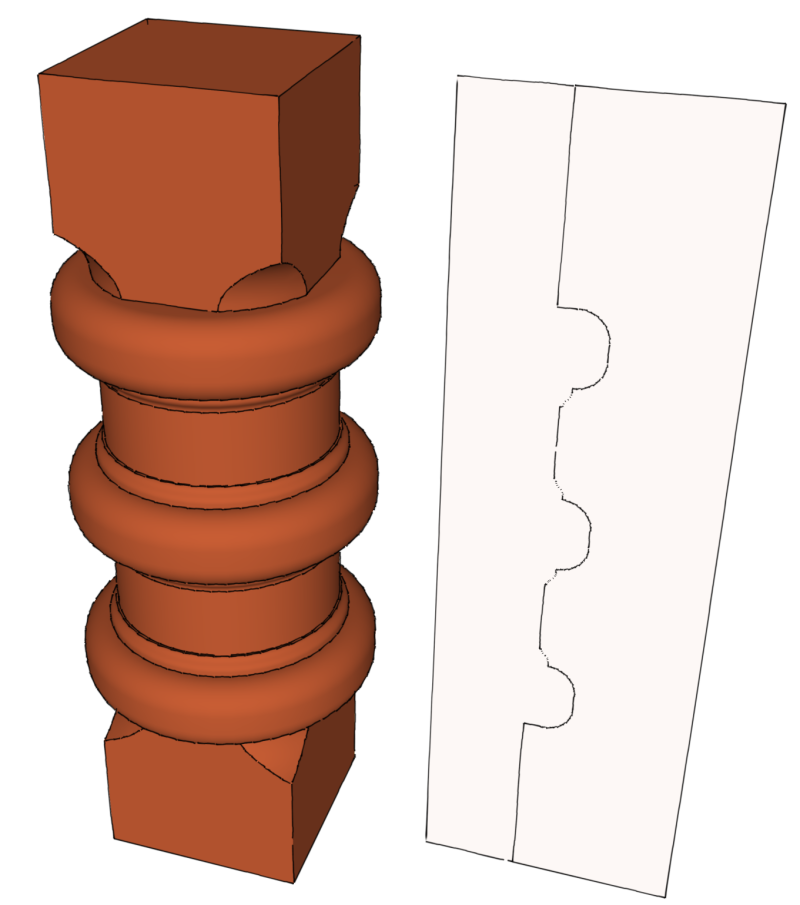
To make the pattern to use at the lathe, I want the negative version of the profile which is easy to make. I just extend the top and bottom edges of the profile and connect them to create a face outside the profile. It’s shown in light gray in this image. I rotated the profile 90° so it would more closely fit the shape of the drawing window.
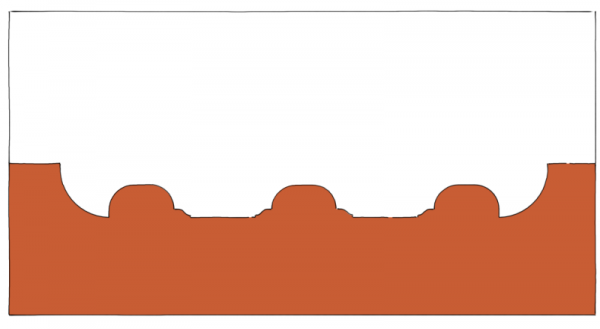
From there it’s a simple matter of erasing the edges on the positive side leaving me with the negative version of the pattern.

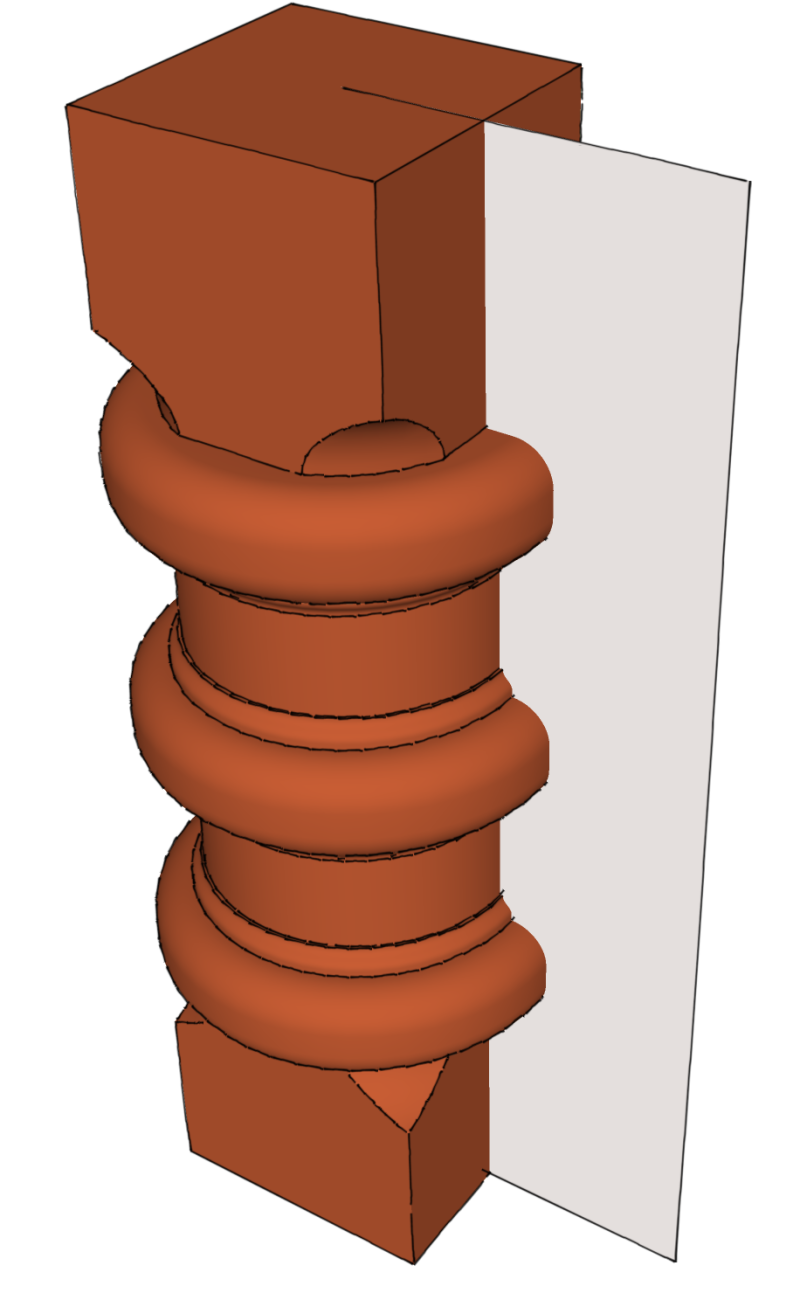
Now, suppose you weren’t anticipating the need for the pattern before you made the turned component. All is not lost. You can pry the profile out of the turning quite easily. Draw a rectangle on the centerline of the turning as below. Make sure the rectangle is outside of the component.
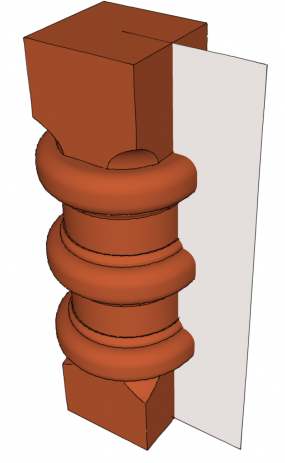
Then select the face of the rectangle, right click and choose Intersect Faces>With Model. After the intersection completes, you can move the rectangle out of the turning, erase the unneeded parts and presto! You’ve got the profile.
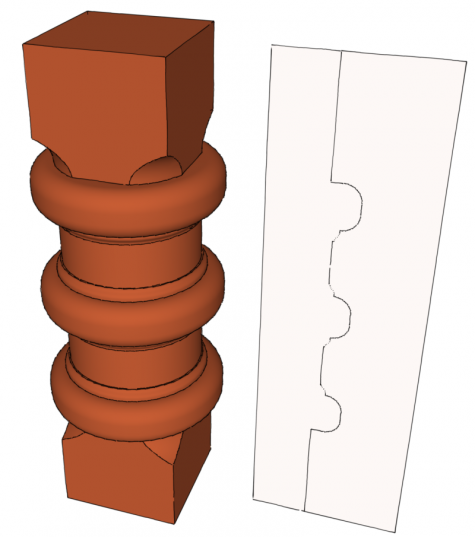
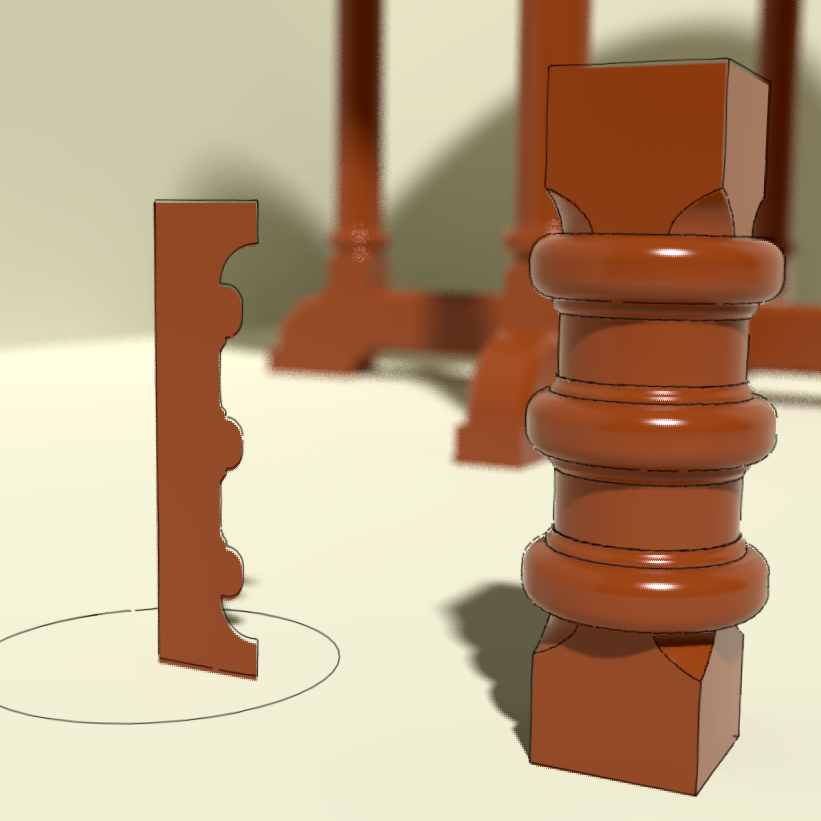
So it’s easy enough to get the pattern drawn but how do we make it usable at the lathe? Well, if you have the Pro version of SketchUp, the easiest thing to do is send the profile to LayOut and set the scale to 1:1. Make a PDF file from it and you’re ready to print.
If you don’t have the pro version, though, there are a couple of other options. One way would be to setup SketchUp to make a scaled print out. Although it isn’t difficult to do, it isn’t especially intuitive to set up. You can read about how to do print scaled drawings directly in this blog post.
An alternative method is to use a plugin called gk_Postscript_Plot which I wrote about in this blog post. Of these two options I prefer this method because it doesn’t require changing the shape of the drawing window, which, if you’re still using SketchUp 8 or earlier, can wreak havoc on the toolbar arrangment.
If you’re into the spinny stuff, try designing your turned pieces with SketchUp and see how you get along.




Comments
Good points in this post and I really like the images you created.
Log in or create an account to post a comment.
Sign up Log in