Episode 7: A Leaded Glass Panel
Videos in the Series
-
Introduction: Arts & Crafts Glass-Front CabinetNovember 1, 2013
-
Episode 1: Case Parts and MortisesNovember 1, 2013
-
Episode 2: Tenons and Cross-Member PiecesNovember 1, 2013
-
Episode 3: Case Details and Glue-UpNovember 1, 2013
-
Episode 4: Building the DrawerNovember 1, 2013
-
Episode 5: Making the Door FrameNovember 1, 2013
-
Episode 6: An Authentic FinishNovember 1, 2013
-
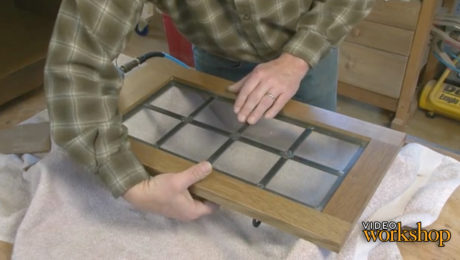
Episode 7: A Leaded Glass PanelNovember 1, 2013





Comments
Mike I like the way you work. Very precise!
An excellent tutorial! Explanations were matter of fact, detailed, and quite understandable. Thank you.
Almost 5 years ago, wow time flies! Great project Mike, enjoyed it today and 5 years ago!!! One of those timeless projects!
I agree with the three previous comments. I really like and appreciate your work and method of instructing. Hope to make a similar cabinet for my new shop.
Really good. I'm in awe of your talent, and yet you teach in a way that gives me confidence that I could actually accomplish this. Thanks especially for spending time on the finishing process. I totally stink at finishing, but I'm eager to give this a try.
Mike, another great project demonstrating the excellence in your skills and teaching ability. You really inspire. I’m going to try this one on. Hope it turns out like yours. Thanks, Randy
Excellent tutorial and design. I’ve never seen it explained before.
Went looking for Horse nails to add to my hardware hoard. Quite common, or mason's nails or cut nails would also work.
Very nice. I think I might make this piece. I just thought I would make a comment about putting patina on the lead. When you are doing this procedure pour some of the patina into another container to use. Otherwise you contaminate the patina and make it weaker. If you are doing a large project the colour will get much lighter.
Log in or create an account to post a comment.
Sign up Log in