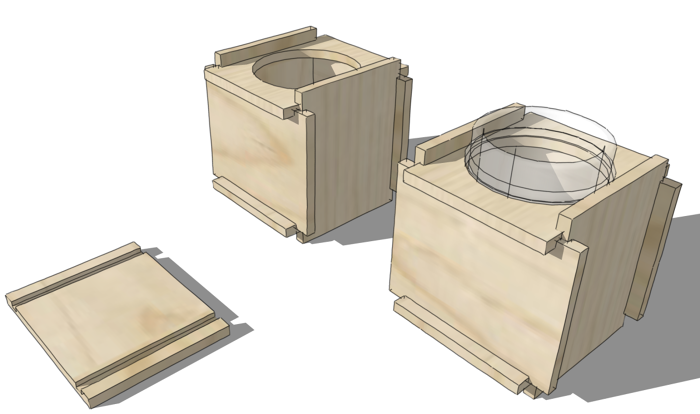
Last week I showed how to edit material images on the PC. Things are different on the Mac, though. Here’s how it works.
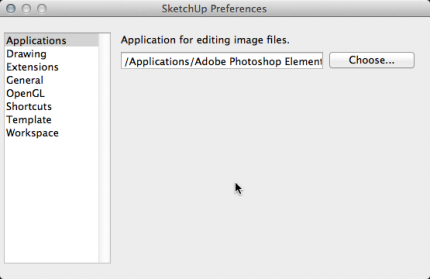
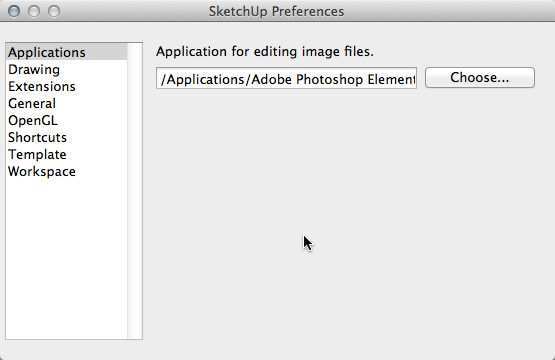
First you’ll need to tell SketchUp which app to open to edit the image file. This is done in the same way as on the PC but Preferences will be found under the SketchUp menu to the left of File. In this case I’m using Photoshop Elements.
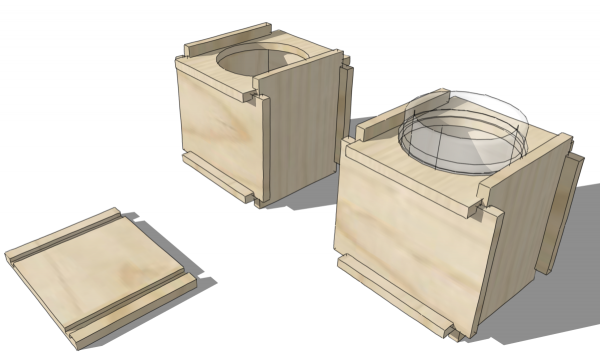
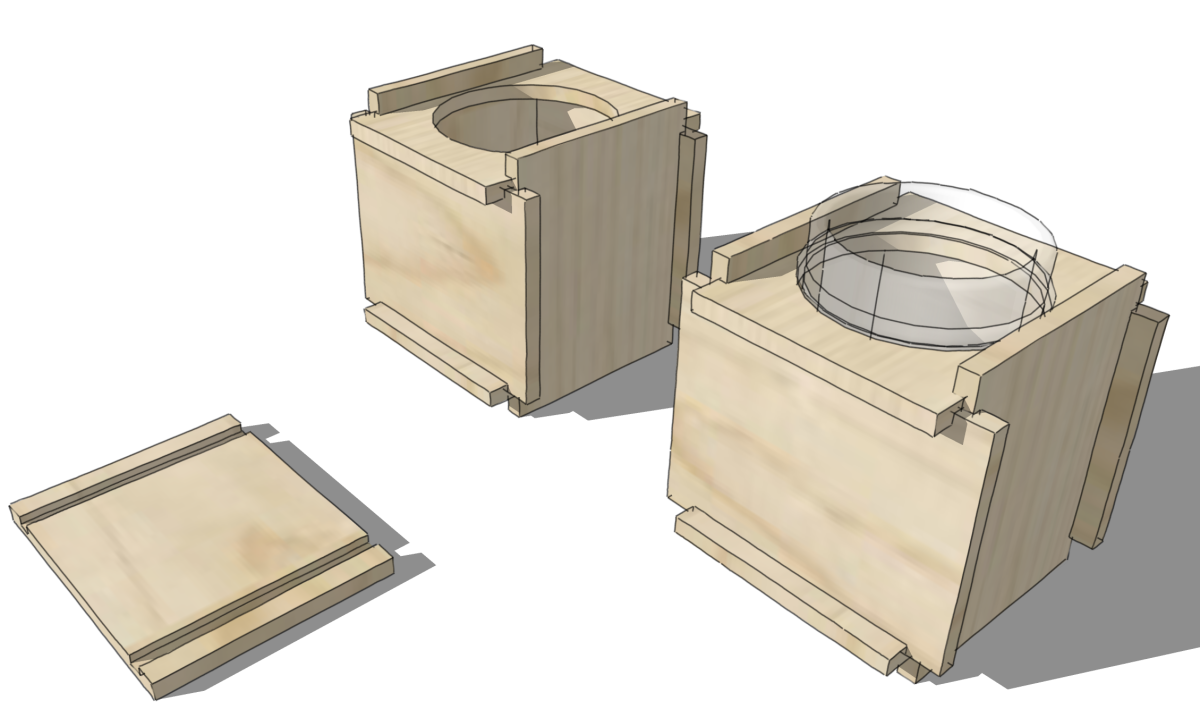
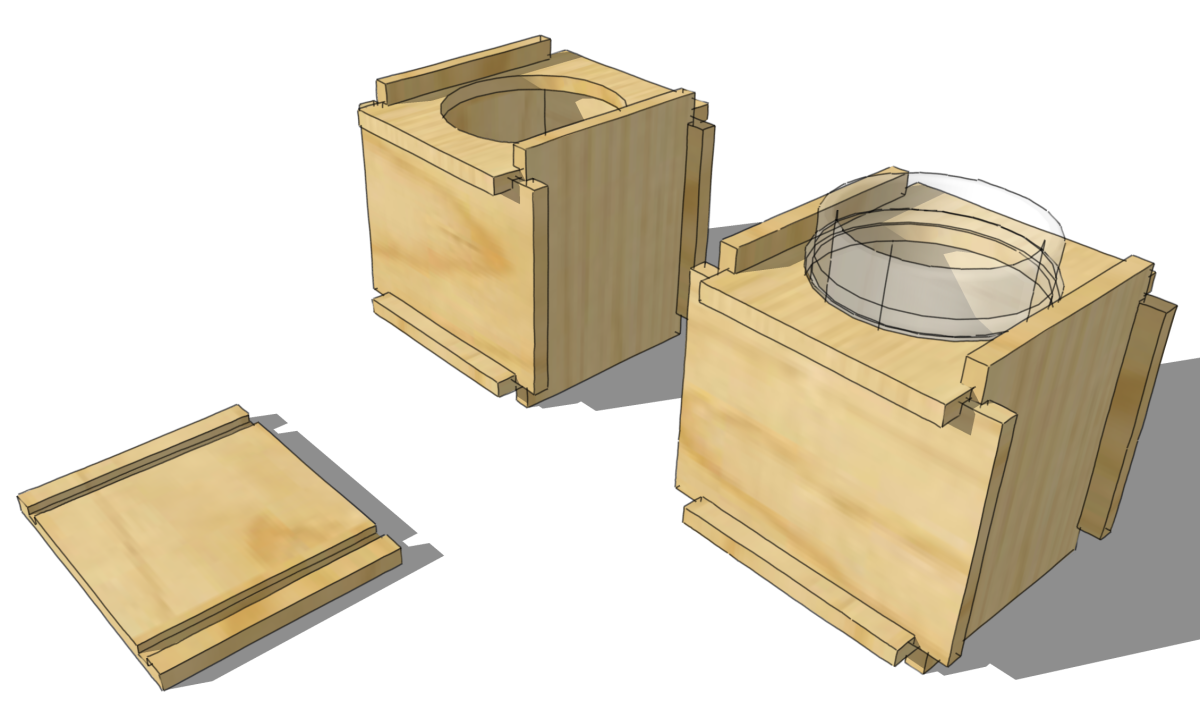
Now, with that done we can move on to editing the materials. Here I have an unfinished pine texture applied to the faces in this model. I want to add a bit of color to make it look like there’s some oil-based finish on it.
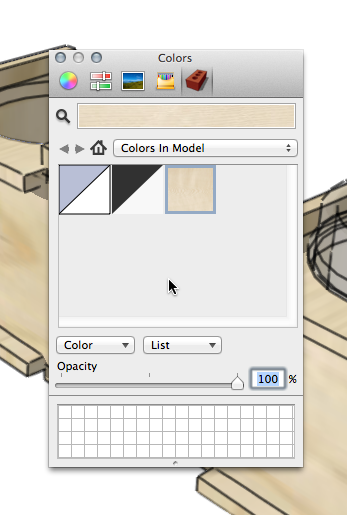
Open the Materials window by selecting it from the Window menu or by clicking on the paint brush icon in the toolbar. Then click on the house icon to go to the Colors in Model library.
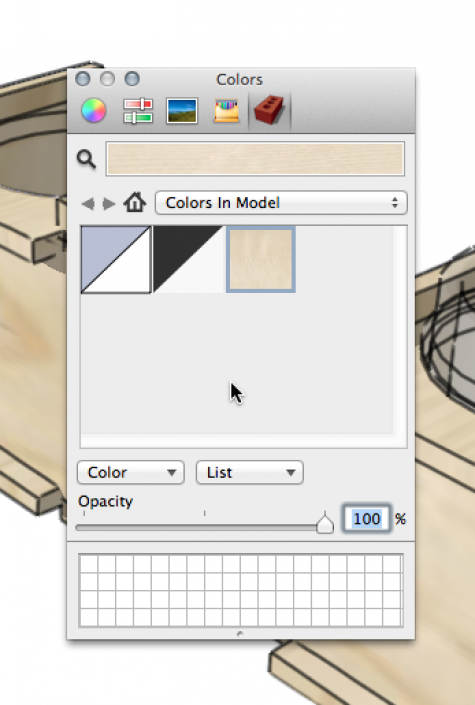
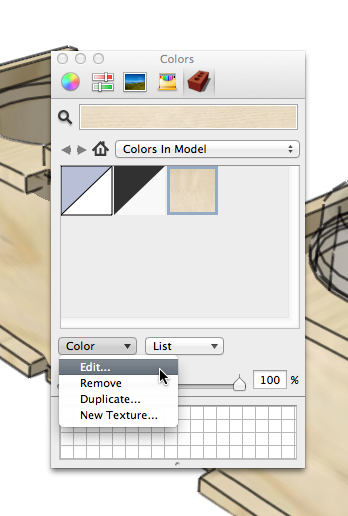
Select the material you’re interested in editing. Then either right click on the thumbnail image or the Color menu and choose Edit.
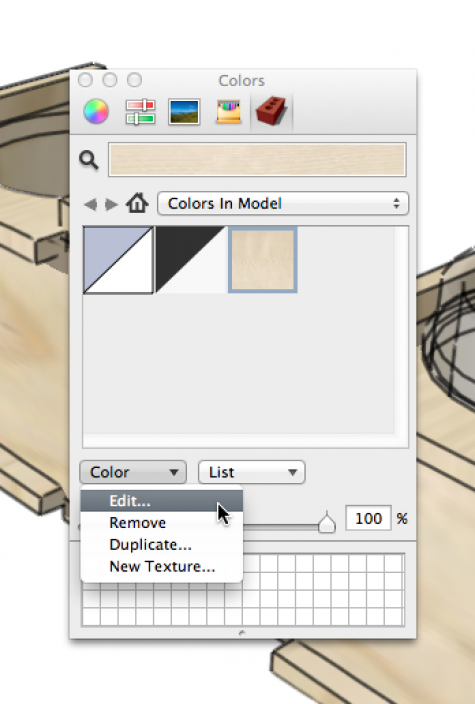
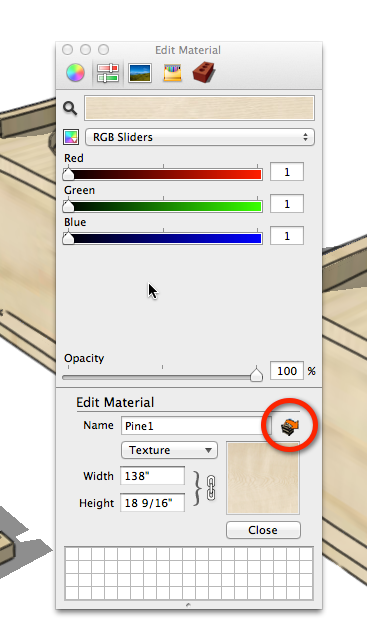
The Edit Material pane will open below the thumbnail area. If you click on the color slider button at the top, the upper pane will switch to the sliders with which you can modify the color. The controls are rather limited though.
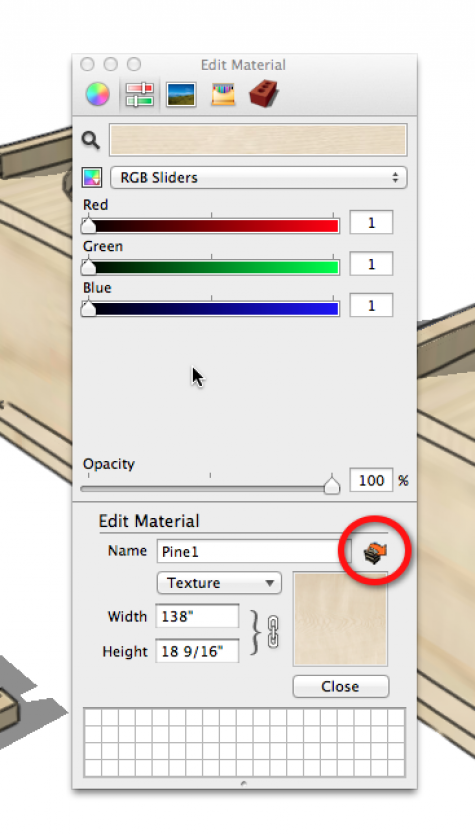
To open the image in your image editor, click on the button with the orange arrow to the right of the material’s name. I’ve circled it in red. Or you can open the image editor from the Texture menu.
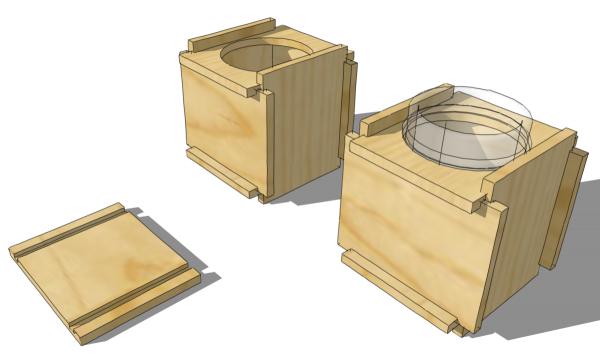
You image editor will open with the texture image. Make the desired changes and save them. When you return to SketchUp you should see those changes immediately. I wound up with this:
If you want to keep the new material for later use click on the thumbnail at the top and drag it down to the palette at the bottom. This is the grid area common to the Mac color editor. Then click on the drop down menu and change from Colors in Model to the desired destination library. Click and drag the swatch from the palette up to the materials area. This process is the same even if you don’t edit the material after creating it.




Log in or create an account to post a comment.
Sign up Log in