Bowfront Wall Cabinet
Learn 3 solid techniques for curves in one small project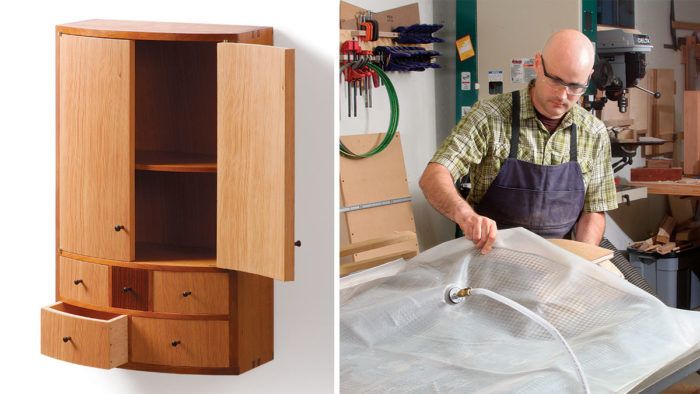
Synopsis: Add vacuum-press veneering to your woodworking skill set by building a bowfront cabinet that features a subtle curve on its flush front and a beautiful mix of cherry, Douglas fir, and cocobolo. You’ll learn how to make shop-sawn veneers for curved doors and drawers, and a few joinery tricks for making drawers with curved fronts. This wall cabinet might be small, but it’s chock-full of great techniques that open up a new world of woodworking.
Size: 6-3/4 in. deep by 12 in. wide by 20 in. tall
This little wall-hung cabinet that I built not long ago is ideal for hanging in a dining room to store small serving ware, spices, or tea. It’s also a lot of fun to build.
As a woodworking project, the cabinet is a great way to learn about curves. There are a lot of them in this piece: in the doors, in the drawer fronts, in the cabinet’s top, bottom, horizontal dividers, and shelf. Some of these curves are bandsawn and routed, some are bent in a vacuum bag, but all are shaped with great accuracy using shopmade templates, so everything lines up perfectly.
In this article, I’ll show you a combination of versatile techniques that have let me take my furniture making to another level, opening up the world of curves.
I used solid cherry and Douglas fir veneer for an understated look, but you could use different woods and more figured veneers to add your own flair.
Template routing creates the curves for the case
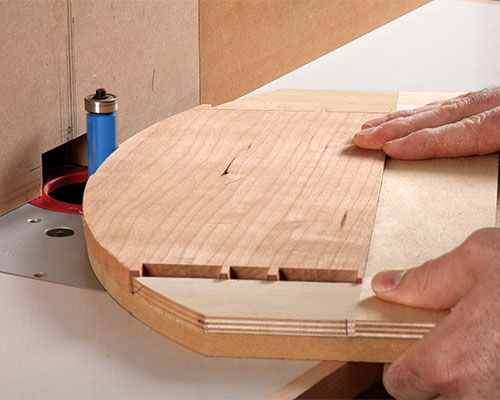
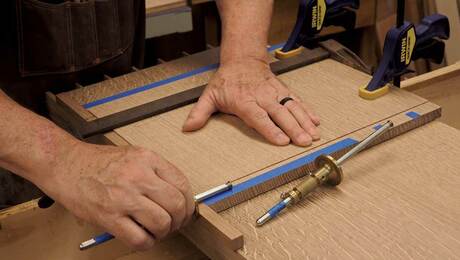
When doing curved work, it’s easier to cut the joinery while the parts are still square. I started by cutting and fitting the case dovetails and then routing the stopped dadoes for the dividers and shelf. I cut the tails at the bandsaw and routed the pins (for more on this technique, see “Half-Blind Dovetails in Half the Time,” by Stephen Hammer, FWW #219). Afterward, I turned my attention to the curves. The case has sawn curves on the front edges of its top, bottom, drawer dividers, and shelf. To create a matching curve on each, I made a pair of MDF templates that do two things: First, they provide a measured and perfectly shaped curved edge to which the workpiece can be routed flush. Second, they hold the work securely, from underneath or above, without clamps. I used the templates in conjunction with a flushtrimming bit fitted with bearings both above and below the cutter, so I could flip the template and workpiece to avoid Sawn curves for the case routing against the grain. One of the templates works for the top, bottom, and divider. The other template, with a smaller radius, is used for the shelf.
To prepare for routing, set each workpiece in the template and trace the curve, then rough out the parts on the bandsaw. Now take the template and workpieces to your router table.
For the full article, download the PDF below:
Fine Woodworking Recommended Products

Festool DF 500 Q-Set Domino Joiner
Bessey EKH Trigger Clamps
Dubuque Clamp Works Bar Clamps - 4 pack

Get the Plan
CAD-drawn plans and a cutlist for this project are available in the Fine Woodworking store.




Log in or create an account to post a comment.
Sign up Log in