A new lathe: Turnings of comfort and joy
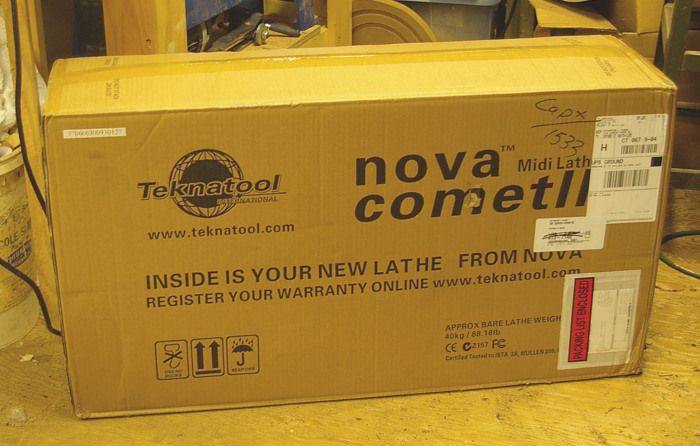
The bundle of joy.
Christmas came early for me this year. My wife Kate and I were lounging around the day after Thanksgiving, trying to recover from an overdose of turkey and stuffing. I summoned all my strength to open an email from one of the major woodworking retailers. When I saw the main Black Friday offer-a Nova Comet mini-lathe plus a chuck for $500-I sprang back to life.
So did Kate, who found an equally good deal from another retailer. She ordered the lathe and wished me a very merry Christmas.
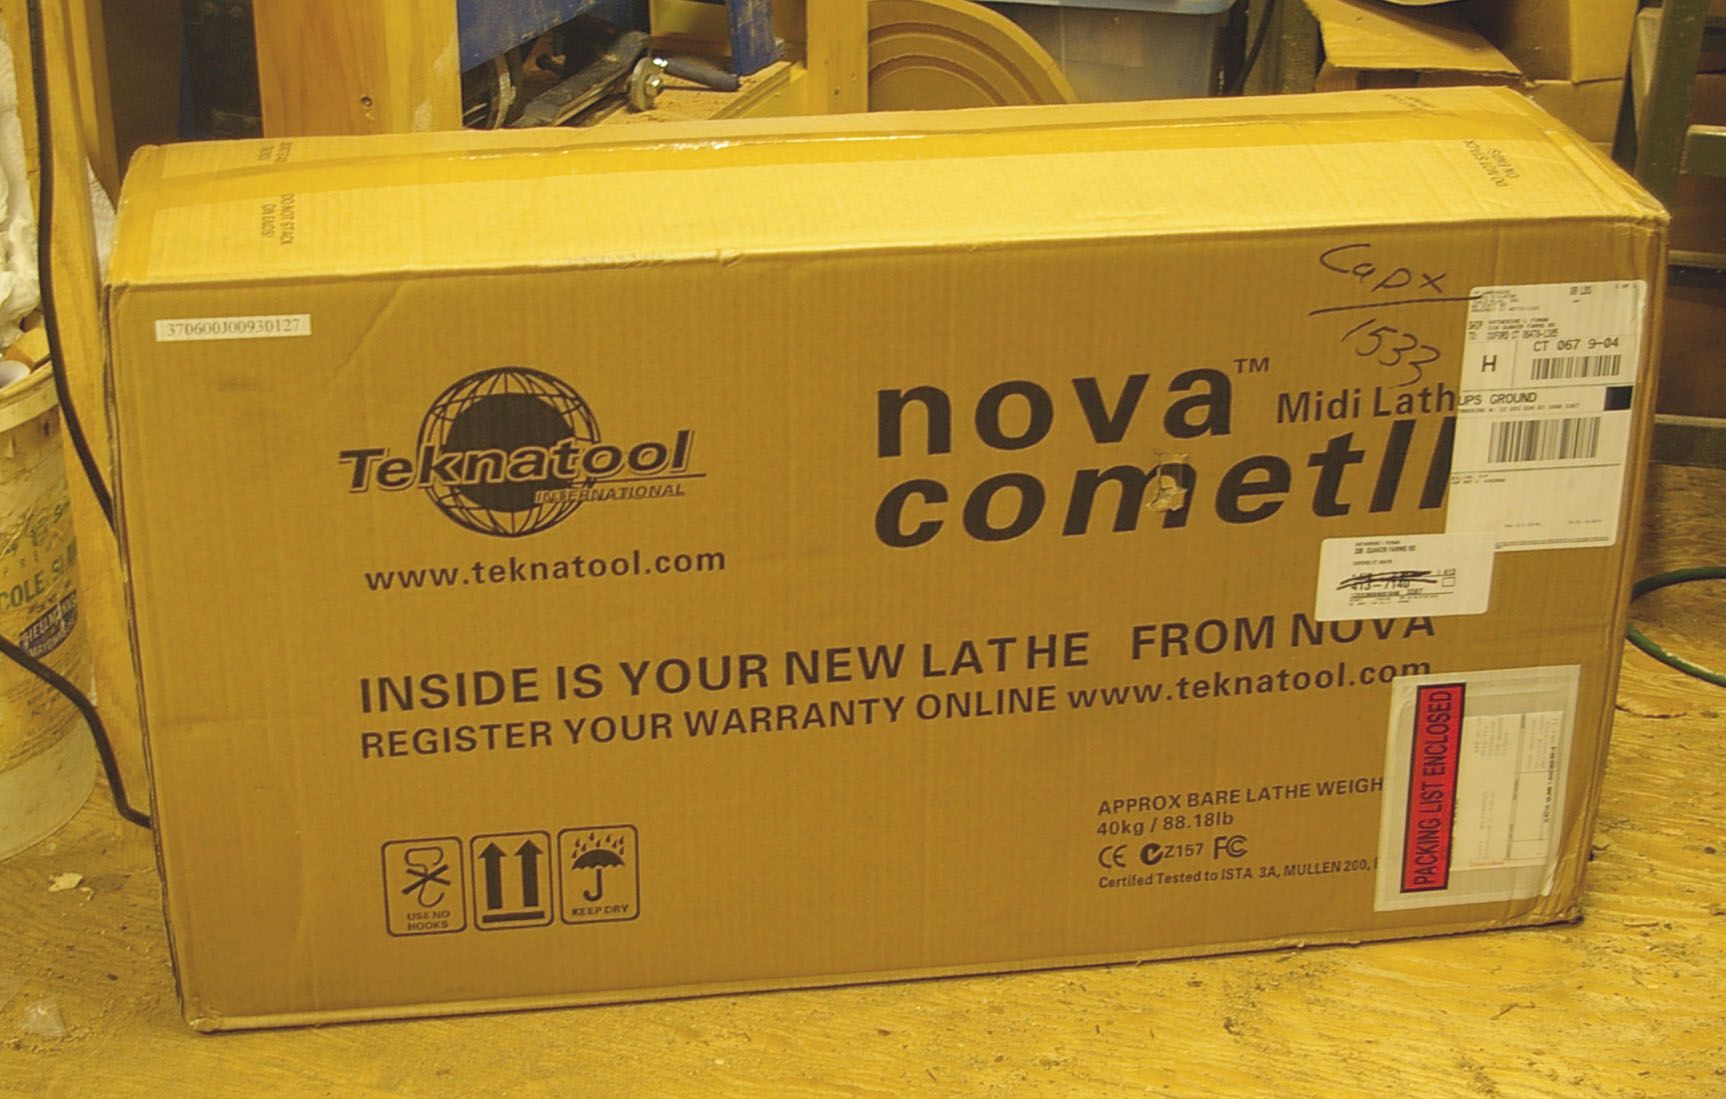
The lathe arrived four days later. It was too big to fit under the tree (which we haven’t put up yet anyway), so I hauled the box to the shop and opened my present a few weeks early.
I thought it might be useful to document the steps involved in unpacking and setting up a new lathe. Chances are, I’m not the only one getting a bundle of cast-iron joy this holiday season.
One: Read the book
Before taking anything else out of the box, find the setup instructions and read them carefully. Preview what needs to be assembled and the setup sequence. Mini-lathes like mine usually come almost fully assembled, but full-size lathes take more work. The bare-metal ways on the lathe bed may have protective gunk that needs to be removed, so have mineral spirits or degreasing solvent on hand, along with plenty of rags.
Two: Get help
This mini-lathe tips the scales at close to 90 lb. That’s the upper limit of what I can hoist to bench height single-handed. Full-size lathes weigh several hundred pounds. So unless you’re a weight-lifter or have a shop with a chain hoist, get some help to move the heavy parts.
Three: Put it together
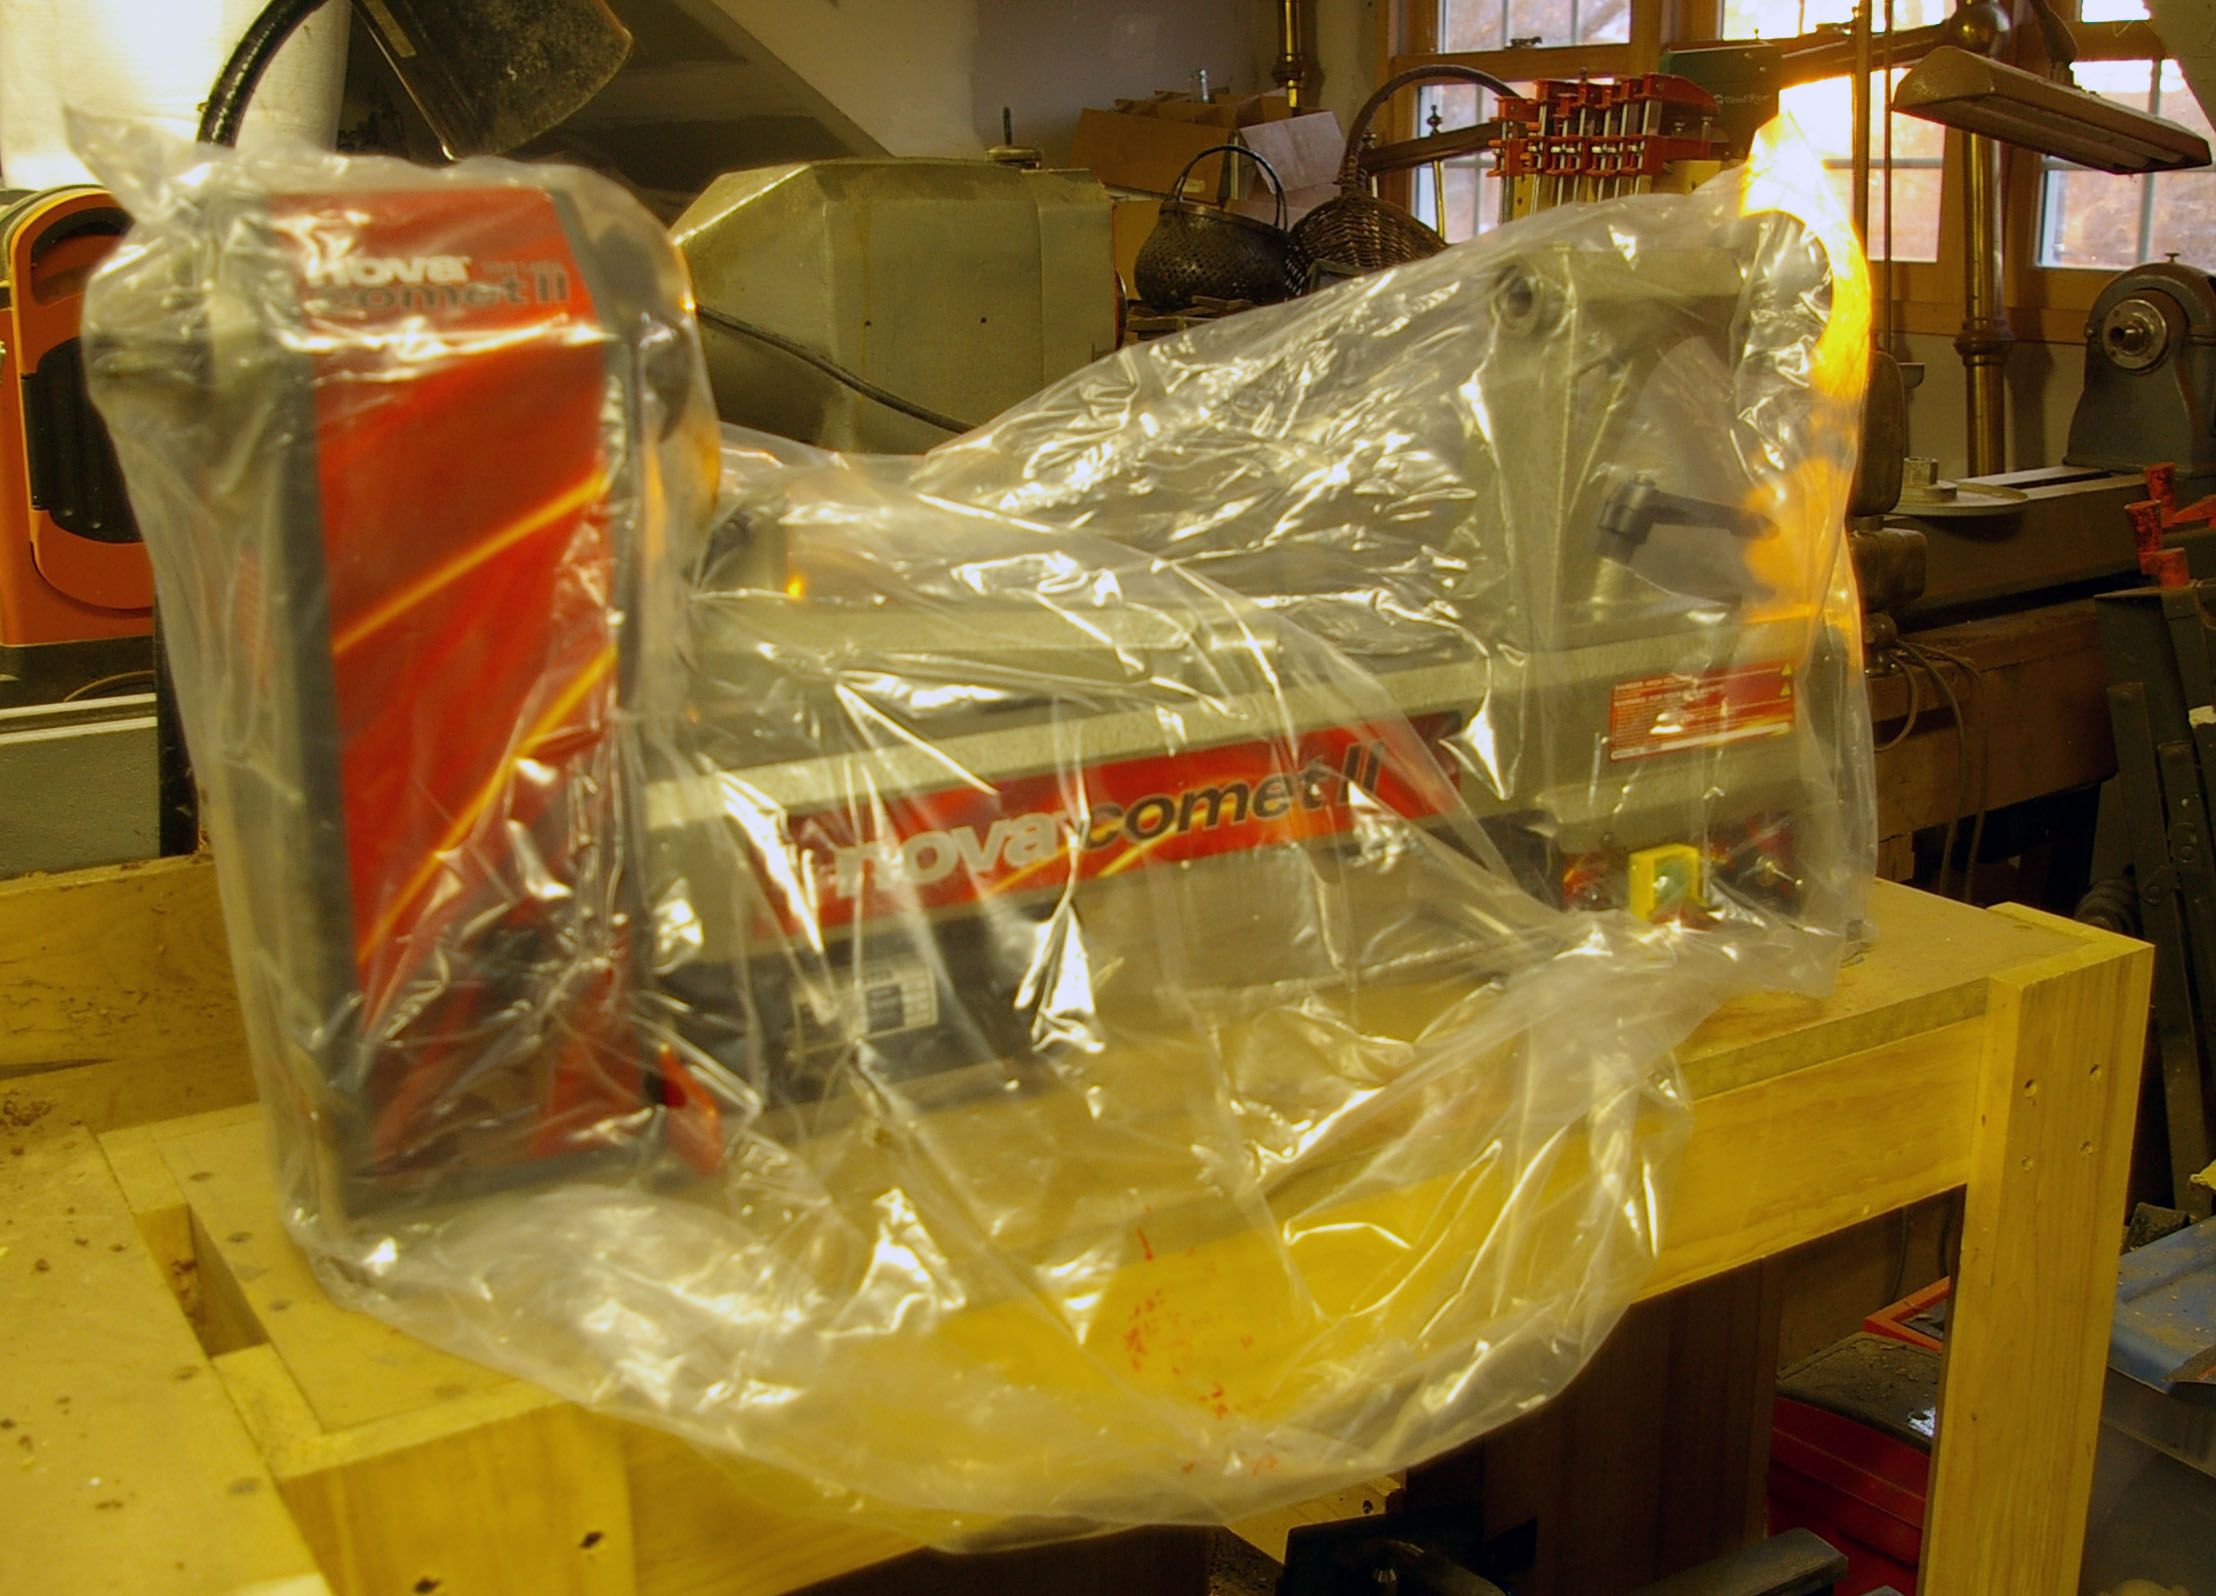
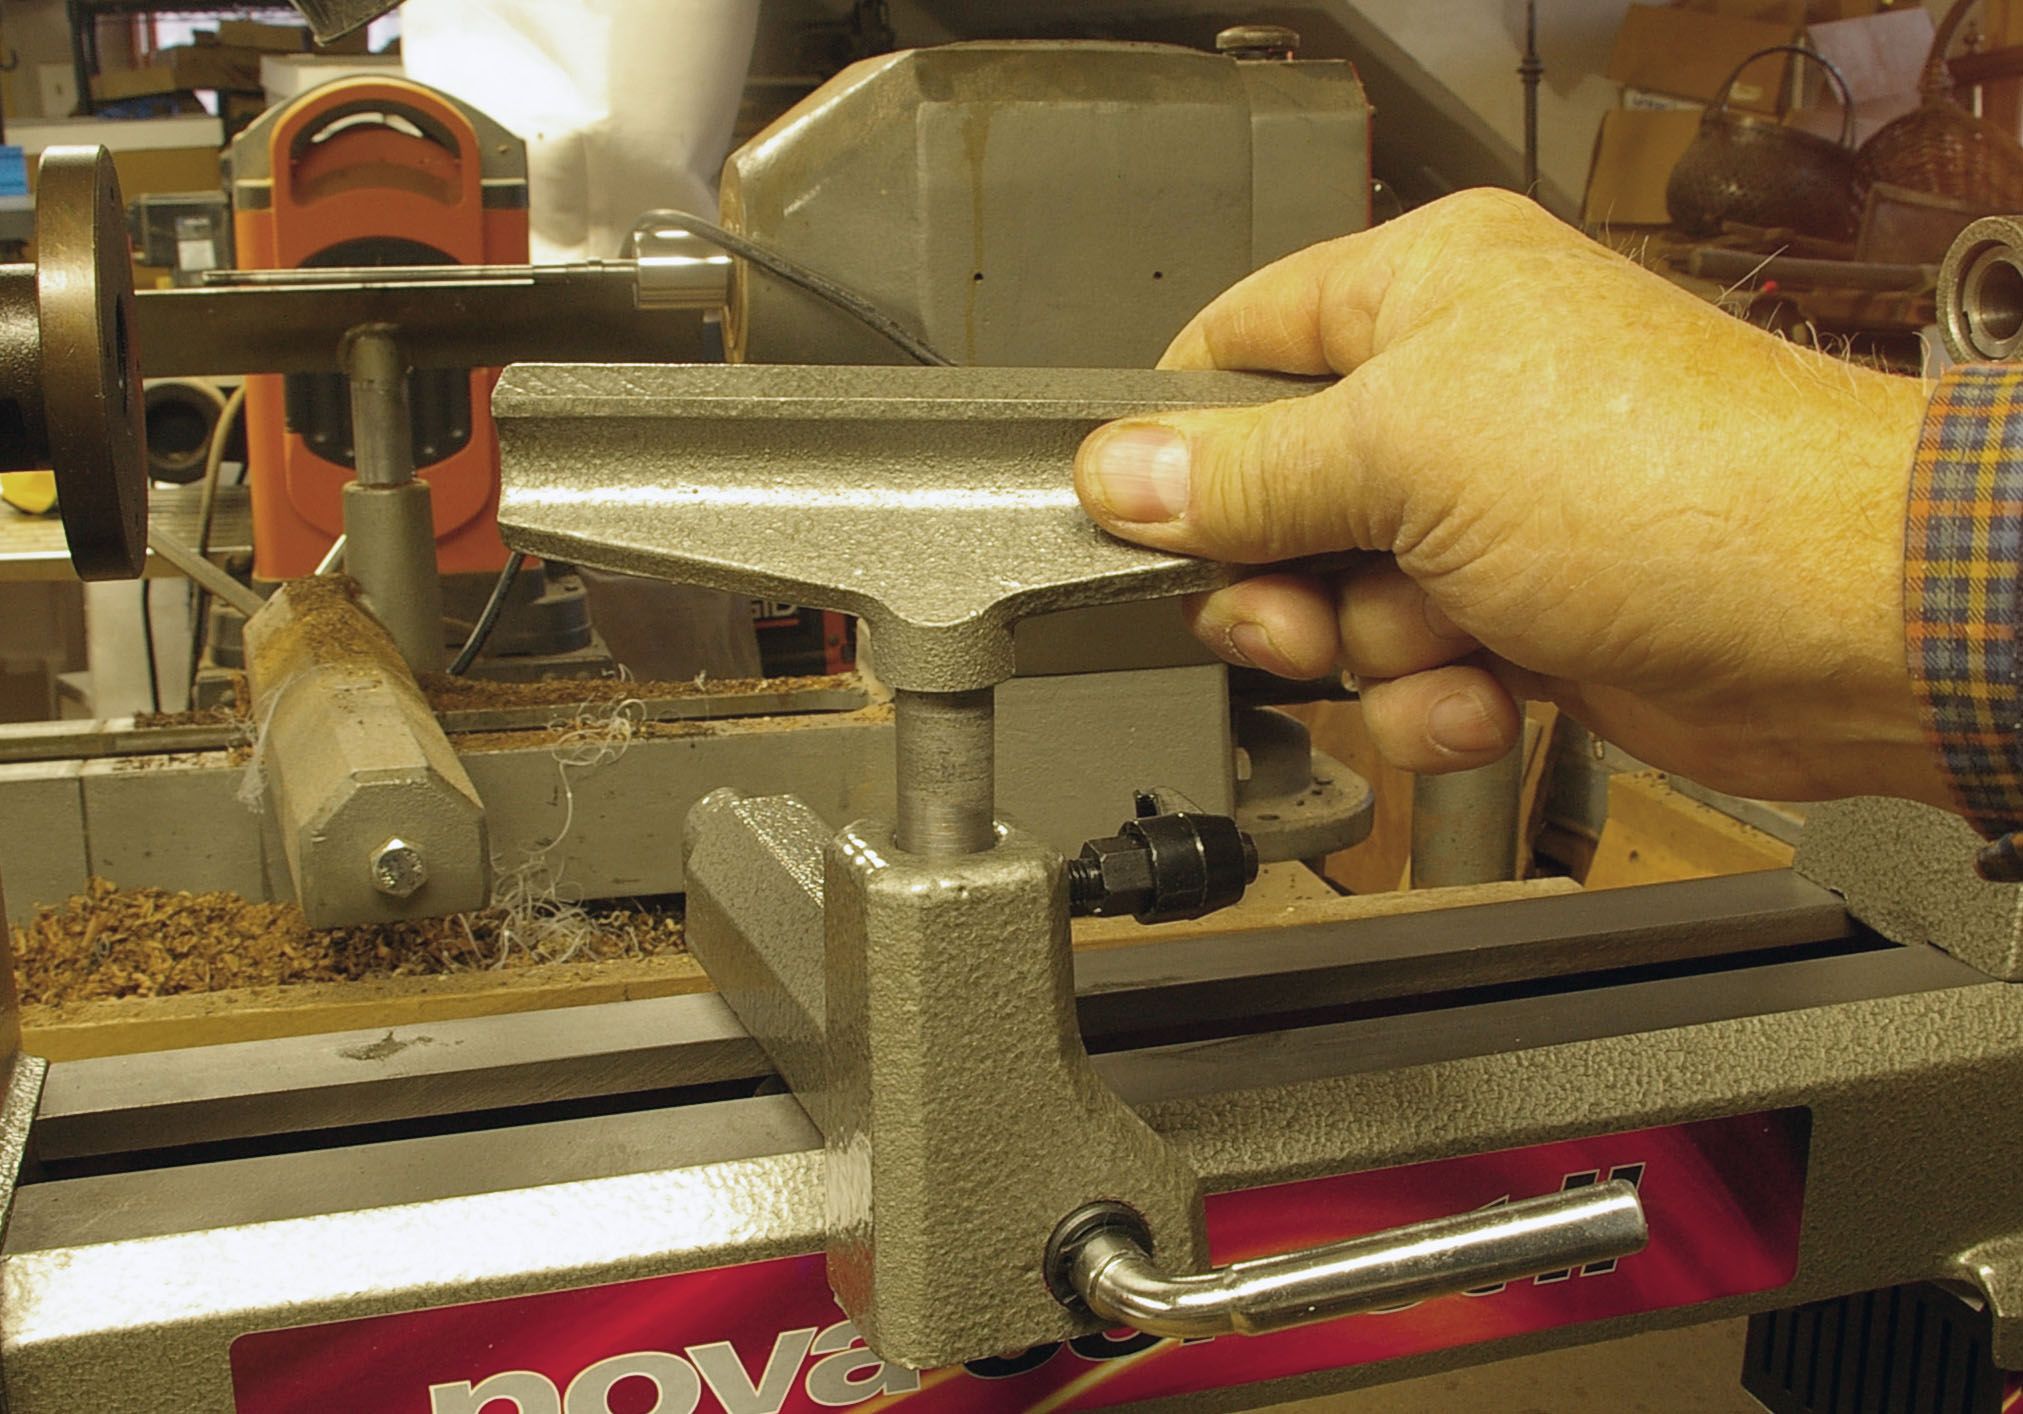
All I had to do was remove the plastic packing, thread on a couple of locking levers, screw a handle to the tailstock wheel, and slide the toolrest into its socket. It took me longer to extract the little parts from their bubble-wrapped packages than it did to fit them in place.
Bolt the lathe tightly to its bench or stand to minimize vibration and keep it from rocking. If need be, stack bags of play sand on the base to add ballast.
Four: Check the alignment
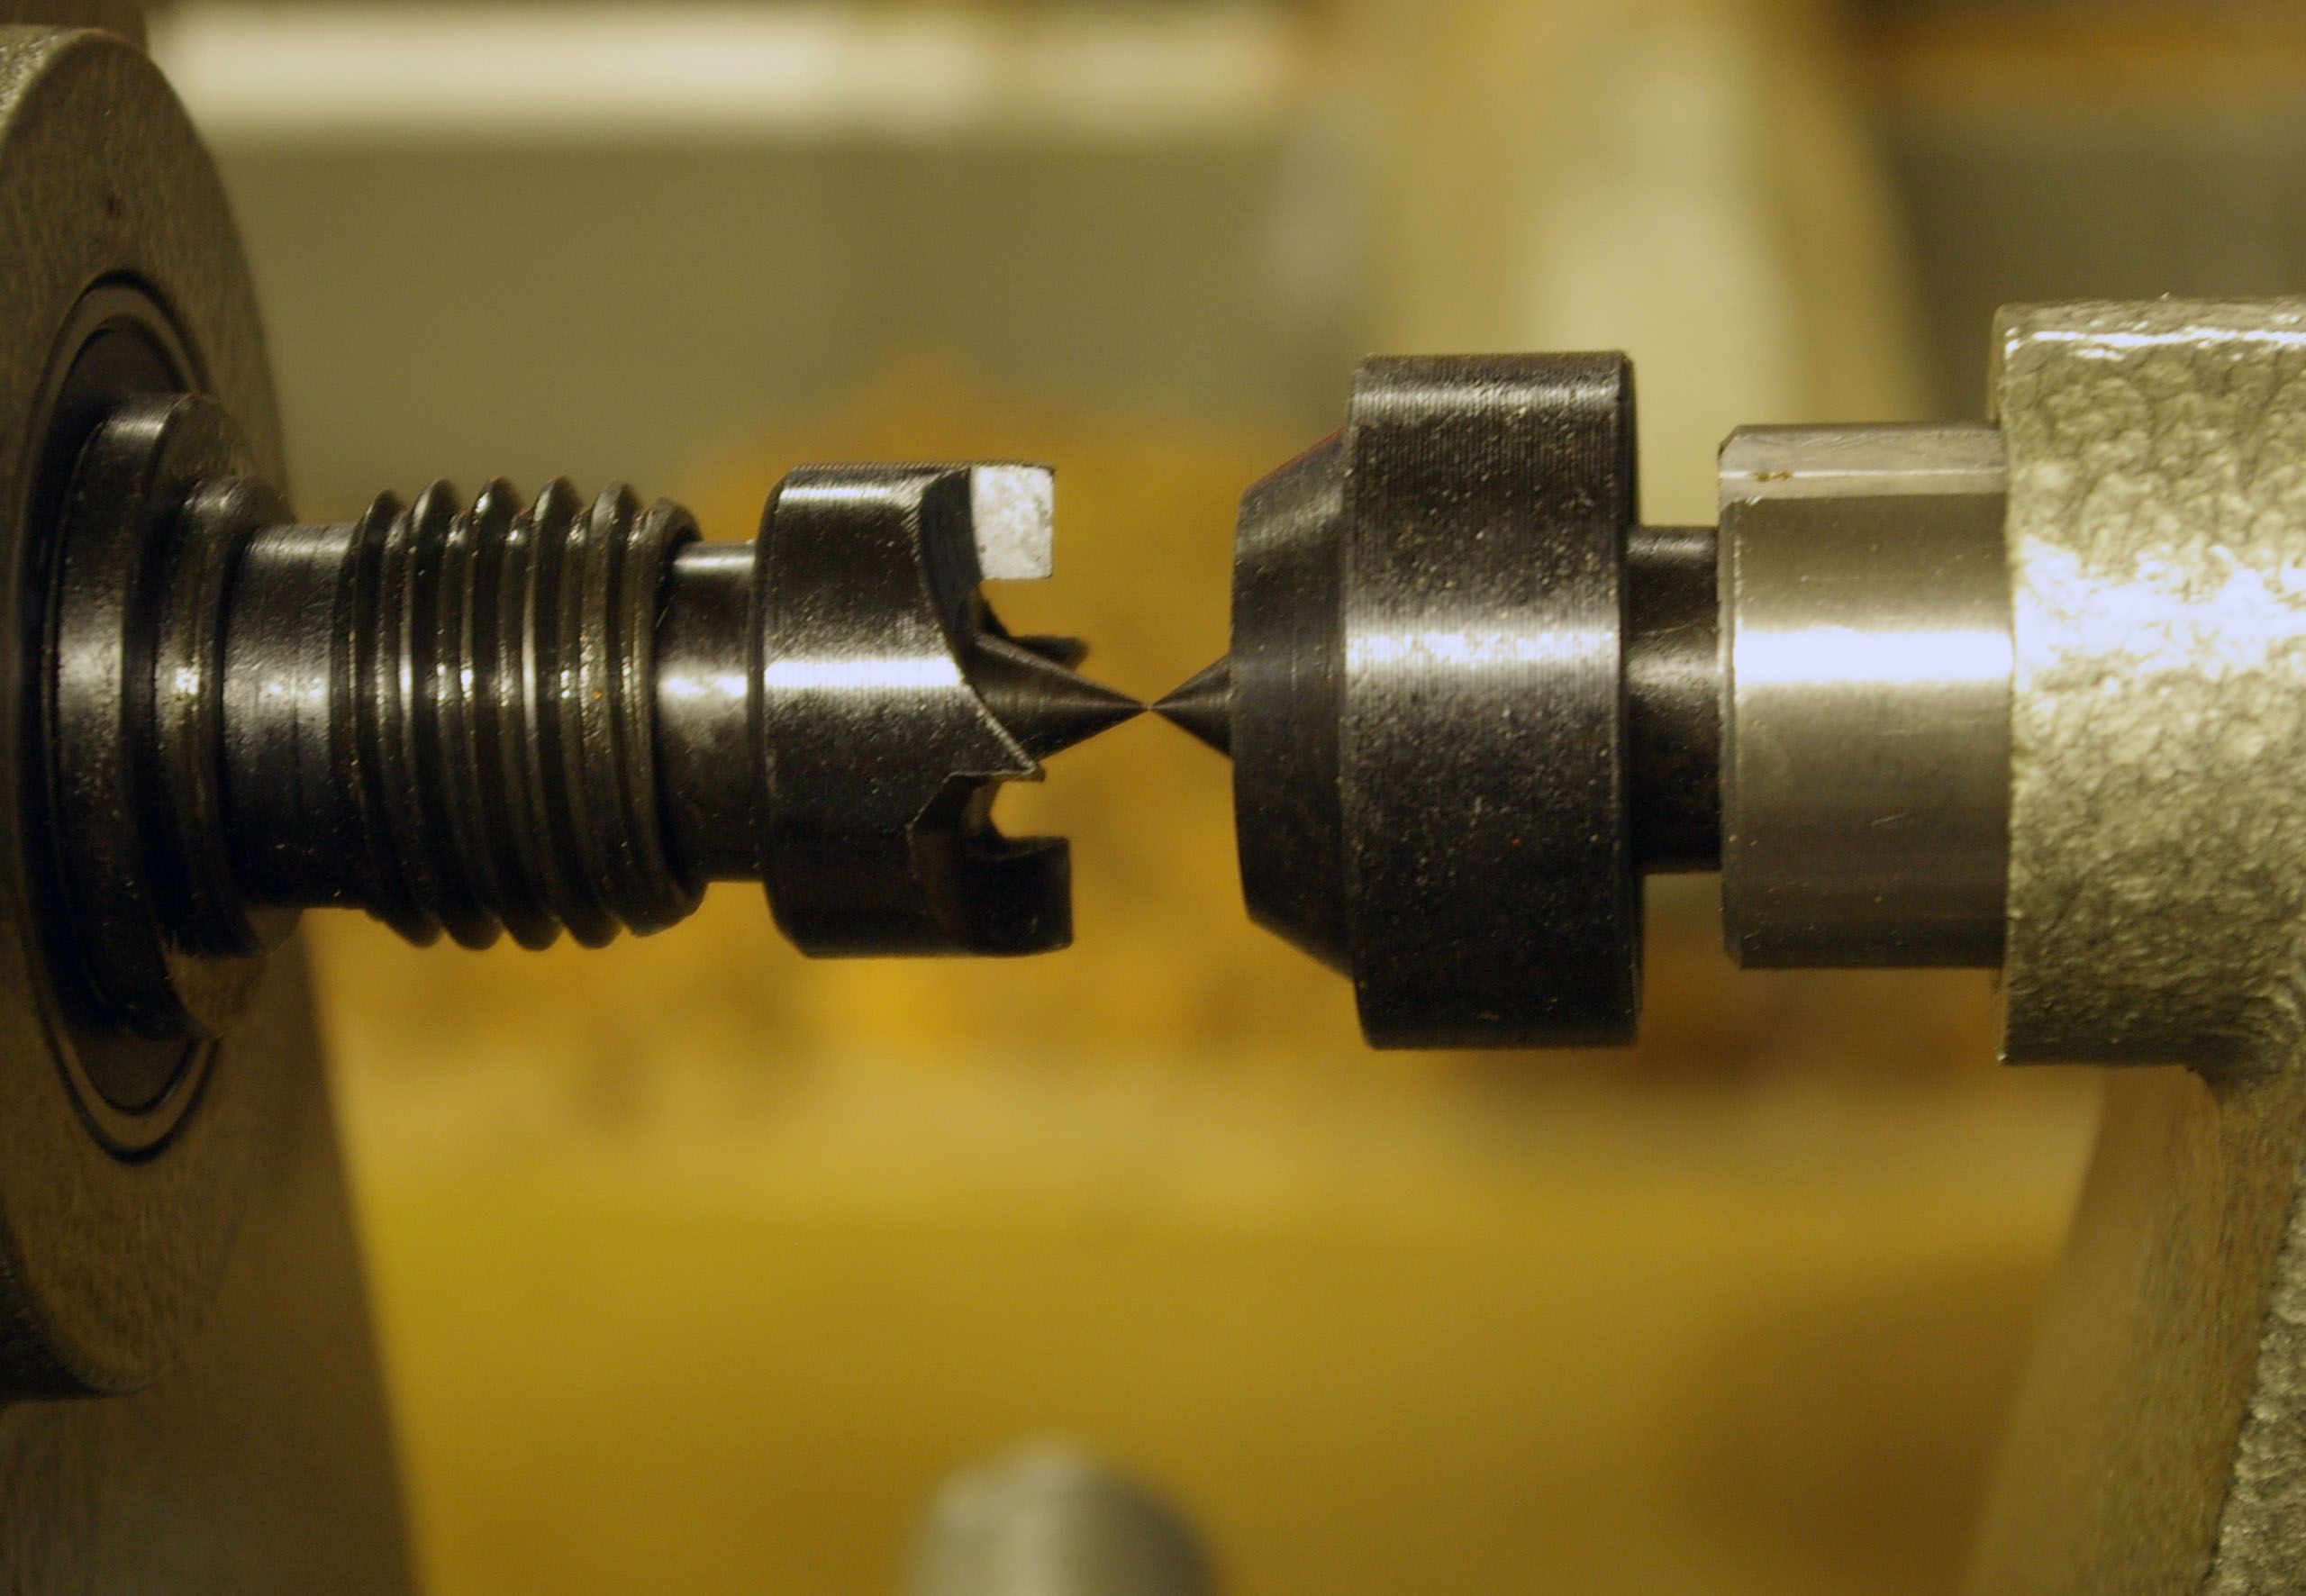
This is a classic test: Put a spur center in the headstock and a cup center in the tailstock. Draw the tailstock up until the points on the centers touch. If the lathe left the factory in good shape, then the points will touch when viewed from the front and the top. My lathe was right on the money.
Five: Fire it up
Don’t postpone joy. Make a simple turning so you can b listen for any odd sounds that might signal a problem with the headstock bearings. (A lathe with bad bearings straight from the factory is admittedly rare, but it does happen.)
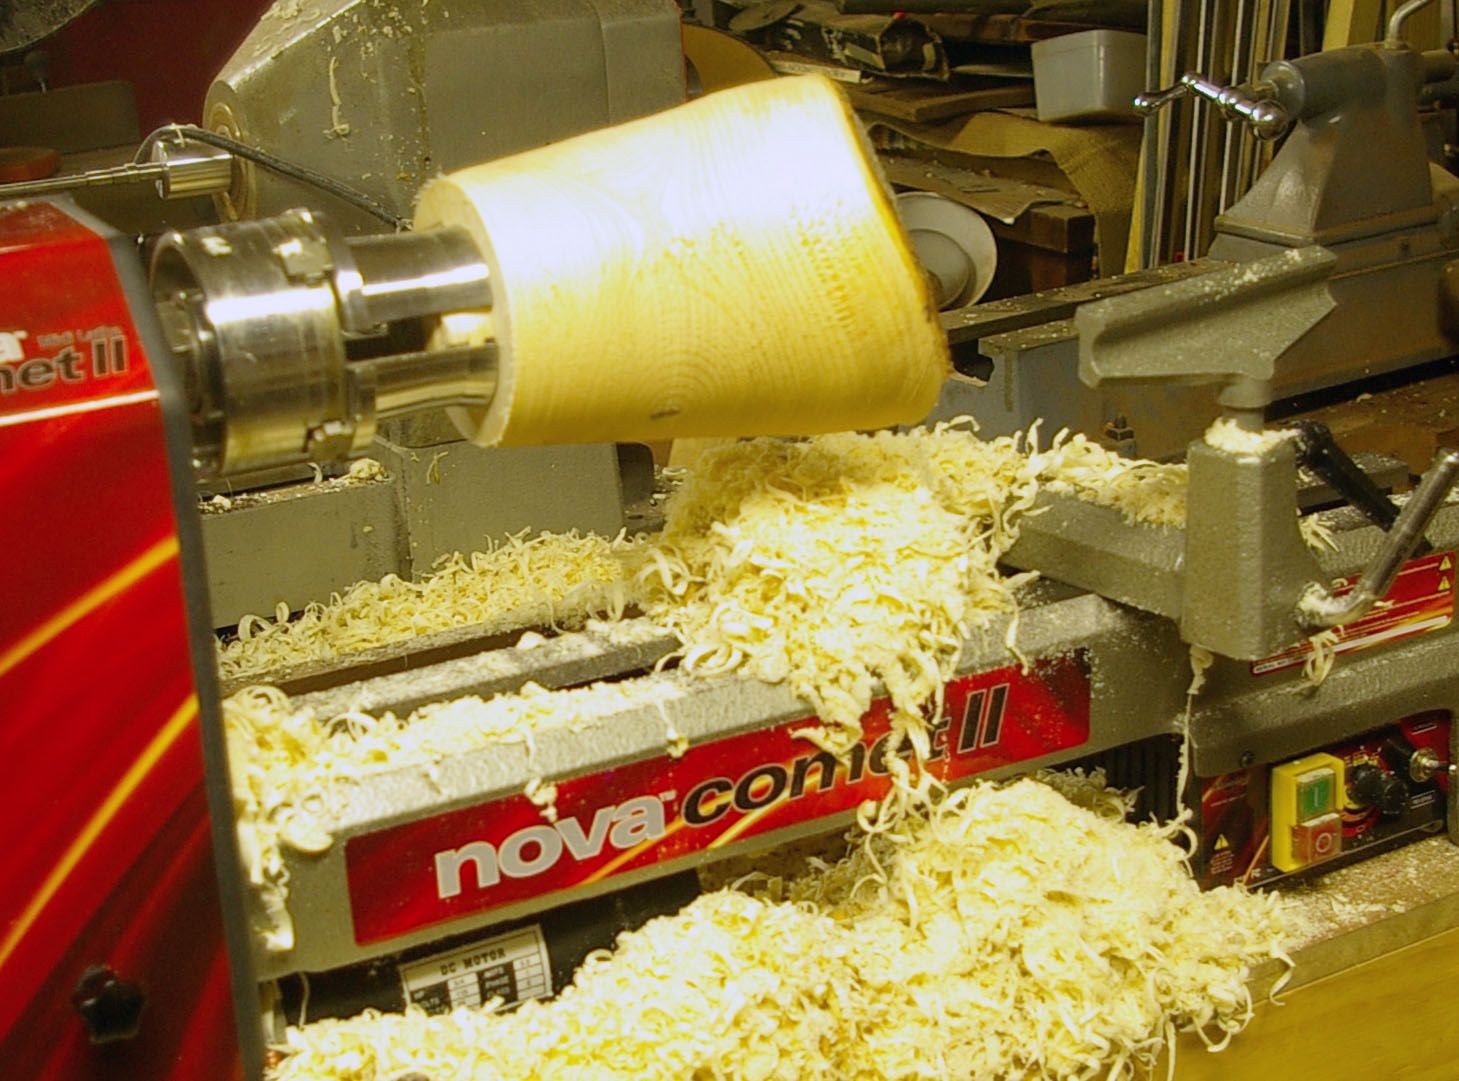
I grabbed a piece of freshly cut maple and mounted it to turn a natural-edge vessel. It’s not the best turning I’ve ever made, but it let me check several attributes: The lathe’s low-speed range has good stall torque. Changing the belt to move to the other speed ranges was quick and easy. The toolrest and tailstock move smoothly and easily, and they lock firmly in place.
Now that Christmas has been taken care of, I need to make a New Year’s resolution: I will clean up the shop. I promise.





Comments
Ok...and what if the head and tail stock don't align?? You neglected to mention that side of the equation !!
wally-cox,
Great question. My apologies for the omission. The short answer is, check the instructions. In the case of the Nova Comet II, there are two possible reasons why the head and tailstock don't align: One, the bed has been bolted to a stand incorrectly, creating a slight twist; two, there is debris under the tailstock. Rebolting the bed or cleaning out the debris should solve the problem. (Other brands of lathe may have different alignment procedures.) If things still don't align, it may mean you got the one built on a Monday.
Hope this helps.
Best,
dh
Log in or create an account to post a comment.
Sign up Log in