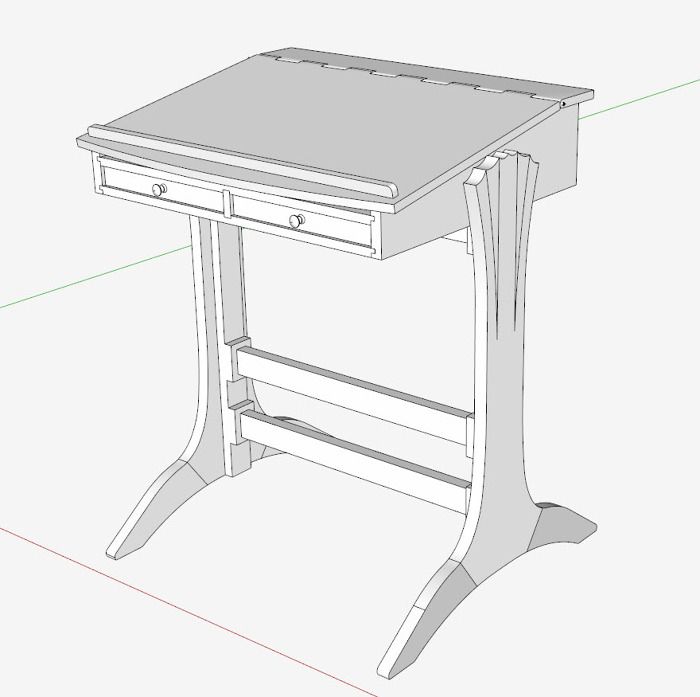
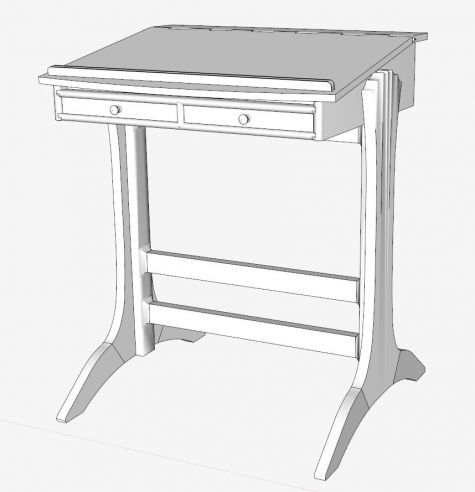
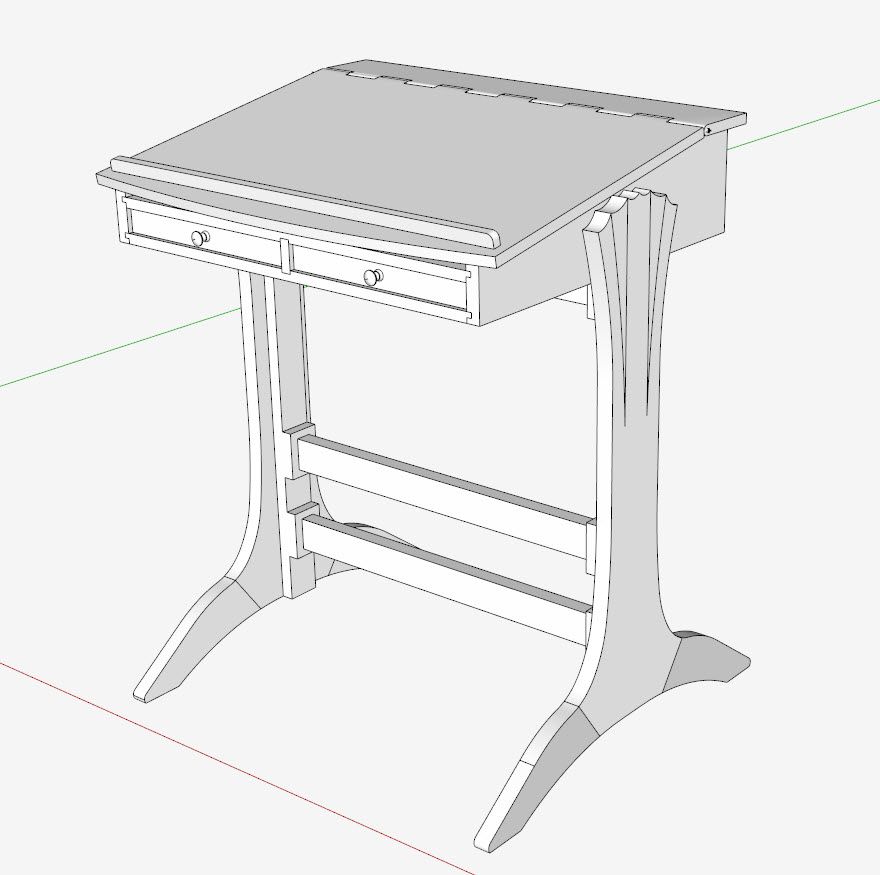
I’m working on this modern style stand-up desk. The joinery and sculpturing are quite different than my normal 18th C. or Shaker styles. In this view, I’m not showing much of the sculpturing and shaping. And, it’s worth discussing – should you spend the time in SketchUp performing this extra work.
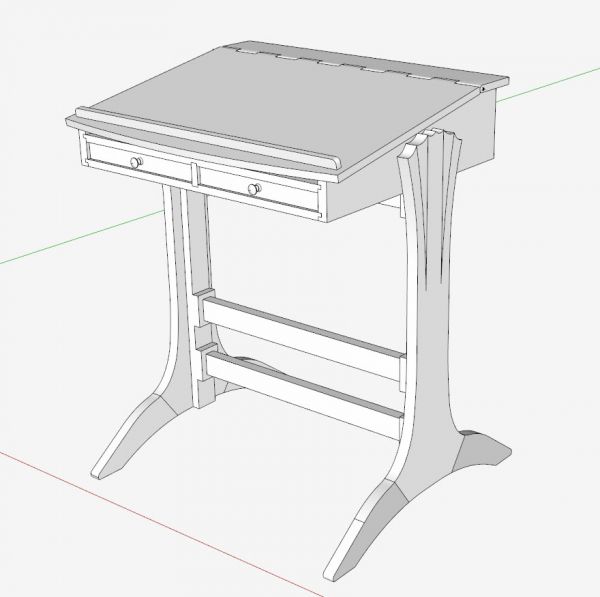
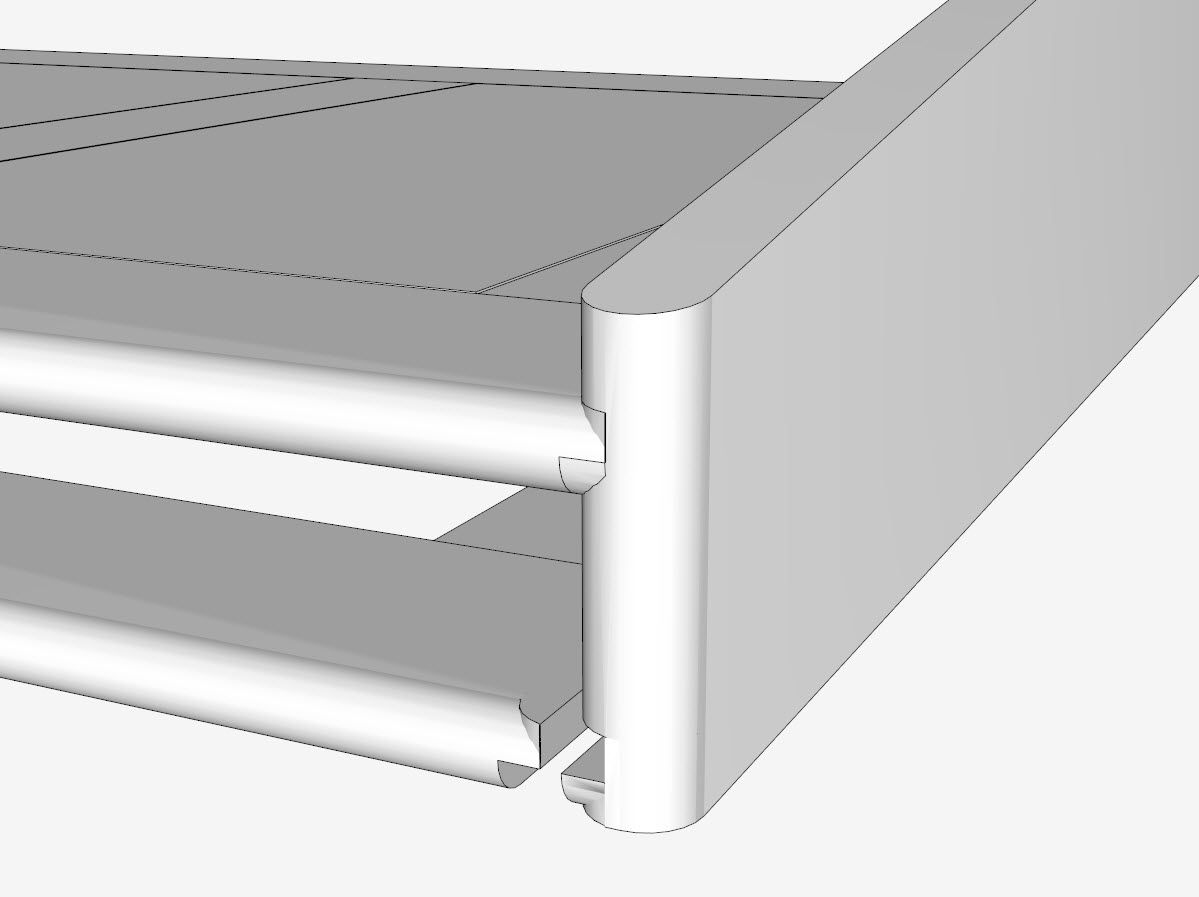
In the case of this desk, the original piece rounds over the joints in the drawer opening. Also the stretchers are rounded and shaped to connect with the legs. My construction in the shop would be to connect square pieces as shown here, and then perform the shaping later with hand tools. I don’t need the shaping in SketchUp. I need what it takes in rough lumber components to initially construct.
So the answer to how much to do in SketchUp, I would propose, depends on the purpose of the drawing. For me, the objective is producing a piece in shop, sculpturing in SketchUp is mostly a waste of time. And for me, performing this extra tedious work in SketchUp is substantial. It’s much easier in the shop – With a file and spokeshave and my eyes, I can quite easily and quickly create suitable shapes.
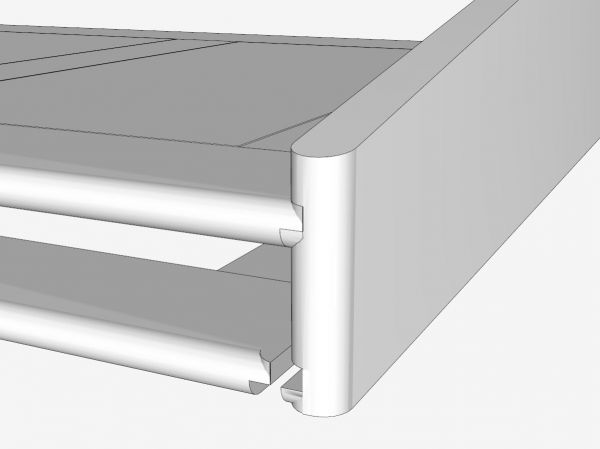
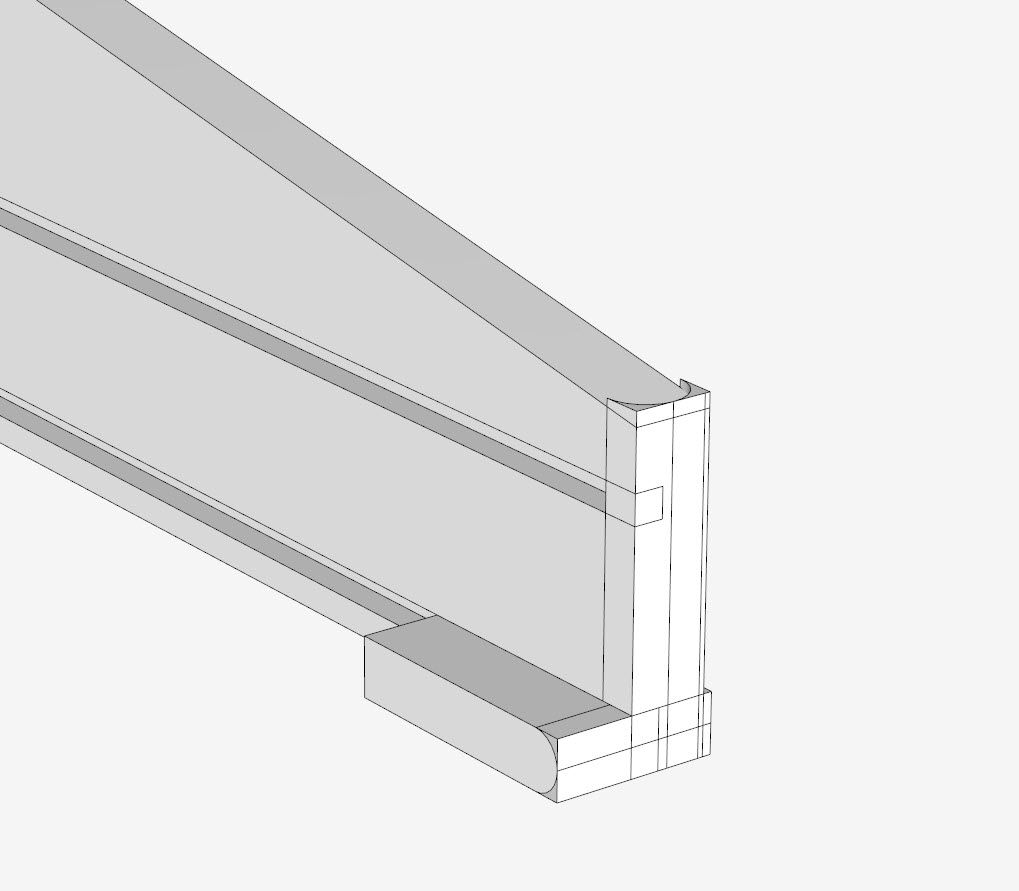
In the following video, I will show my procedure for sculpturing the joints in the opening for the drawers. It’s quite tedious with many steps. The clean-up after Intersecting was extreme. I can’t go through all the steps because the video would take too long. So I’ll discuss the steps involved.
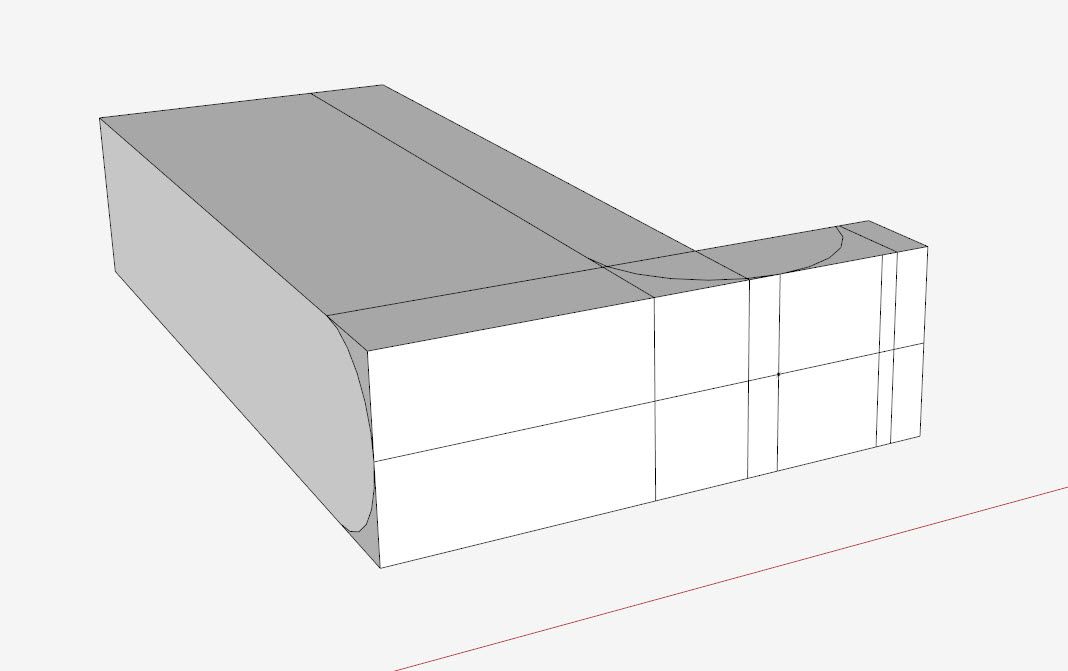
Much of the process involves adding shaped components representing the rounding, and then doing an Intersection of all the graphics, with subsequent clean-up of the waste.
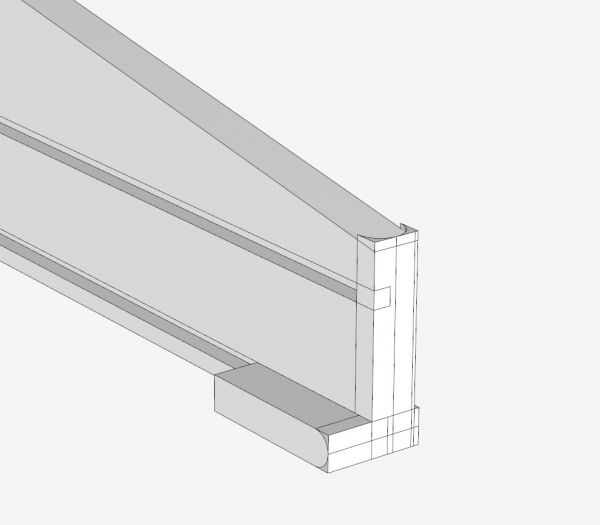
Here you can see the extra shapes added to the top of the tongue on the Rails, and the extra shapes added to the Side.
https://youtube.com/watch?v=QKpM6JrpkSY%3Flist%3DUU1pIa0qnoERn5zoFytwoA_Q
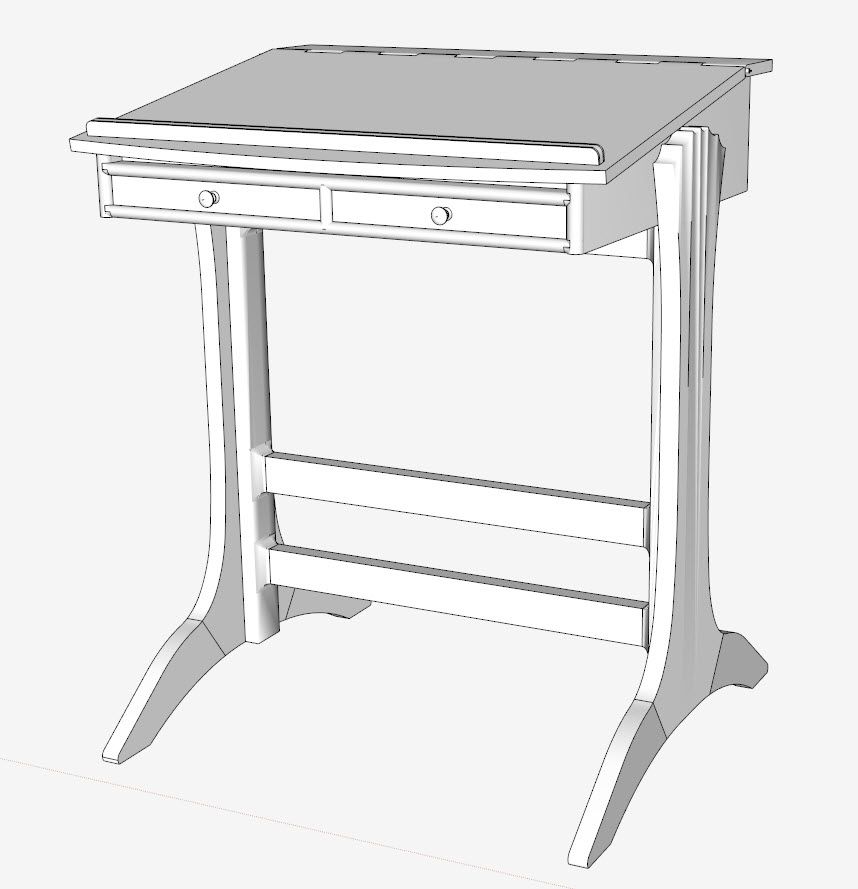
And here is the final assembly with the rounded joints.




Comments
I agree that too much detail is often unnecessary for building, but occasionally it may help. For example, I was recently modeling a chair, where the arms are flush to the top of the front legs. I modeled them so, and then wanted to shape and round over part of that arm. I realized I had to allow a little extra length of the arm for the shaping, otherwise I would lose flush. A small detail, but if I simply sized my parts from the Sketchup model before shaping, the arm could have been too short. Often roundovers, chamfers and the like can cause similar issues. Just something to be aware of.
To mrossk: Thanks for the comment and certainly an important note.
In the case you cite, I'm guessing there was a "non-intersecting" round-over of the Arm component edge -not so much "sculpturing" as I'm defining it. If so, I would include in the SketchUp model since this effort would be small and ensure that enough material is accommodated.
Tim
I think sculpting and profiling components can be an important part of the design process. I like to see what the finished product is going to look like before cutting wood. So I like to apply beads, coves, etc. to get a sense of reality in the model. I just wish it weren't so difficult to achieve. Right now I am designing a bow front chest of drawers, and I want to use a scratch beader to shape the front of the (bowed-out) drawer blades. Easy to do in wood; not so easy in Sketchup. I have upsized the model by a factor of 100, and used the same basic technique used here, but the follow-me tool never seems to get it right. I don't know what the problem is. I have tried half a dozen different strategies, but each one produces weird results.
Joe, it sounds like what you are trying to achieve is doable without too much effort.
If you send the file, I'll have a look and let you know whether there is an expedient result.
Tim
I think you had it right when you said it depends on the purpose of the drawing. I have taken drawings as far as possible and rendered them in different woods as an essential part of the design process. I have even used the computer programs to produce drawings with differing proportions to find the best design. All very time consuming and difficult. If it is for workshop use a quick drawing with good dimensions is all that is needed.
Tim, thanks for your offer to help. I went back and tried yet another tack, and finally succeeded, although it took SU twenty minutes to generate the intersection I drew. In order to get a sufficiently smooth curve, I resorted to creating a circle of 480 sides for the follow-me tool to follow. This is obviously a huge waste of computing, but I was going to eventually throw away most of it anyway. The problem is, I cannot figure out how to increase the number of segments in a simple arc, like you can in a circle, and the arc SU produced wound up being made of 12 segments. The result was pretty choppy. I wanted a smother result. Is there a way to increase the default number of segments in an arc?
Joe, after picking the Arc Tool, type your number of sides right away and hit Enter. This is the same procedure you use when picking the Circle Tool to change from the default number of sides.
Tim
Joe, it's also worth noting that you can change the number of sides used to draw an arc, a circle or a polygon after it has been drawn but BEFORE you do anything to it such as extruding it with Follow Me. Select the edge only and change the number of sides in Entity Info. If the text box has a white background, you can modify the value. You could also change the radius in the same way.
Log in or create an account to post a comment.
Sign up Log in