Make Your Legs Stand Out with Inlaid Feet
A touch of contrast goes a long way.
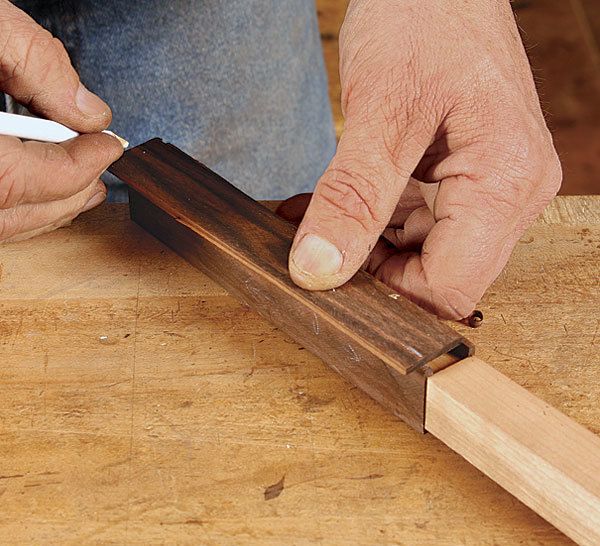
Synopsis: Adding a contrasting foot to a table leg is a great way to add some pizzaz to your design. An inlaid foot leaves a much stronger leg than a foot that is added separately, and it is not hard to do. A foot with the top line parallel to the floor is the place to start. Then you can get jazzy and angle the top line of the feet.
I want a viewer’s eye to wander every inch of my furniture, right to the tip of the toes. So it makes sense to add some pizzazz there. One of my favorite ways to attract this attention is to make feet from a contrasting wood— especially if it echoes a wood used somewhere else in the piece.
An obvious way to add a foot of a different wood is to shape it from a piece of solid wood and tenon or screw it to the bottom of the leg. A far stronger method is to assemble and inlay the foot in a recess at the bottom of the leg.
A foot with the top line parallel to the floor is the place to start. Then you can get jazzy and angle the top line of the feet—a technique I show here.
Choose a wood that has a nice contrast with the leg, figured or plain. Straight grain is the easiest to work and will likely appear most like a solid-wood foot. My examples are for a tapered leg, but it’s easy to adjust the method for a leg without a taper.
Nail the design
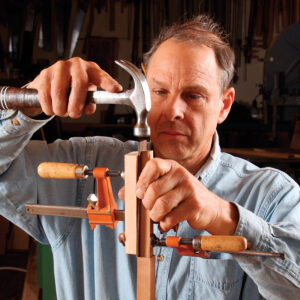
Decide first what length foot looks best on the piece. In general, I favor longer feet, giving a leg lift and grace, much like a ballerina on pointe. This can be hard to gauge from a drawing, so i’d experiment with a full-size mockup (or the real thing). Wrap a piece of tape around the leg at what will be the top of the foot. Move the tape up and down, and if you can, get a fresh look at it the next day before you commit.
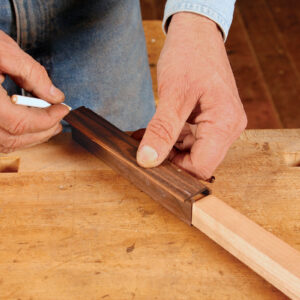
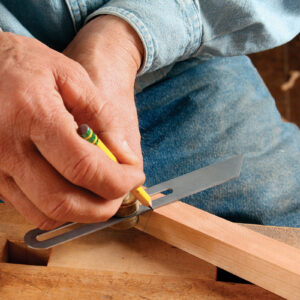
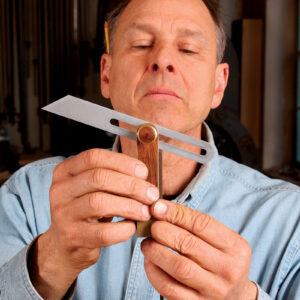
Once you have the height figured out, mark it on all four sides of the leg. With a square leg, or one that’s tapered on only two sides, you can use a combination square to mark the shoulders. But with a four-sided taper, you need to use a bevel gauge to scribe a line parallel to the floor. To set the gauge, put the blade on the bottom of the leg and bring the fence flush to the side of the leg. adjust the gauge as needed until you can scribe a line all the way around the leg.
Cut the recess
To make way for the contrasting foot, you need to cut a recess that’s about 3⁄32 in. deep. For that job I use a tablesaw. it’s worth having an extra leg for setup and test cuts. I use a wooden sacrificial fence clamped to my tablesaw fence, with the blade buried and just exposed, and make short ripcuts with the leg against the fence and table.
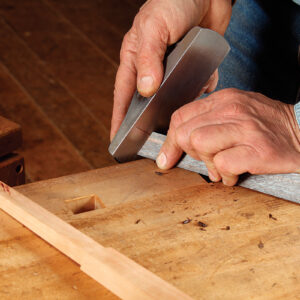
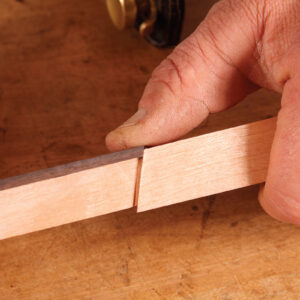
I use a wooden sacrificial fence clamped to my tablesaw fence, with the blade buried and just exposed, and make short ripcuts with the leg against the fence and table. Then i remove the leftover wood with a chisel and chisel plane, and pare to the shoulder line, which i define with a handsaw.
When gluing, order matters
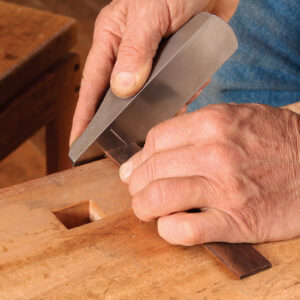
Resaw the inlay material slightly thicker than the recess, and slightly wider and longer. lay out the pieces to get sets of four that work well together, where the grain will look natural at the corners. plane or smooth the back surface of each face. This not only ensures that the inlay seats well but also that the pieces meet seamlessly around the foot.
 |
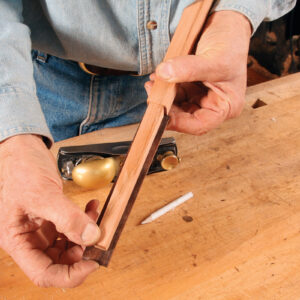 |
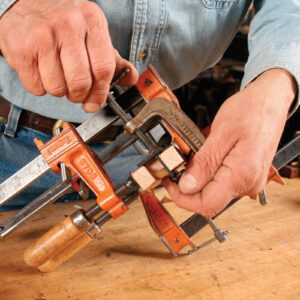
Work on the front piece first, which is the most visible surface and thus the most important. Fit the blank to the top line with a block plane so that it overhangs the entire foot slightly in width and length; you’ll have to work the end at an angle so that the inlay is flush with the top shoulder of the recess. Sand the back of the blank very slightly with a flat block and p220-grit paper, to give it some “tooth,” especially if you are working with dense, oily woods such as rosewood or ebony. Glue it in place, tapping it down to the shoulder before you cinch down the clamps.
After fitting and installing the side pieces, work on the back, which is the most difficult to fit due to the taper. lay it on the side pieces, draw the taper along the edges, then taper the back using a block plane. it should slide in from the top without binding. Once it fits, glue it in place.
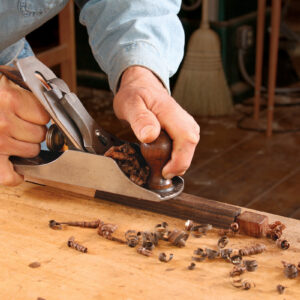
The feet look rough at this point, long, and uneven at the corners. I plane the faces of the foot flush to the leg. Then I trim the bottom flush with the leg, Finally, I chamfer all four corners, as well as where it meets the floor.
Angled feet are sharper
Feet with an angled top can give your legs even more of a stylistic lift, and they are only slightly more challenging to make than straight ones. Use tape as before to find the right height and angle. Most important are a consistent pattern around each foot and how each foot relates to the others. The outside corner of each leg should either be the highest or lowest point of that foot.
Use a bevel gauge and pencil to trace the angled line around the leg. There is a bit of fudging here because of the taper, so start marking out on the front piece, then the sides, and connect the sides on the back. Keep the bevel gauge locked in its setting, as you can use it to check your work.
Cut the recesses on the tablesaw. Unlike those on the straight-topped foot, the recesses for the angled foot are different lengths. After cleaning up the recesses, cut and fit the pieces one at a time. The big difference here is that the highest and lowest pieces are angled the opposite way at the shoulders. Be sure to keep that in mind as you cut those shoulders and bevel the pieces. Beyond that, glue-up and cleanup are the same.
From Fine Woodworking #239
For the full article, download the PDF below:
Fine Woodworking Recommended Products

Bahco 6-Inch Card Scraper
Whiteside 9500 Solid Brass Router Inlay Router Bit Set




Log in or create an account to post a comment.
Sign up Log in