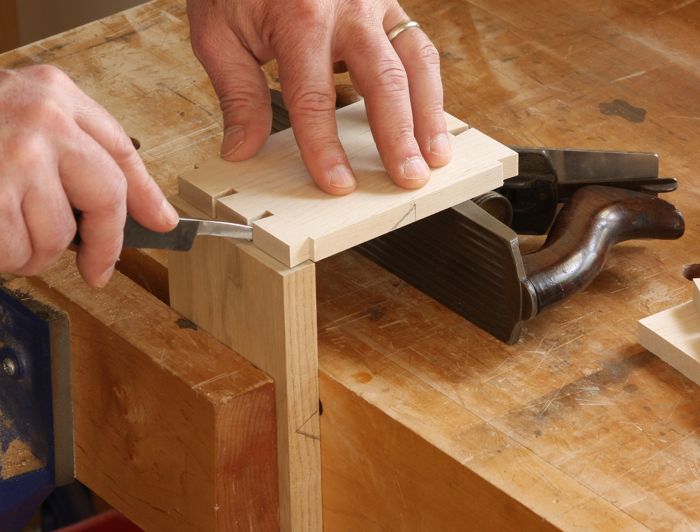
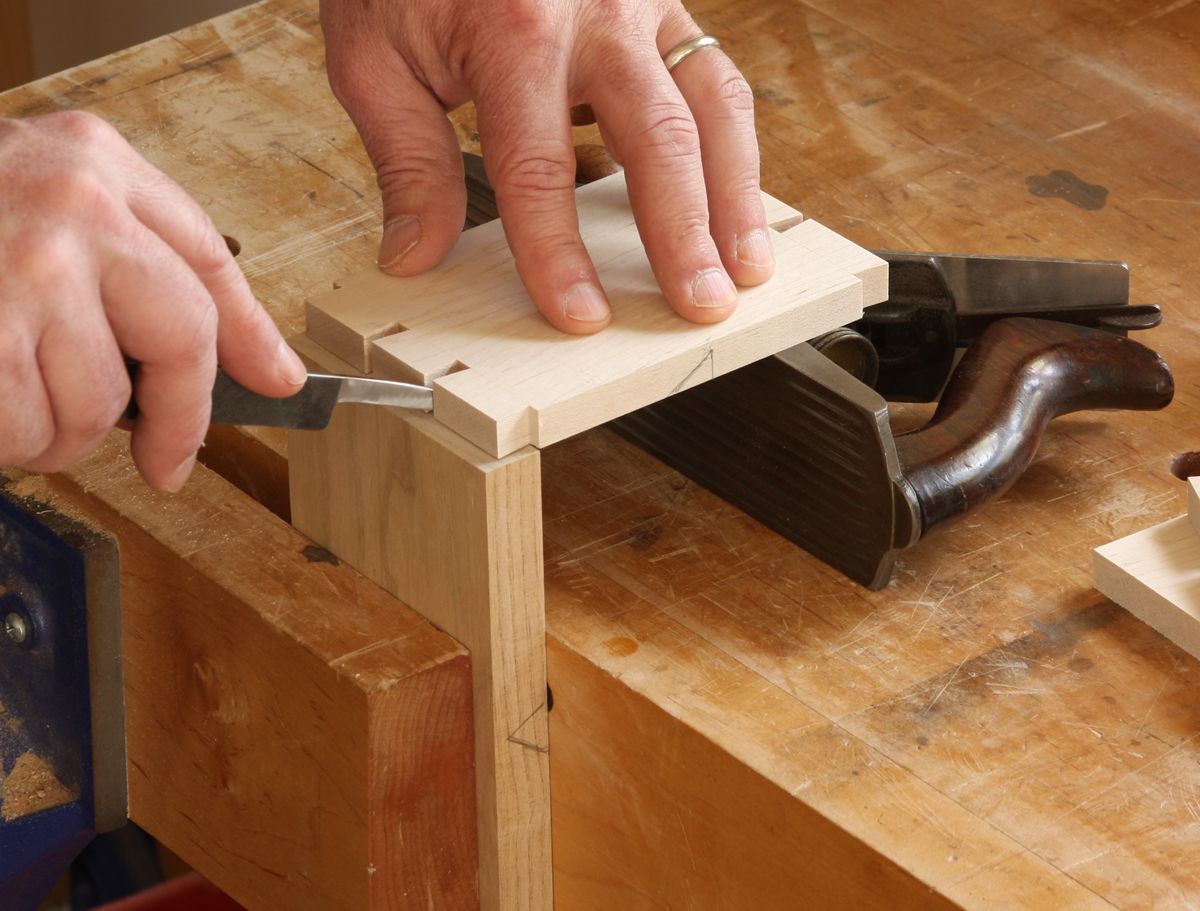
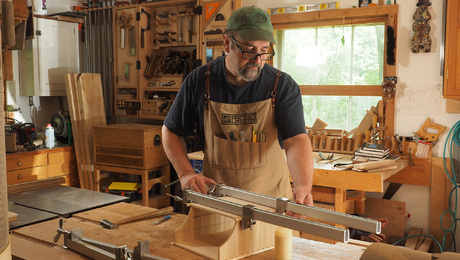
I typically rest the tails board on a hand plane while scribing the pins.
Of all the steps involved in cutting dovetails, scribing the tails to the pin board is one of the most critical. If the board shifts at all, it can throw your scribe lines out of whack. Once that happens, you can cut to your lines perfectly and still get a joint that doesn’t fit. In the past I’ve used a hand plane as a support for the tails board when scribing. It works great because I can get a lot of pressure on the board to hold it in place while scribing. Still, it can be a little fussy to set up. The key is to clamp the pin board in the vise even with the side of the plane. Doing so always take a little trial and error before I get it clamped just right.
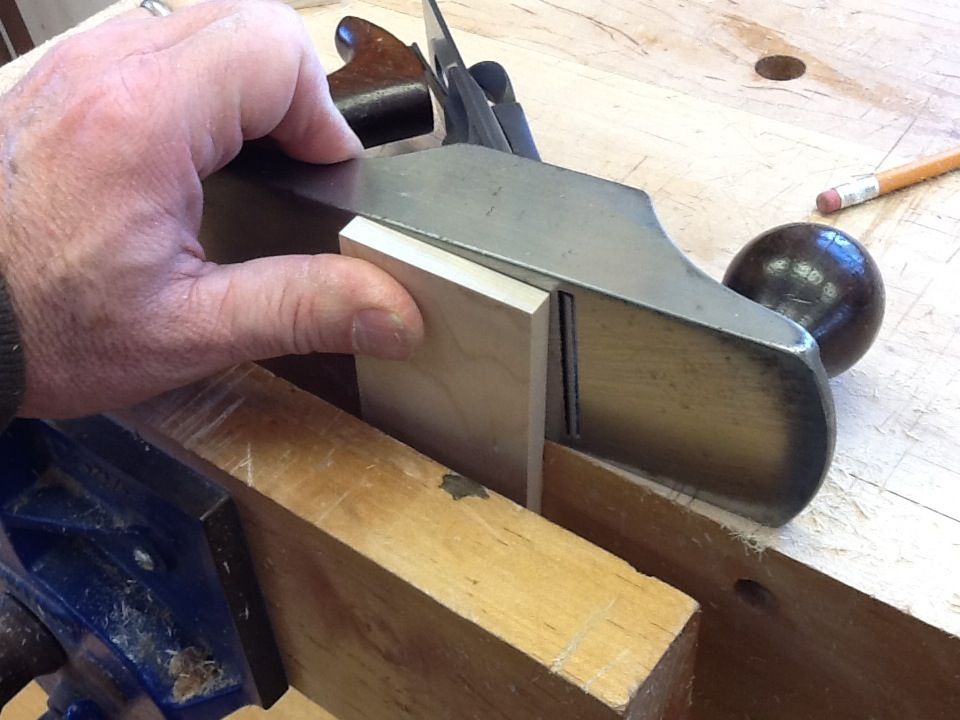
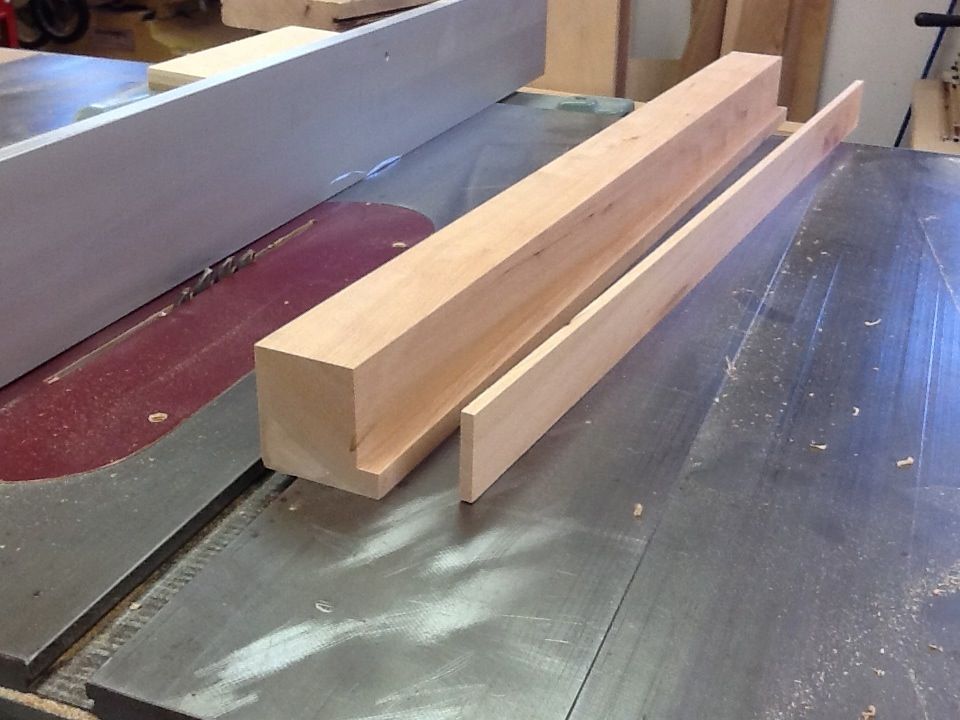
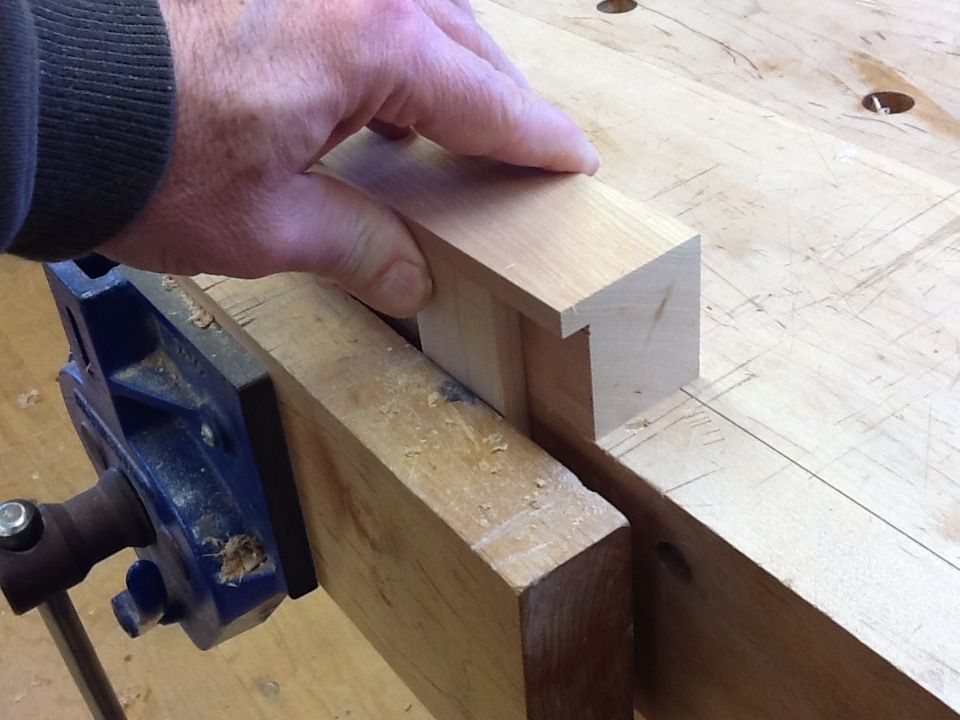
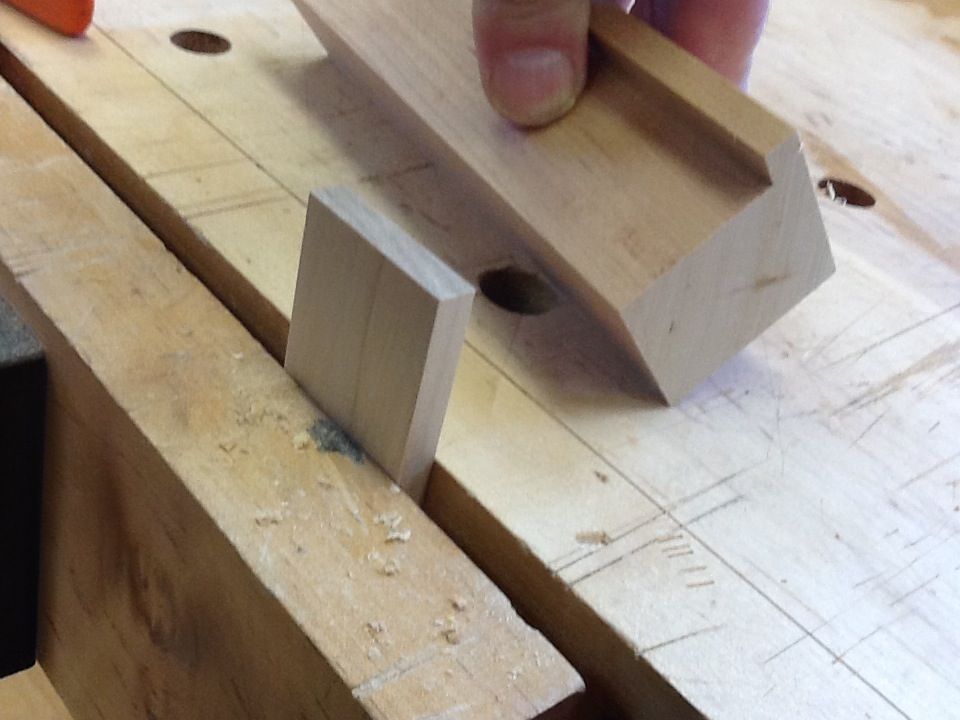
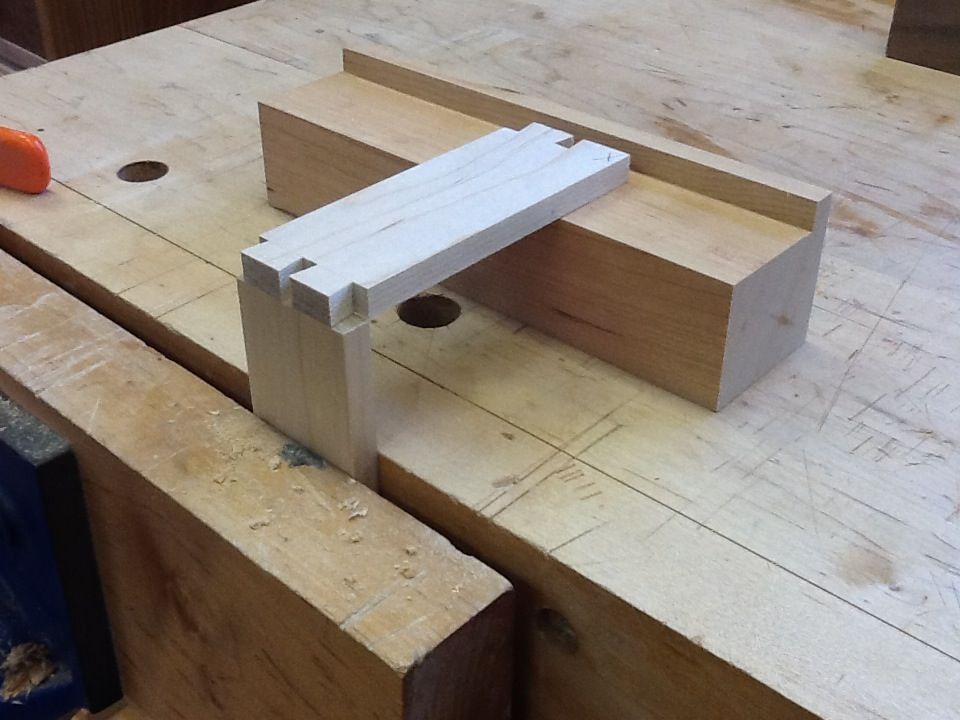
Last weekend I took a few minutes to make block that guarantees a perfect clamp-up every time. I only wish I had though of it a few years ago.






Comments
Great idea. Once again woodworking equals problem solving
I did something similar recently for my moxon vise. I set the piece in the vise to a shade above the vise jaws and have a t-shaped assembly that matches that hight. Far happier with this then messing with a plane.
That is a good tip.
You might also try Crosman's 140 trick. Then you won't have to use the rabbeted block.
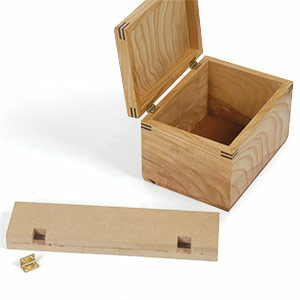
not that it matters much, but did you rabbet the block or did you glue on a strip to a square block? I can't really tell from the pictures, but I assume that's what you're telling us in the 3rd picture.
Yes, I rabbeted the block at the table saw, but gluing a fence to a square block would work just as well.
Great idea. Now put about 240 grit PSA sandpaper on both sides of the block and when you apply pressure, neither the block or the tail/pinboard will creep.I even have a small piece of sandpaper applied to my dovetail layout pattern and it stays dead still when I carelessly apply sideways pressure with my marking knife..
Great idea - yet another jig to create. [BTW does anyone actually use jigs? ;-) ]
But now I'm curious - what's a Crosman'2 140 thingy?
Seems like the rabbet need be the same thickness as the stock your working with for proper alignment.
"Seems like the rabbet need be the same thickness as the stock your working with for proper alignment. "
Why?
The rabbet is just there to help make the block perpendicular.
Its height has no effect.
I have been framing out an insulated wall for my new woodworking shop.
There are three blocks of scrap wood carefully labeled.
Block wall to stud face, block wall to wall face, block wall to back of stud.
Not woodworking per se, but simple small gauges fort the application.
I would use some metal working blocks (1-2-3 in. or 2-4-6 in., or even my large parallel set (1.5 x 3 x 12 inch).
All are matched pairs.
The large ones do not tend to slide around much since they are heavy (even though hollow cast iron).
I even 'borrow' my machinist gauge blocks for exact and repeatable setups.
NativeWoodLover writes: "what's a Cosman's 140 thingy?"
It's making a shallow rebate or shoulder on the tails. It helps to keep the boards square/aligned to each other when laying out the pins. The name comes model number of the Stanley skew plane used to make the shallow (1/32-1/16) rebate.
It's really not the Cosman 140 thingy or whatever. It's the Stanley 140 trick and based on their skewed rabbet plane. You would use that plane to cut the rabbet on the end of your drawer side. It helps hold things square and also conceals any blowout inside the joint. Check out my blog: http://woodworksbyjohn.com/2013/09/07/hand-cut-dovetails-part-2/
There is an L-shaped jig I use when laying out the tails that really locks the pieces together well. Got the idea from another woodworker off of YouTube but don't recall his name.
My thought too. If you already have the plane handy, why not use it instead of making another jig that you have to find a place for?
But, yes, cutting rebate nearly eliminates the problem of the drawer going together askew. Even a few arc minutes makes the difference between frustration and a wonderfully fitting drawer.
If you haven't seen David Barron's dovetail guide, it might be worth a look. You can build one yourself from his video and it holds both the tail board and the pin board against a shallow right angle fence, so alignment is always guaranteed. No rabbet to cut, no plane to use to hold the pin board, no rabbeted block.
A happy side effect of using the 140 trick is that the shallow rabbet hides any small defects on the inside of the joint. So your cabinet/drawer/whatever inside will look mah-vel-ous even if you don't make all your cuts 100% perfect.
Lots of ways to complete a task...use what works best for YOU.
I agree with Khola. I purchased David Barron's dovetail saw guide and made my own version of his tail and pin board alignment guide over a year ago and I've been cutting perfect dovetails ever since. Piece of cake! You can search YouTube.com for "David Barron dovetails" and check out his videos. I love his technique and he is a real gentleman and a pleasure to do business with. If you're having ANY problems with your hand cut dovetails, you owe it to yourself to check out David's foolproof method.
Since woodworking is not a full-time job, I don't have the time to practice cutting dovetails everyday and I haven't done enough to become really proficient. So, I bought Leigh dovetail jig... I know for you purist out there it's cheating... but, I get outstanding results without spending an excessive amount of time on one aspect of a project.
I thought we had this conversation before...no such thing as cheating!!! Whatever works for you, works!!
If I start doing lots of dovetails, this jig is pretty slick. However, just using the hand plane is pretty slick too, and something I hadn't thought of.
My biggest problem to solve is a lack of space, and getting multpile uses out of tools, like using the plane helps solve it.
I'm not sure why using the plane would be "fussy to set up". Bring the plane up to the loosely clamped pin board, which is set higher than the top of the plane. Use the tail board to push the pin board down until the tailboard is flat on top of the plane. Crank down the vise and move the plane back to a comfortable position. Done.
for the casual dovetail I used the blue tape trick when marking out. It worked like a charm and its fun to do hand cut joins
I use corner clamp to mark lines. just clamp both boards vertical
in corner and scribe your lines. Works every times.
Thankyou
That's a nice trick! Good thinkin'.
Log in or create an account to post a comment.
Sign up Log in