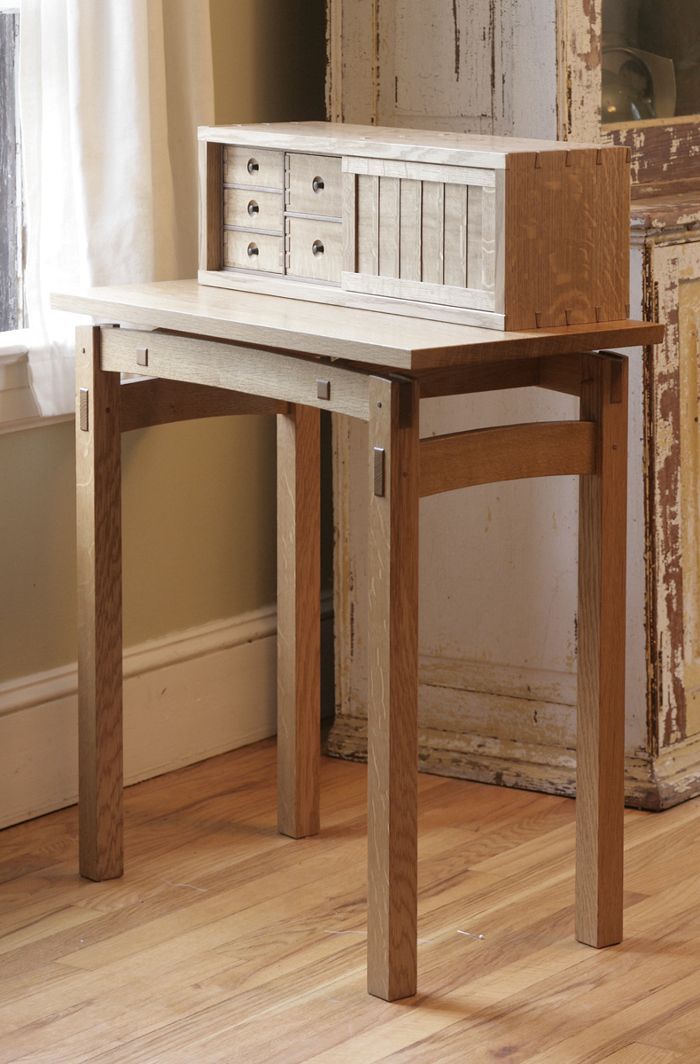
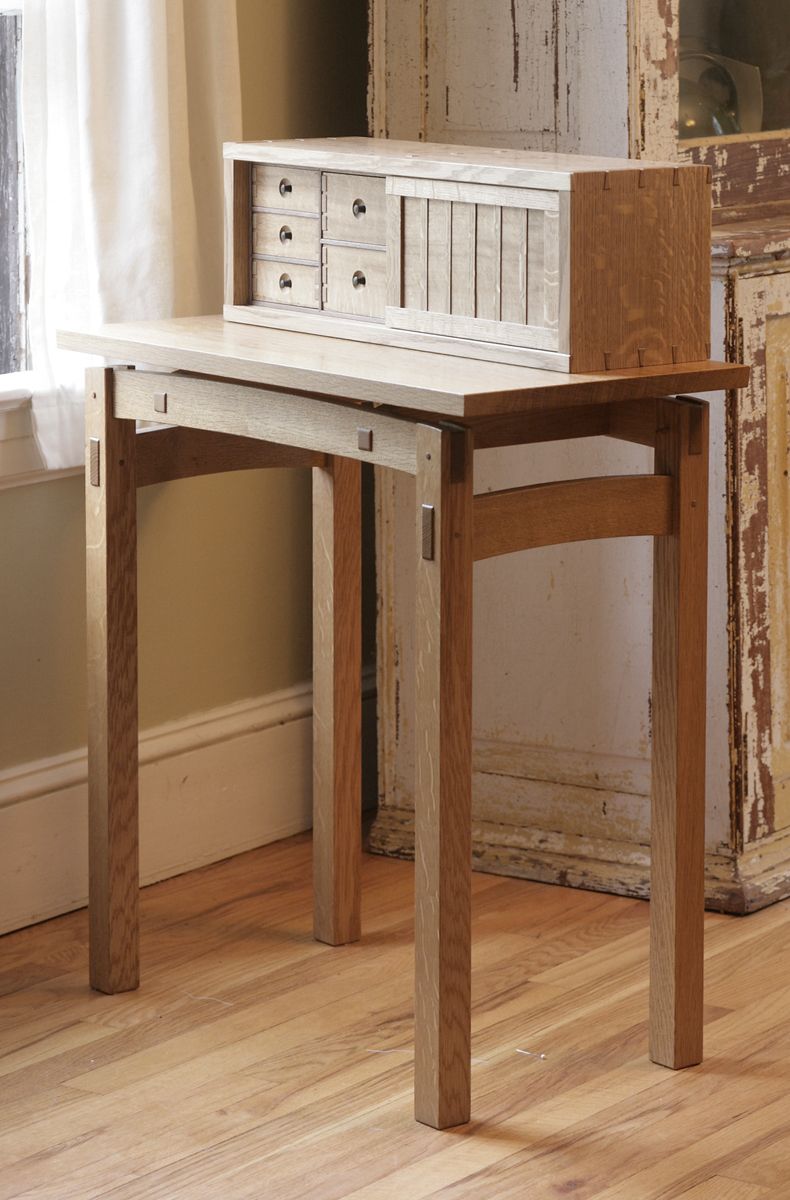
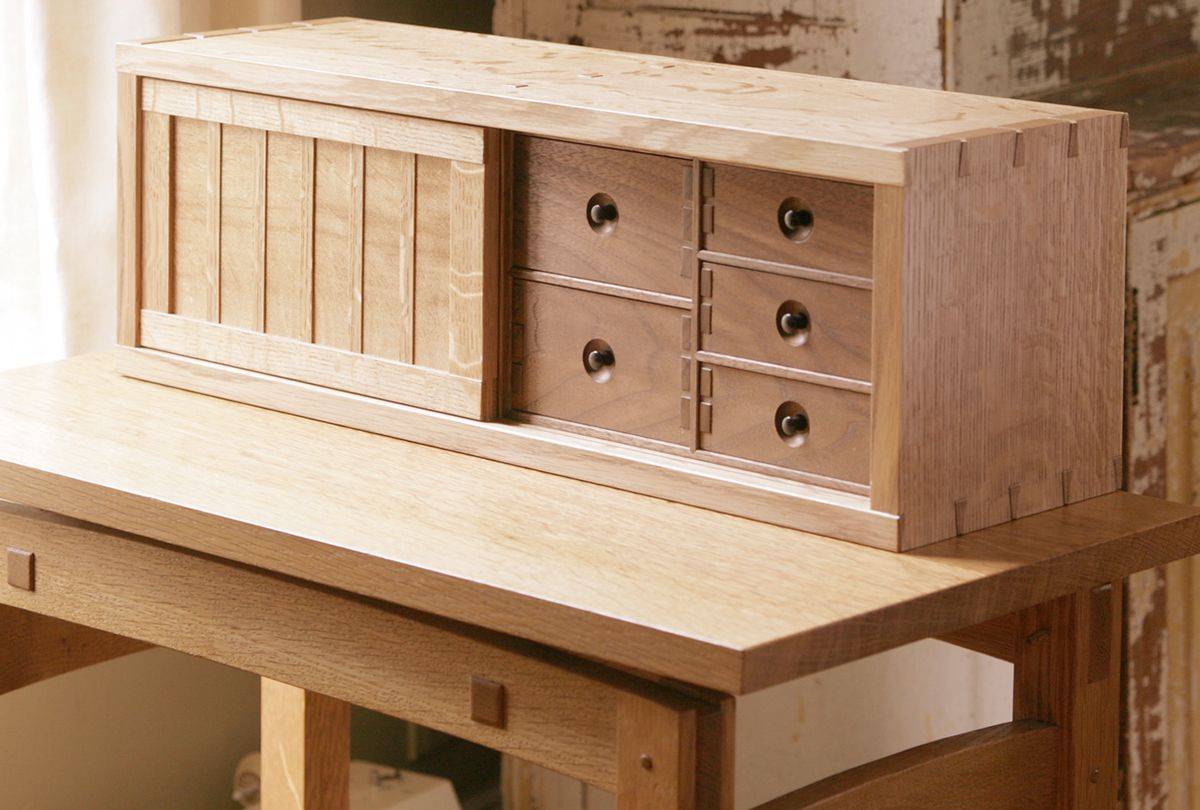
A recent project for my daughter, this jewelry case is made from white oak, brown oak, and walnut.
I recently built a jewelry box for my daughter that featured a bank of drawers behind a sliding door. There wasn’t a lot of room between the drawer fronts and the door, so I was challenged with the task of coming up with a low-clearence pull. My first thought was to drill a hole in the drawer front that you could reach a finger into, but since it was a special piece, I wanted something a little more elegant.
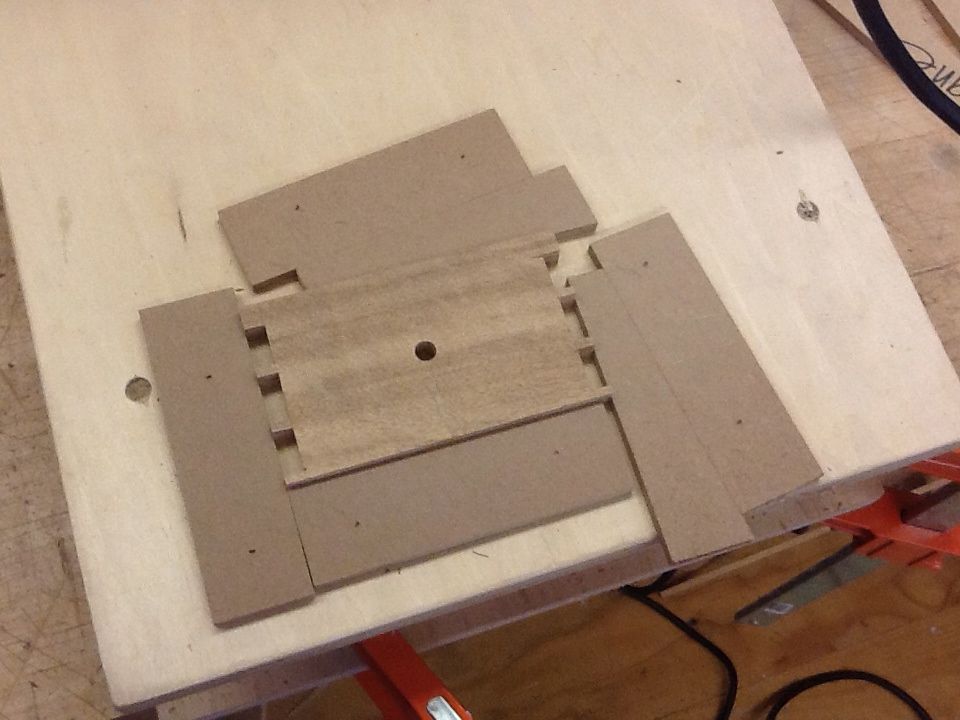
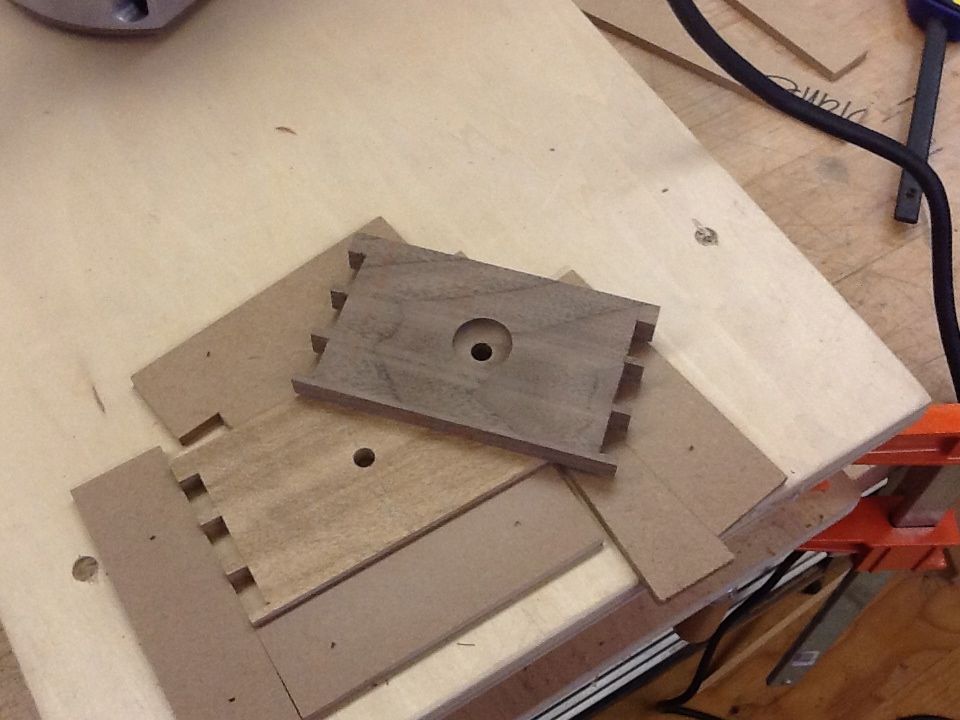
In the end I decided to create a recess in the drawer front and install a turned pull in the center of it. The recess allowed me to inset the pull almost flush with the front and still allow access to grip it with your fingertips.
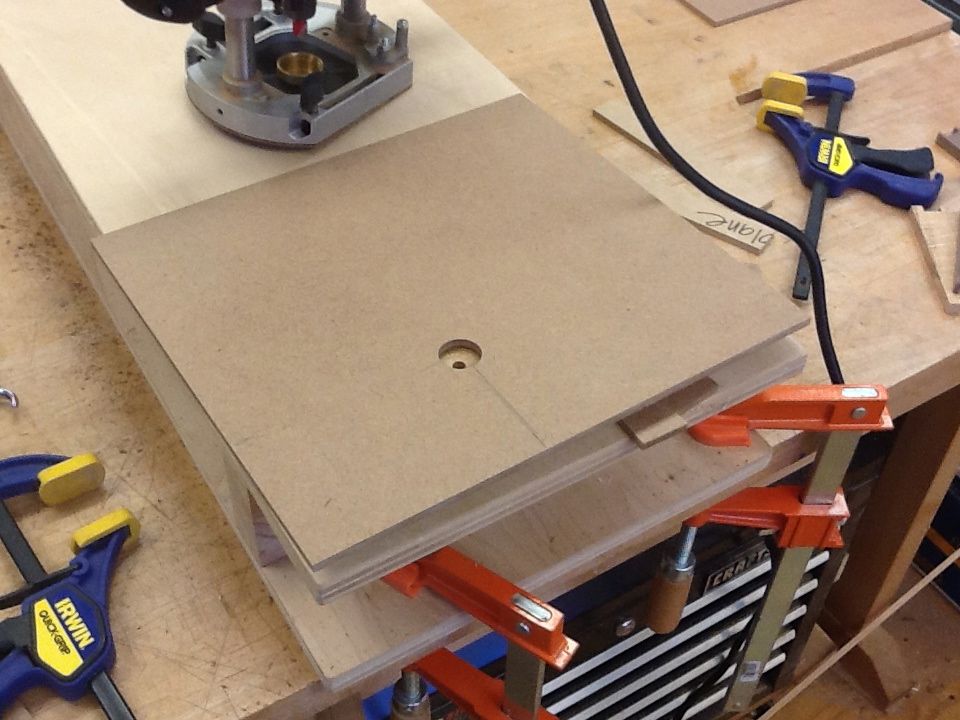
I was going to carve out the recess with a gouge, but faced with 10 drawers, I decided to break out my router.







Comments
That is a very elegant solution for the drawer pulls.
Nice elegant solution.
This project was nice, thank you. I also found a lot of wonderful easy to do woodworking projects plans at http://bit.ly/iLoveWood
I have achieved a similar effect a number of times by mounting the drawer front on a faceplate and scooping out the recess using a bowl gouge. This method has the advantage of not being restricted to the profile of the router bit. It makes a noise like a helicopter and you have to keep your knuckles out of the way!
Can't wait to take your class and make that box in April and may
All that jig stuff is fine and dandy, but there's a simpler way. Clamp your workpiece down to your drill press, drill the hole for the pull, then switch to a core box bit chucked in your drill press. Your recess is automatically centered, and Bob's your uncle.
It's a nice touch, but It seems to me that the simplest answer of all would have been to use an appropriately sized Forstner drill bit to form the recess. It's easy to set and control the depth on a drill press.
Remington, you must have one VERY large core box bit. If so, your idea is fantastic.
To make the recess about an inch in diameter, (or whatever is required) the author's idea is a good one- and one I will try. Very elegant.
TomHoxie, I would agree that the Forstner is faster but doesn't give the traditional soft curve around the pull. I might try your idea on a more modern piece.
If I was to make a lot of these style of pulls, I might turn a dowel on the lathe the correct diameter of the hole in the jig, stepped down to a tenon the size of the hole for the pull. This way, it would be a simple matter of lining up the routing jig by placing the tenon in the hole in the drawer face and sliding the MDF jig over the dowel.
Hope that makes sense without pictures...
MDcustom- Awesome tip about using a stepped dowel to align the template. I tried aligning it by eye using center lines penciled on the parts, but it was a clunky solution. I'm teaching a class on building the case in April at Connecticut Valley school of woodworking, and I'm definitely going to use your method to align the template.
Thanks, Mike
Another lovely piece Mike! I wish I was able to take that class at Connecticut Valley.
Way back in junior high school, my "shop" teacher solved a similar recess-cutting problem by taking an inexpensive 1-1/2" spade bit and grinding it to a suitable semicircular profile, removing its spike in the process. To get around the problem of the very center's not cutting its way down, he first drilled a center hole in the wood, which also served as a visual cue for when he'd cut down far enough, by backing out periodically and seeing how much hole was left.
A very neat solution. I have often said that the router is the most versatile power tool in the workshop.
Very very nice. Hope it comes to the pages of FWW someday :) Are the mid-stiles on the sliding door "real" (the panel is broken and captured between each), or simply in front of a solid/full-width panel? I like the effect.
-C
Beautiful, you have inspired me !!!!
I appreciate the wedges to secure top but dang, use some double sticky tape, much quicker! I use the crap outta the stuff.
Hello Michael,
Thanks for posting the inspiring jewelry case. Does the sliding door work on a tongue and groove, or other method?
Thanks,
poeticboxer
Log in or create an account to post a comment.
Sign up Log in