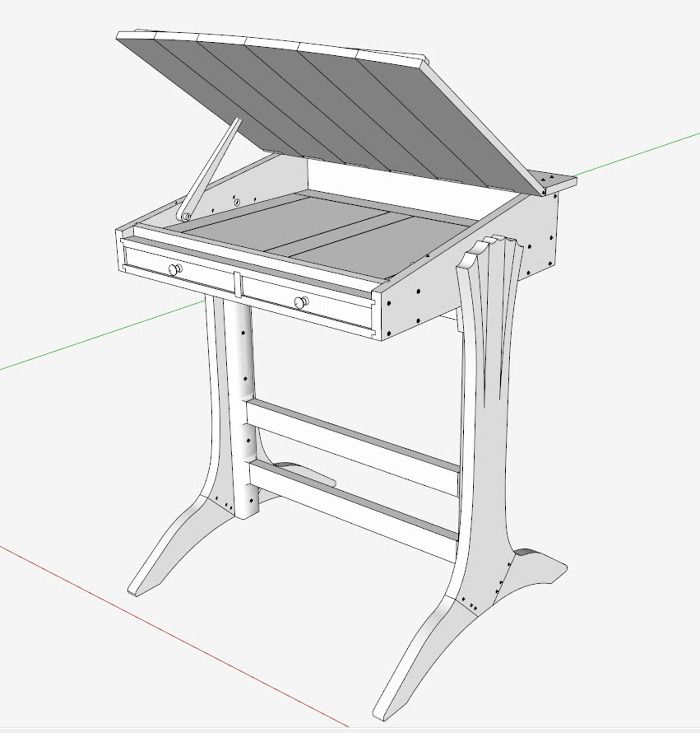
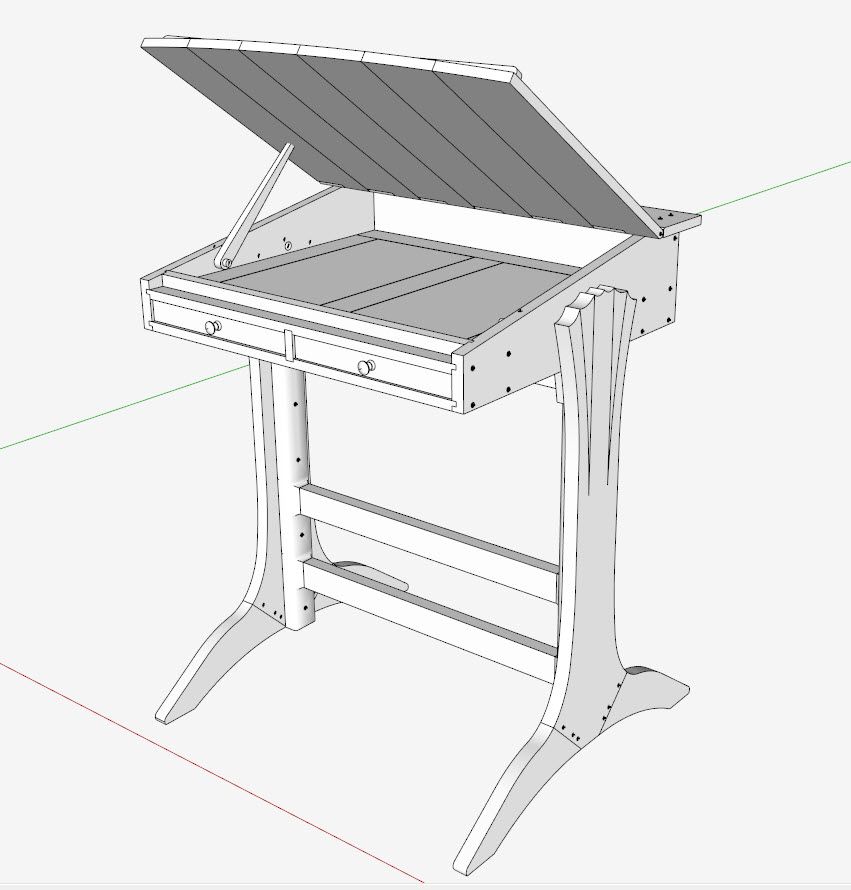
Dave Richards and I frequently encourage modeling new components in the context of the overall furniture assembly. This most likely results in more efficiency and accuracy. In the following video, I show a method of creating the rotating lid support for the stand-up desk I’ve been showing in several past blog posts. The creation of this lid support component is facilitated by having the related desk components in place.
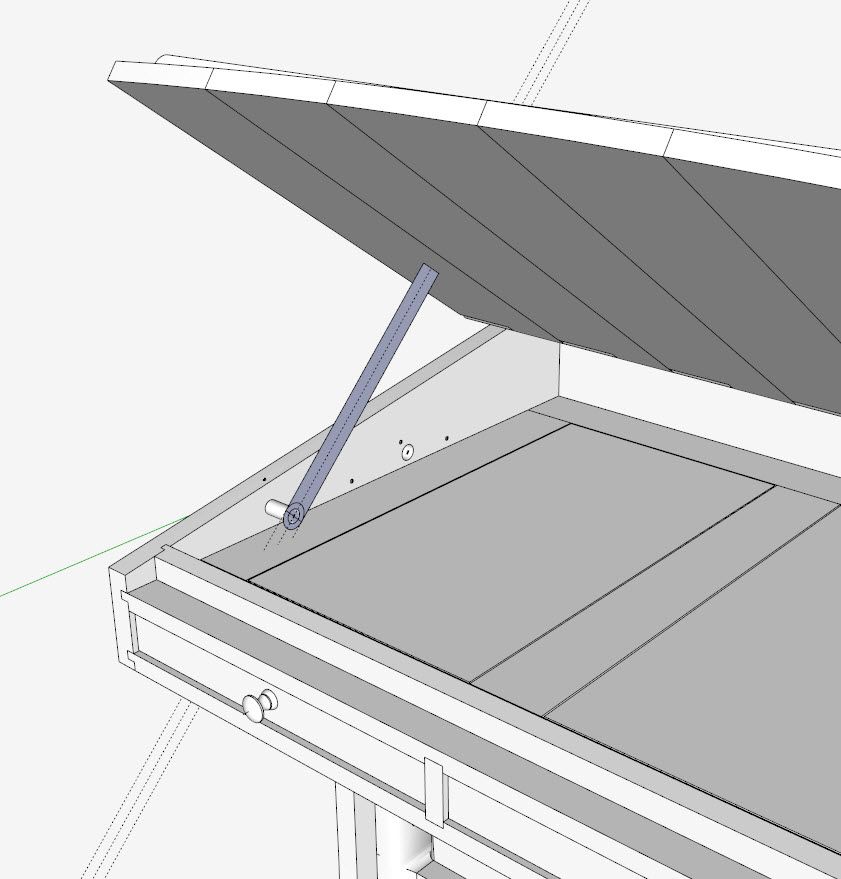
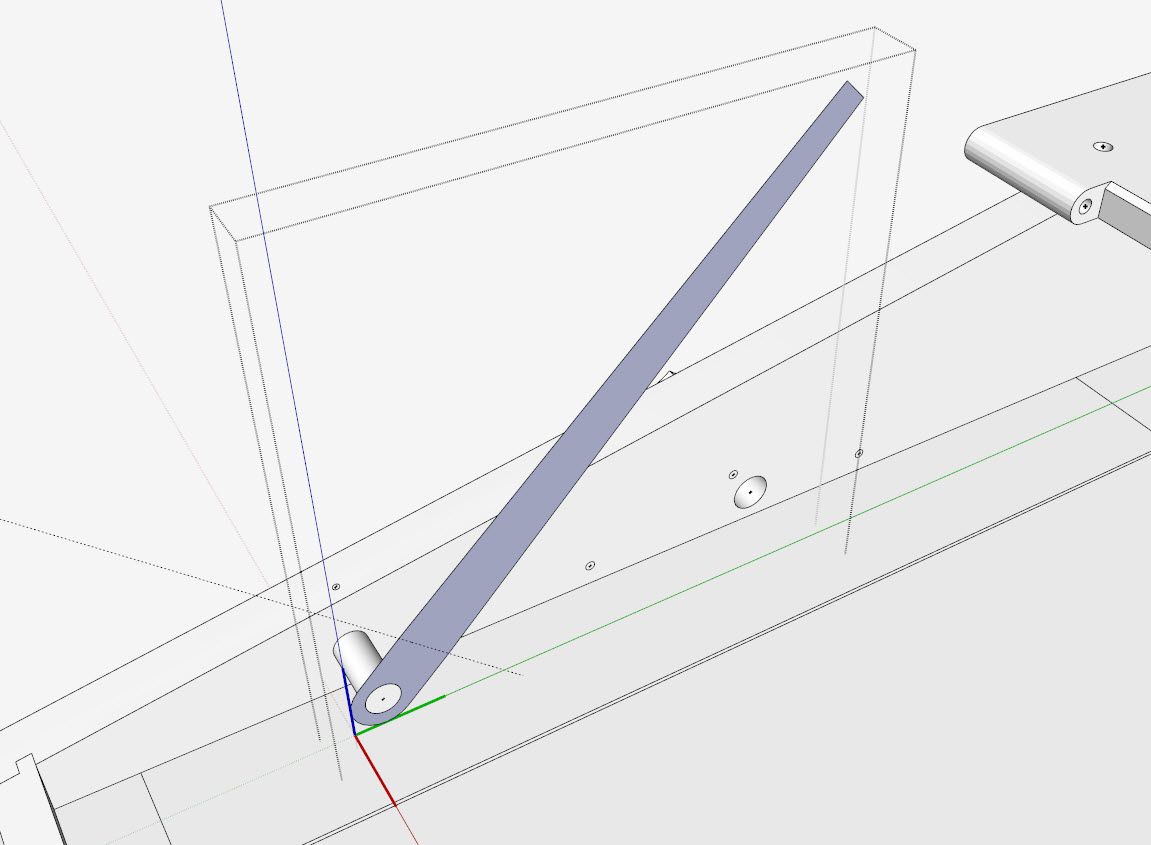
This picture shows the lid support in the raised position.
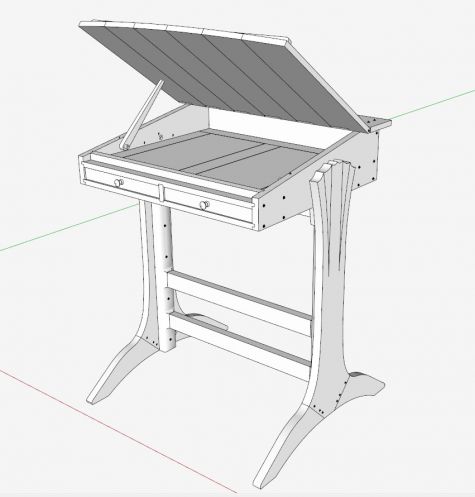
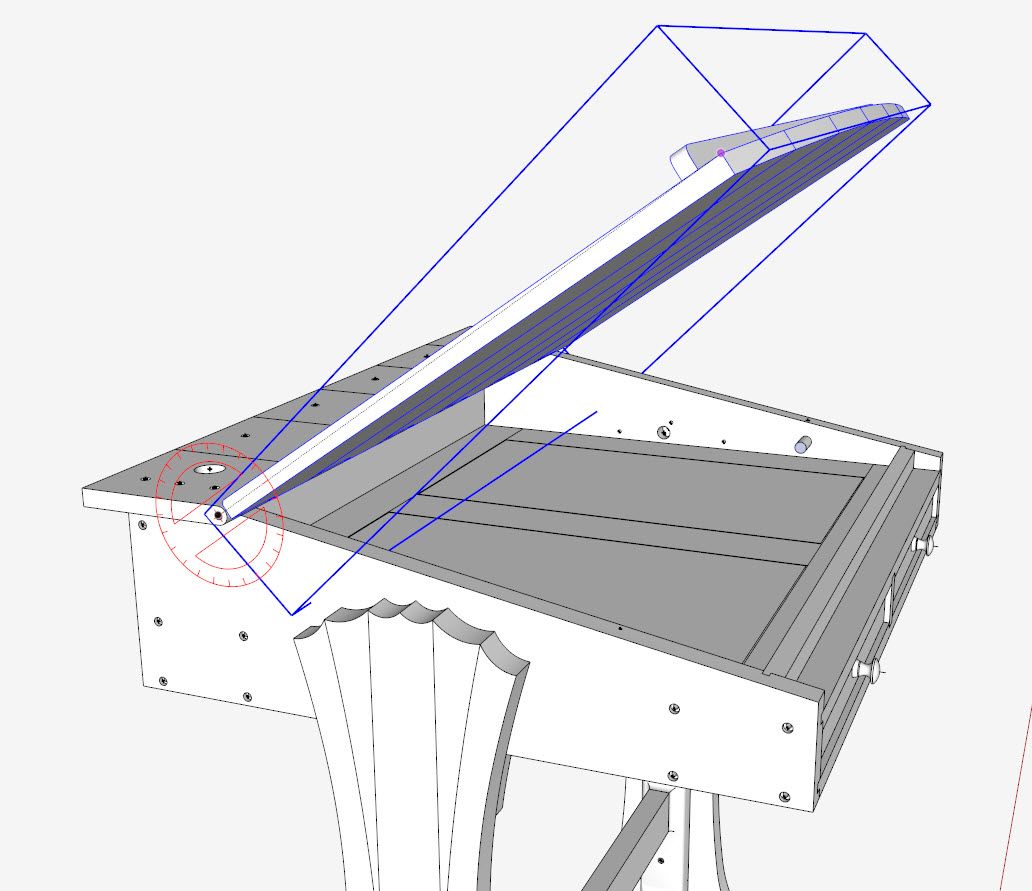
The first step in the process, is to raise the lid to a suitable open position. The Rotate Tool must be held in the proper axis orientation (in this case the Red Axis) by holding the Shift Key, and connecting to the hinge pivot center.
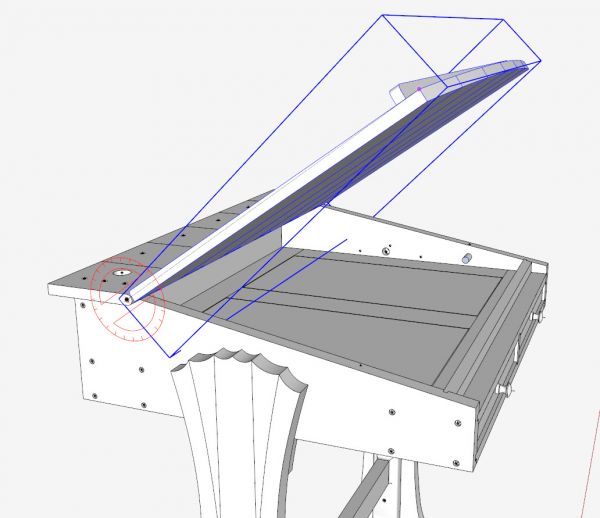
I placed a guideline with the Protractor at a desired angle while the lid is open. There will be a shallow hole in the inside face of the lid, into which the end of the support inserts. Then the side face of the support is created with a taper around the centerline.
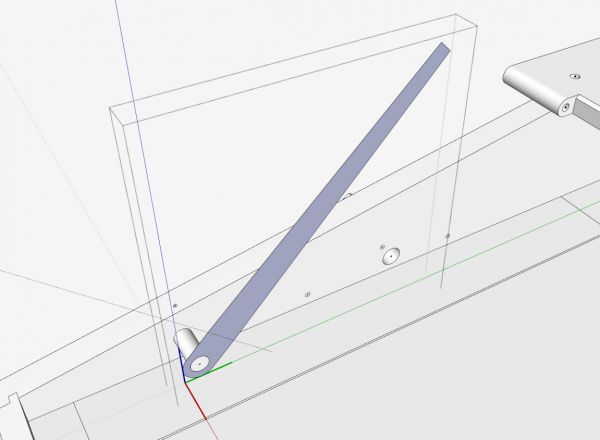
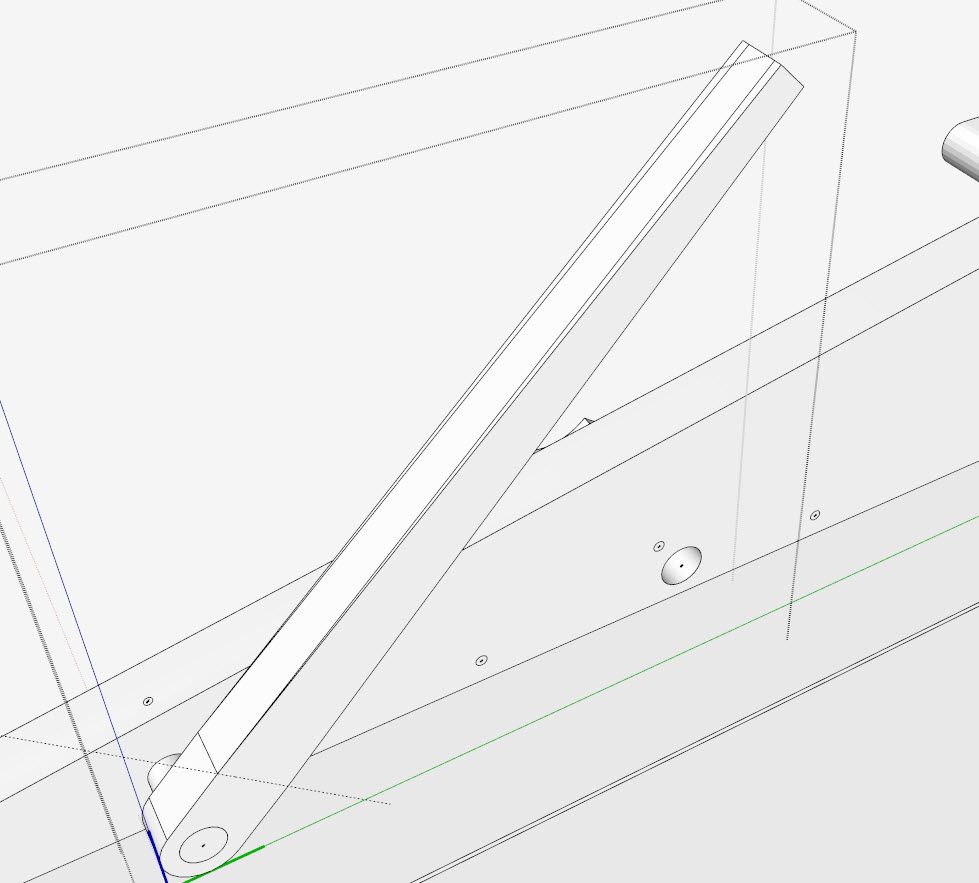
After using PushPull Tool to create a 3/4-in. thickness, I also tapered in the other direction, looking down on the top view of the support.
Here’s a picture showing the construction of the taper in the other axis.
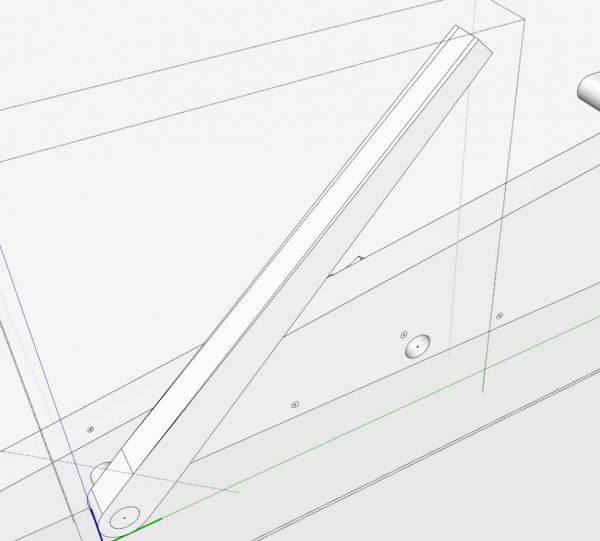
In the shop I bandsawed the shape as represented in SketchUp, then rounded with spokeshaves to a final smooth shape. I also inserted an ebony pin through the end of the shaft, to prevent the support moving off the end of the shaft.
https://youtube.com/watch?v=Ow3hZDZPZo0%3Flist%3DUU1pIa0qnoERn5zoFytwoA_Q
Tim
http://killenwood.com




Log in or create an account to post a comment.
Sign up Log in