How to Carve a Ball-and-Claw Foot
A veteran carver reveals his secret to success
Synopsis: Carve a Newport ball-and-claw foot with guidance from Cartouche Award winner Allan Breed. Gauges help with an accurate layout, and gouges do the carving. After carving hundreds of feet over the years, Breed has tips that make the job more manageable, even for beginners. Here he takes you through the process, from choosing wood to adding the final details that bring the claws to life.
The iconic ball-and-claw foot has its origins in Chinese furniture and in the myth of a dragon pursuing a flaming pearl—if the dragon catches the pearl, it will bring him eternal life. when Colonial-era furniture makers adopted the ball-and-claw foot, they executed it in many regionally distinct variations. Boston, Philadelphia, Newport, New york, and rural Connecticut all had different ball-and-claw feet. The Newport, r.I., foot I’m carving here, from a John Townsend high chest built around 1765, is the most naturalistic of the lot and is probably my favorite. It has pronounced tendons running up the legs, no webbing between the claws, and long, lifelike talons. The effect is dramatic, almost scary, and the extra time it takes to carve is well worth it.
Some ball-and-claw feet have open talons— there is space between the talons and the ball. This one (shown after scraping and before sanding) is not opentaloned, making it easier to carve and less subject to the ravages of the vacuum cleaner. Since attempting my first balland-claw feet 40 years ago, I’ve carved hundreds of others, and I’ve discovered that visualizing two things helps me with the process. First, the ball-and-claw lives in a cube with a claw on each corner. Second, there is a lot more ball than claw when all is said and done. It’s also very helpful to have a sample foot for reference as you carve. This could be an actual foot or a resin casting ($40 at The Breed School, [email protected]).
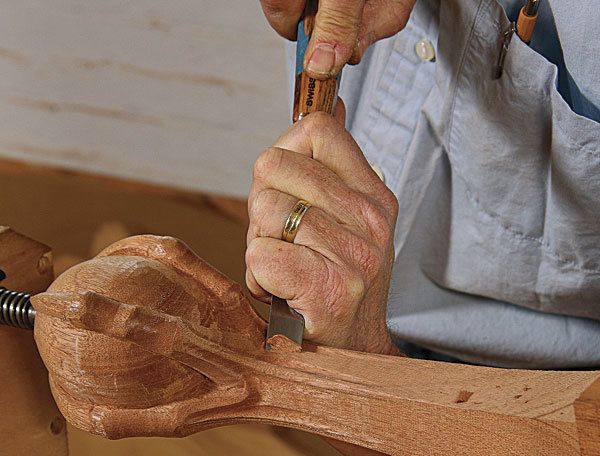
I most often use mahogany, but walnut also carves well. Create facets from knuckle to knuckle. Working to the knuckle layout lines, rough in the outer profile of the claws and talons with a #7 20mm gouge. Later these ridges will be scooped to a saddle shape from knuckle to knuckle, but for now make them straight.
For the full article, download the PDF below:


Log in or create an account to post a comment.
Sign up Log in