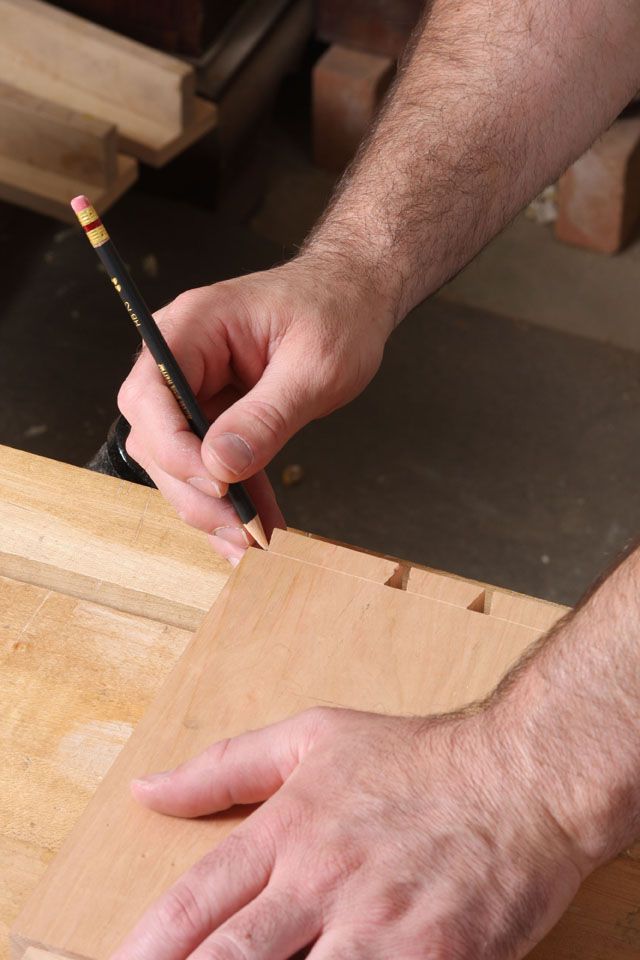
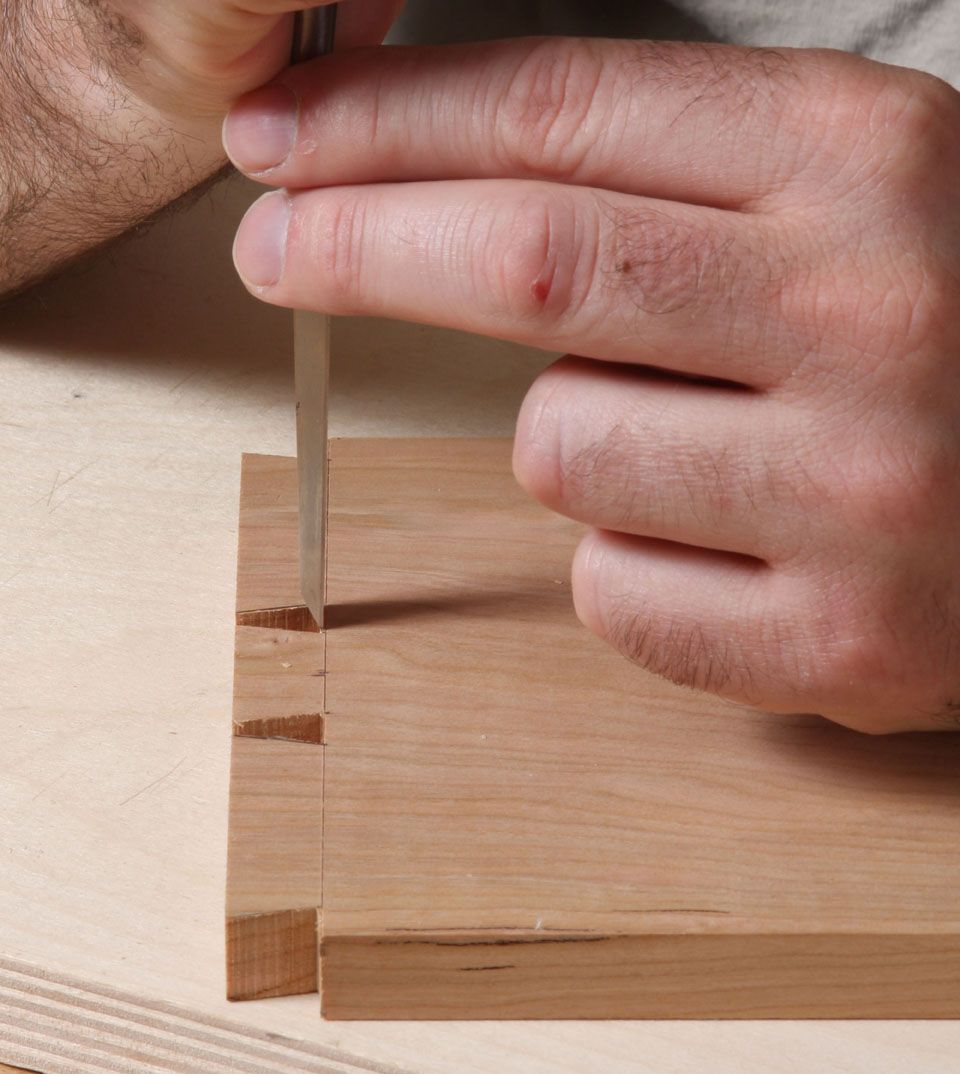
The pencil line is a visual guide. I could probably get a bit closer to the line with my saw, but at least I haven't cut into it, and paring to the line would take just a few seconds.
More on Dovetails
How to Cut Dovetails on the Tablesaw
Simple Trick for Cleaner Dovetail Joints
I cut my first dovetail sometime around the year 2000. That’s not too long ago, I suppose. And I’m certainly not a dovetail master at present. But I’ve come a long way since I first put gent’s saw to wood in an attempt to cut a dovetail. Thinking back over what I’ve learned, I was able to pick out five things that made a significant difference in my dovetails. None of them are the tools I use to actually cut the tails and pins. Four of the five tips have to do with layout and paring. The fifth one has to do with me coming to my senses and taking a different approach to halfblind dovetails for drawer fronts. I’ll just list the five tips, in no particular order.
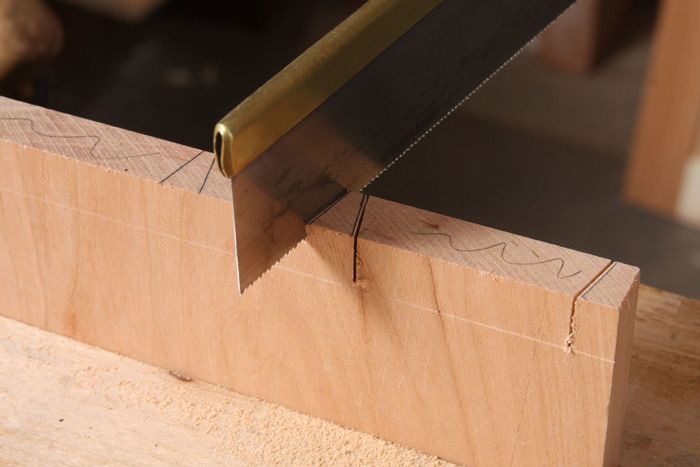
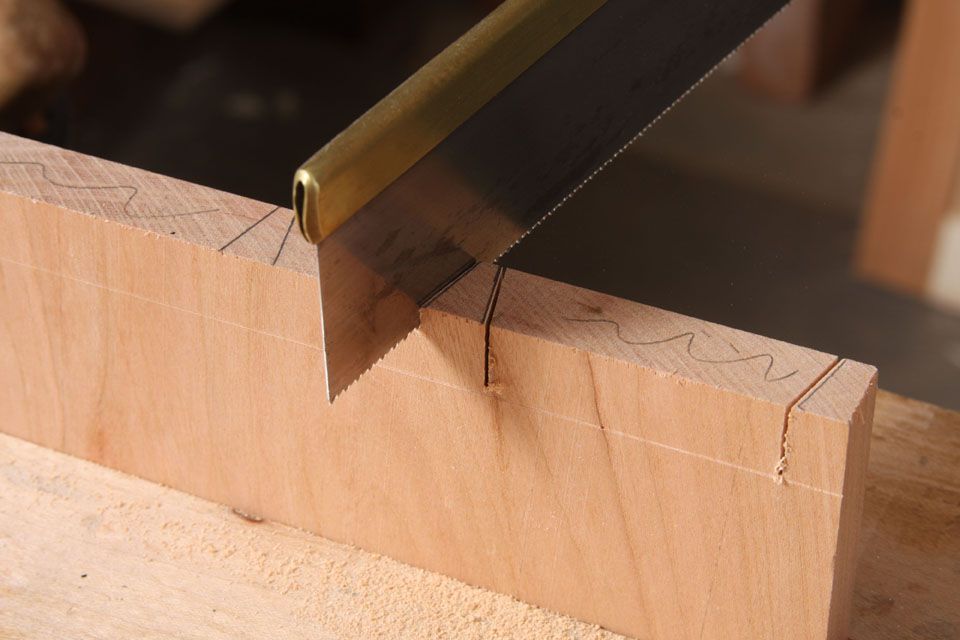
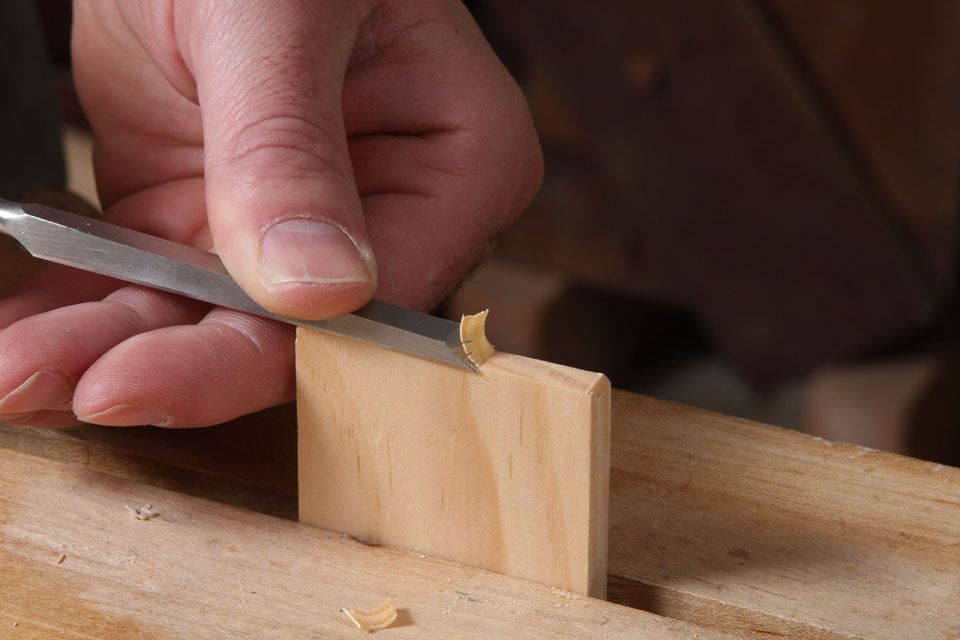
Tip 1: Keep your chisels sharp. It’s been said so many times, that it’s now become a platitude and lost it’s force. But there is no escaping this truth: Sharp tools work better. I sharpen the chisels I need for a set of dovetails before I start to clean up the tails. With a sharp chisel I can leave the mallet in my tool cabinet, and just use hand pressure to pare down the baseline. And, most importantly, it becomes much easier to pare right to the baseline, and a clean baseline is a key part of a tight joint. (By the way, you should be removing the waste between tails and pins with a coping saw, leaving just enough for paring. Chopping out the waste is crazy. I know from lots of personal experience.)
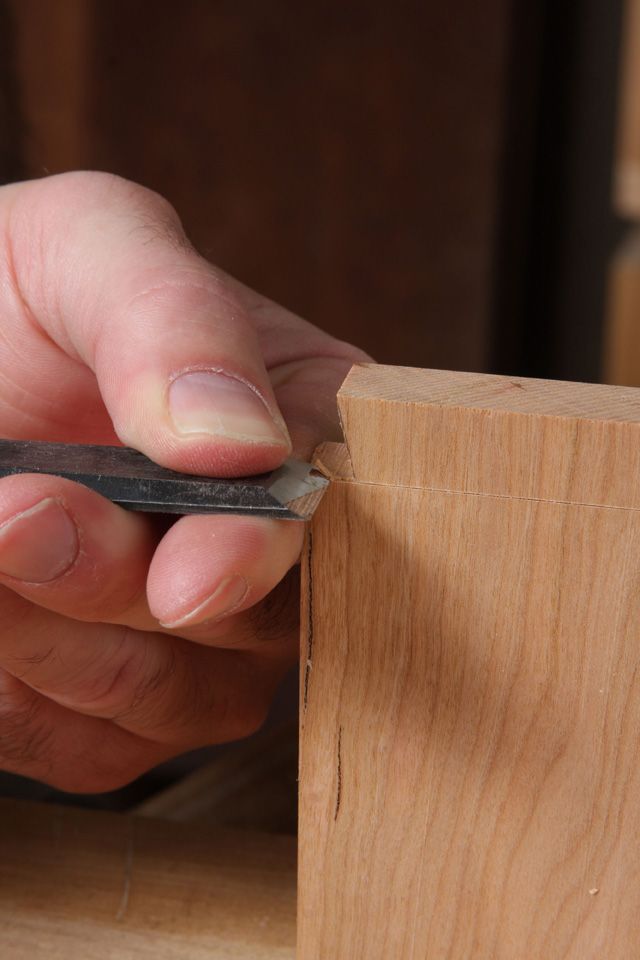
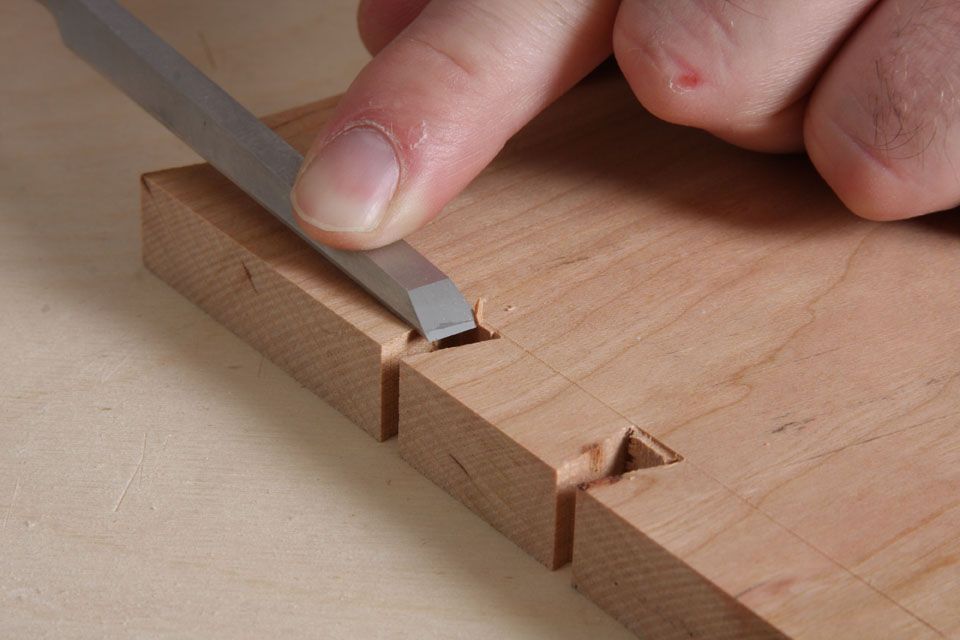
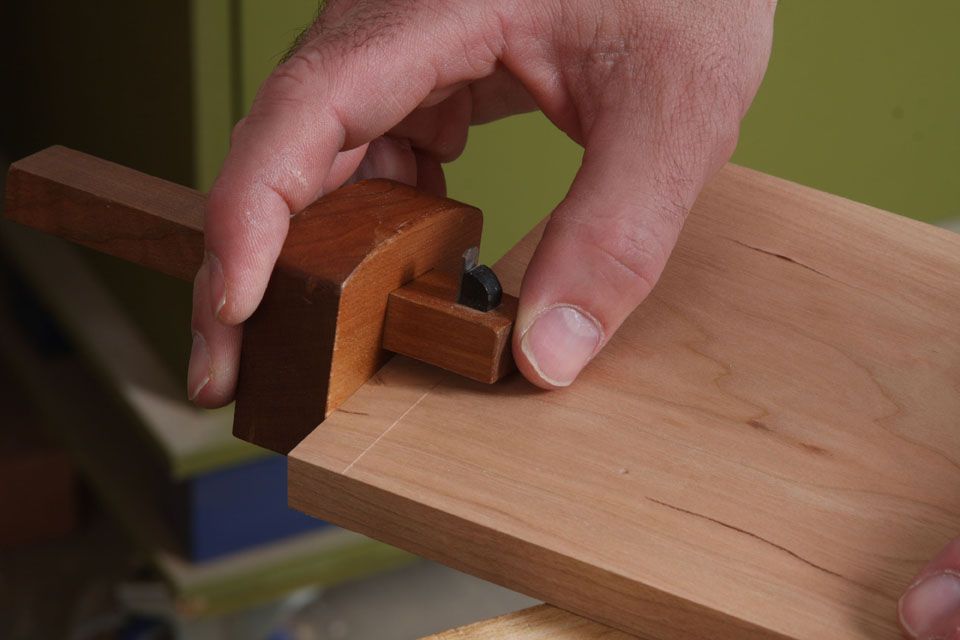
Tip 2: Use a cutting gauge to layout the baselines. The knife in a cutting gauge cuts a clean crisp line across the grain. The benefit of this is that before you beginning paring, you can use your chisel to run along the baseline (only in the waste area) and create a small ledge to register your chisel against, giving you a physical guide for paring. It makes it easy to get right on the baseline, but not beneath it. And if you haven’t gotten down to the baseline yet, there is still a small ledge–a nice visual indicator that there is more paring to do.
Tip 3: Use a pencil to transfer the tails to the pin board. This one really made a big difference for me. The pencil line is completely on the future pin. None of it should be cut or pared away. I work up to the line and just like that my pins fit without gaps. It helps to use a very pointy pencil lead so that you can get right against the tail where it meets the pin board, giving you a more accurate indication of where to stop paring.
Tip 4: Listen to Phil Lowe. He knows the right way to pare a shoulder. I used to have a lot of trouble with those two outside shoulders on the tail board (the half-pin sockets), regularly cutting beneath the baseline. Using a cutting gauge helped some, but what really made the difference was a tip I picked up from Phil Lowe. It’s explained in detail in this article, but the basic idea is this. Don’t pare the entire shoulder at once. Instead, pare just a narrow bit from one side, using the cut gauge lines on the face and edge to guide your chisel. Then use the newly pared section as a reference surface for the bottom of the chisel and pare another narrow sliver. Repeat until you are all the way across.
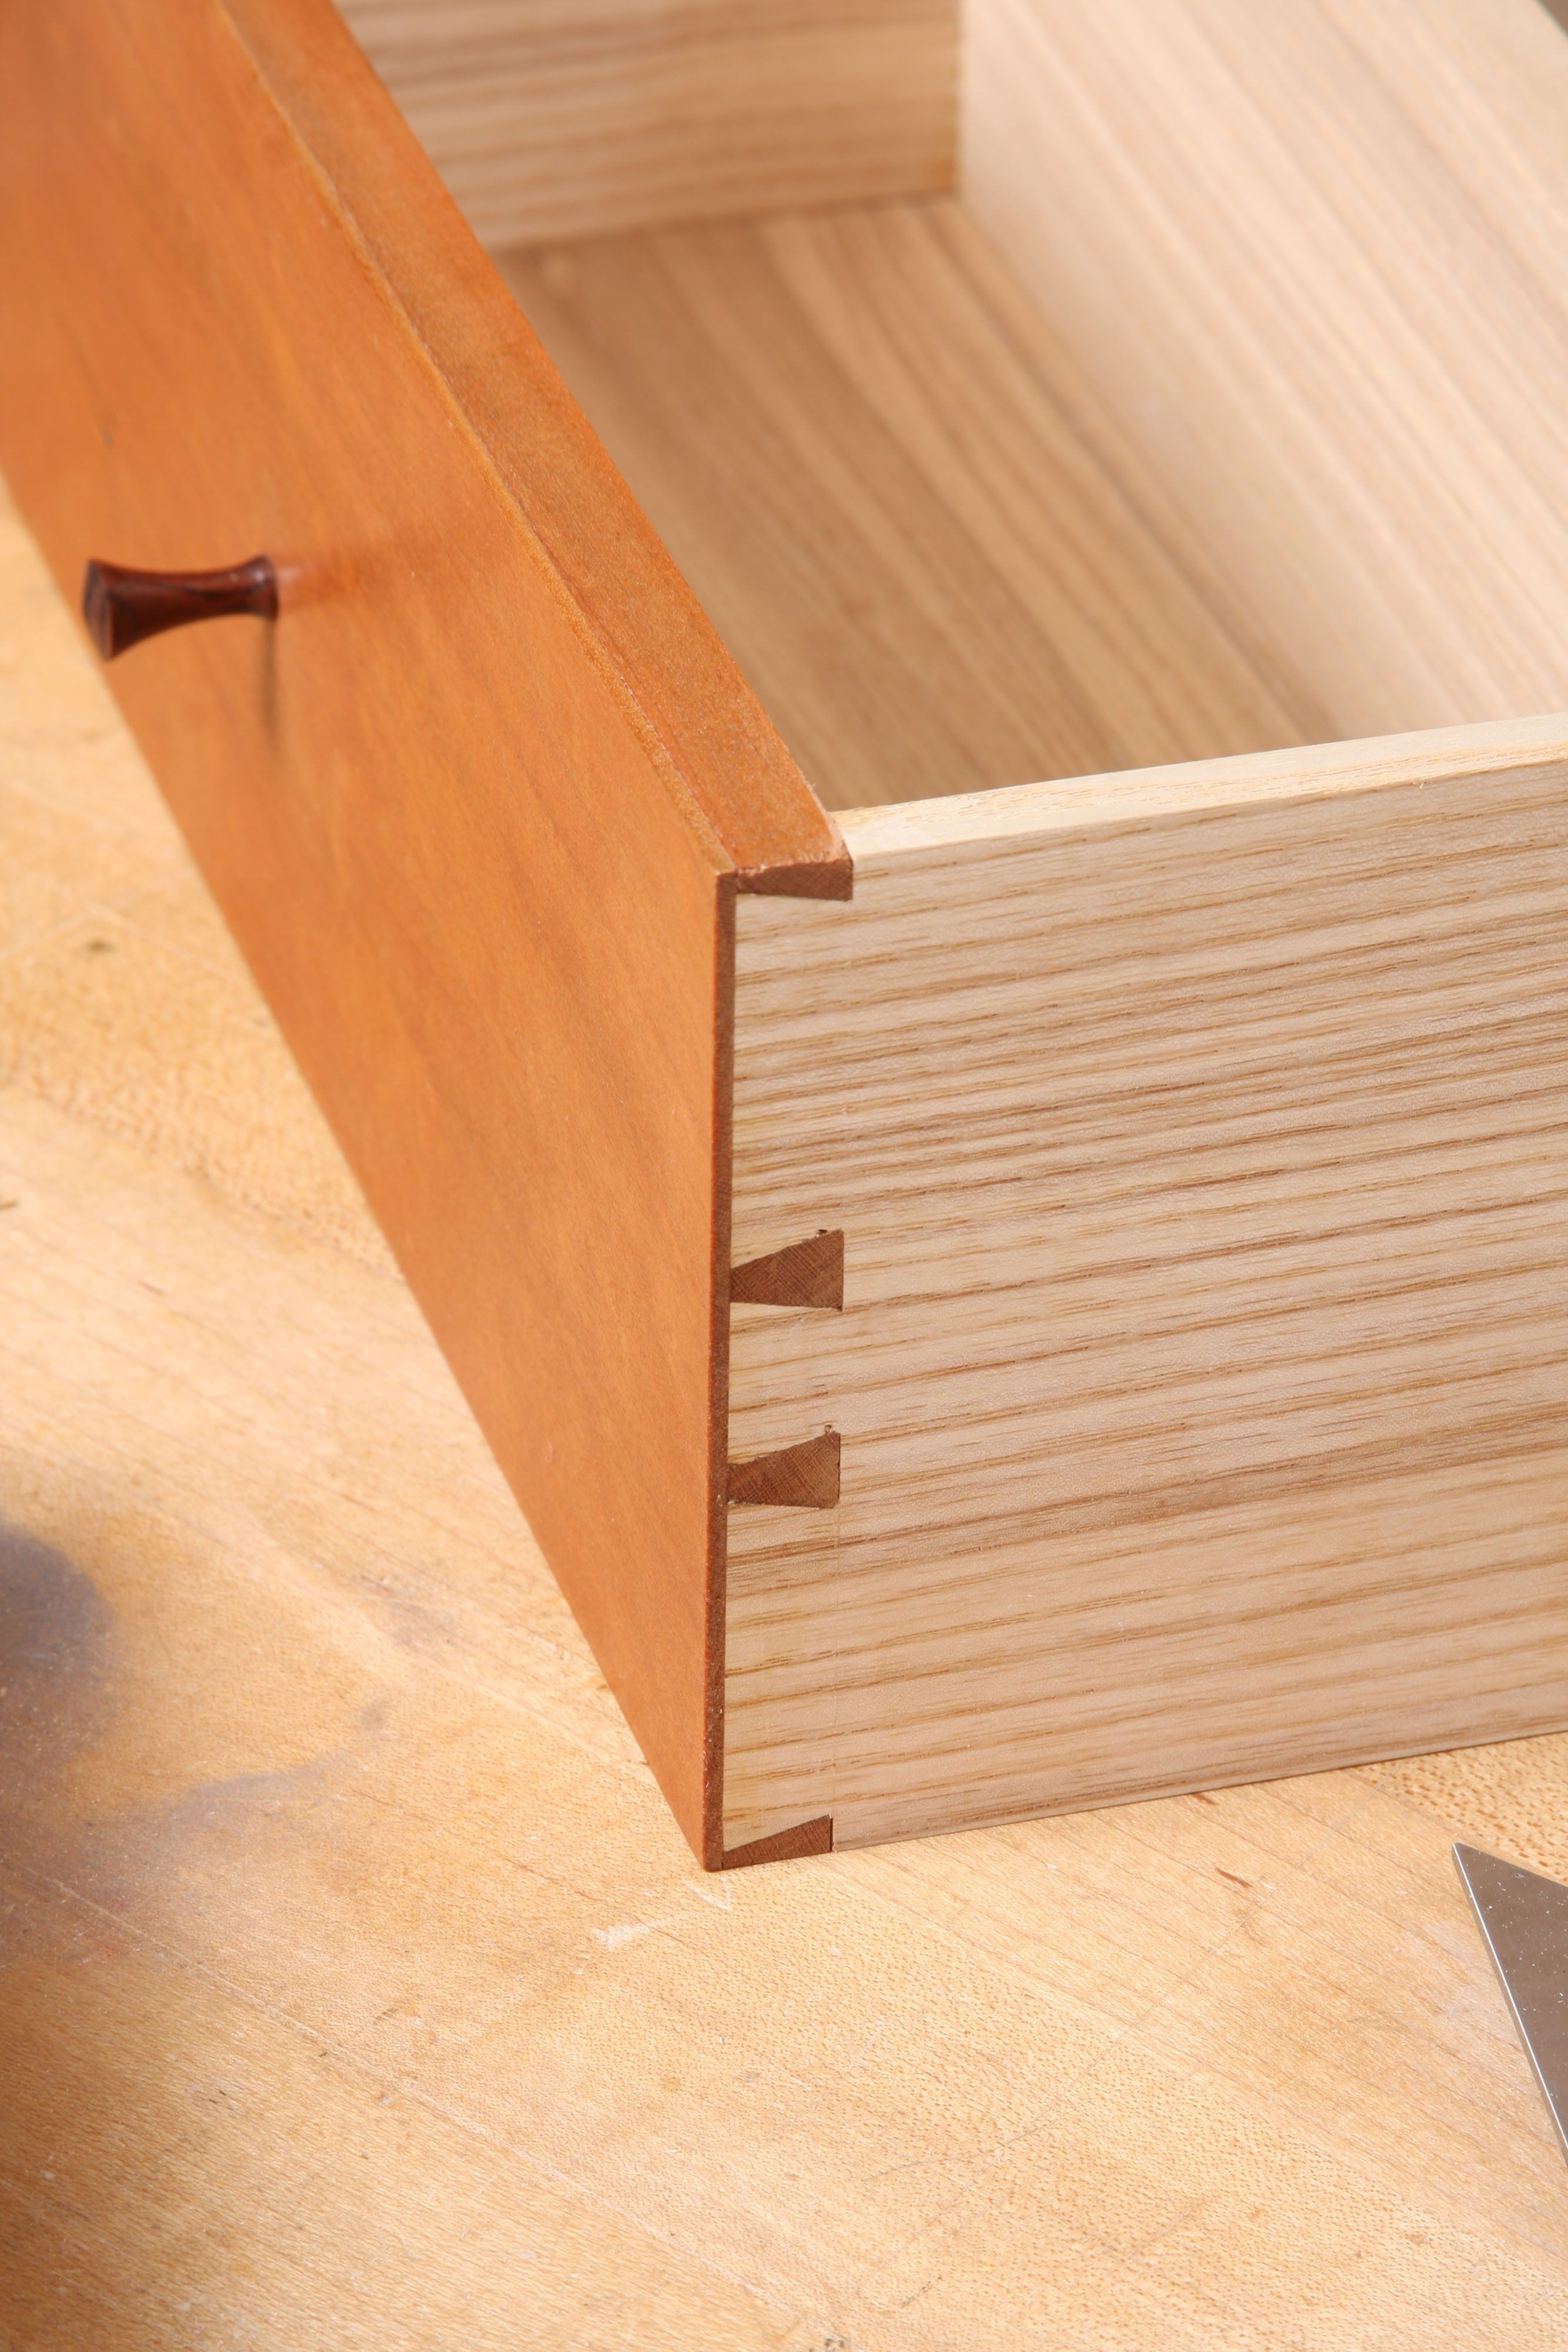
Tip 5: Stop cutting halfblind dovetails for drawer fronts. I’m sure some will balk at this one. It’s a bit non-traditional. That doesn’t bother me. Here’s what I do. I cut through dovetails to joins the drawer sides to the drawer front and then glue on a 1/8 in. thick veneer onto the drawer front. This creatres the look of a half-blind dovetail. Before gluing on the thick veneer, I plane the drawer front to make sure it’s flush with the sides’ endgrain. When the thick veneer is glued down, you get a very clean and straight “baseline” for the dovetails. This technique also lets me conserve special woods. I typically use the same species for the front and the thick veneer (the glue line disappears).



Comments
Tip #5 is one that I've been fighting. I'm one of those guys that, if it can be done and look good there's no reason why I can't do it too. Well I'm about ready to give in on making half blinds look right. I have no problem with the through tails, but I just can't get the joint tight enough with the half blinds.
Log in or create an account to post a comment.
Sign up Log in