This video shows the completion of parts to a Shaker Oval Box #5. Stage 1 and 2 videos showed the creation of the Box and Top Bands. There are several more parts required including those used during the construction process in the shop.
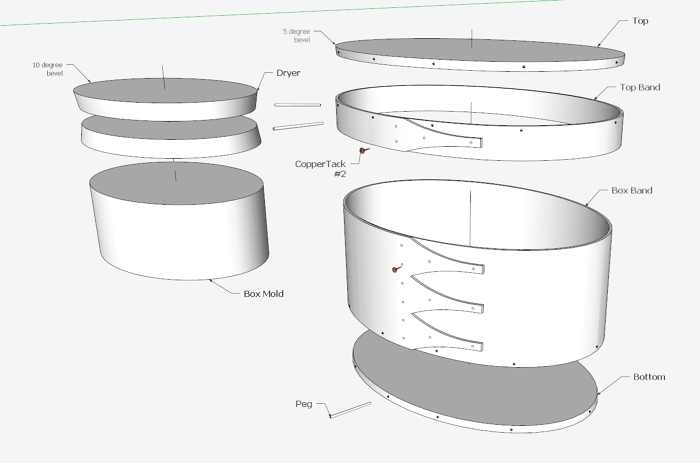
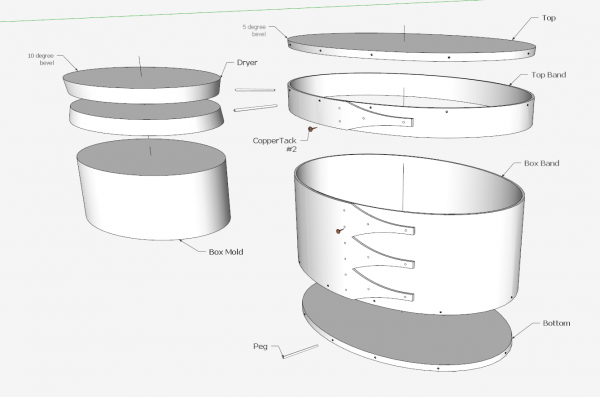
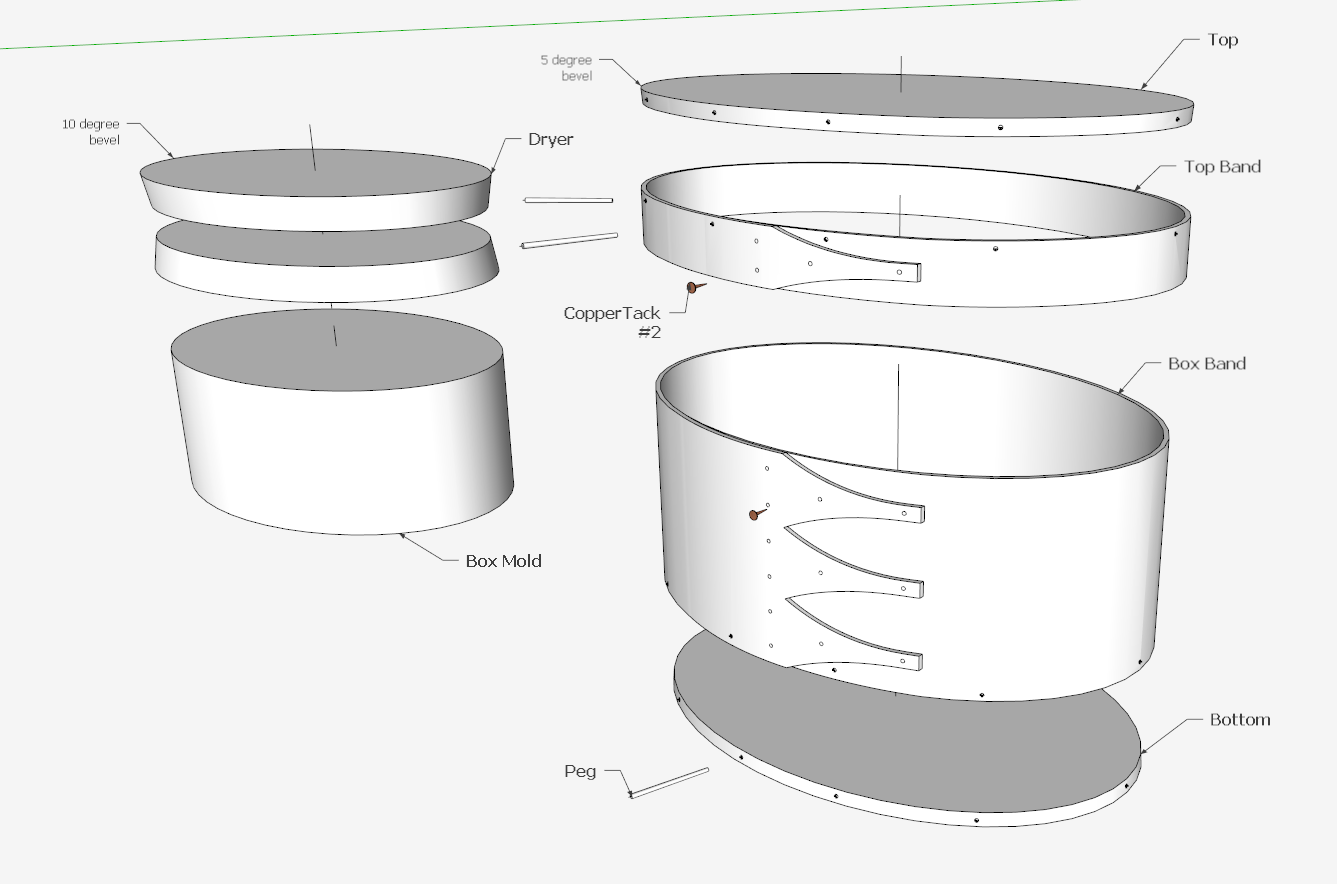
Here is an Exploded View of all the parts. The remaining parts are the Top, and Bottom. The parts on the left side are used during shop construction of the boxes. The Box Mold is the form on which the Box Banding is bent and shaped. Also there are the two Dryers, used after the steam bending to plug the top and bottom of the Box Band and hold its shape while drying.
It is quite easy to make the Box Mold, simply use the Push-Pull Tool and draw a height slightly higher than the Box Band, about 4 inches.
But the Dryers are more difficult. The Dryers, when pressed into both ends of the Box provide a great form for retaining the box shape while drying.
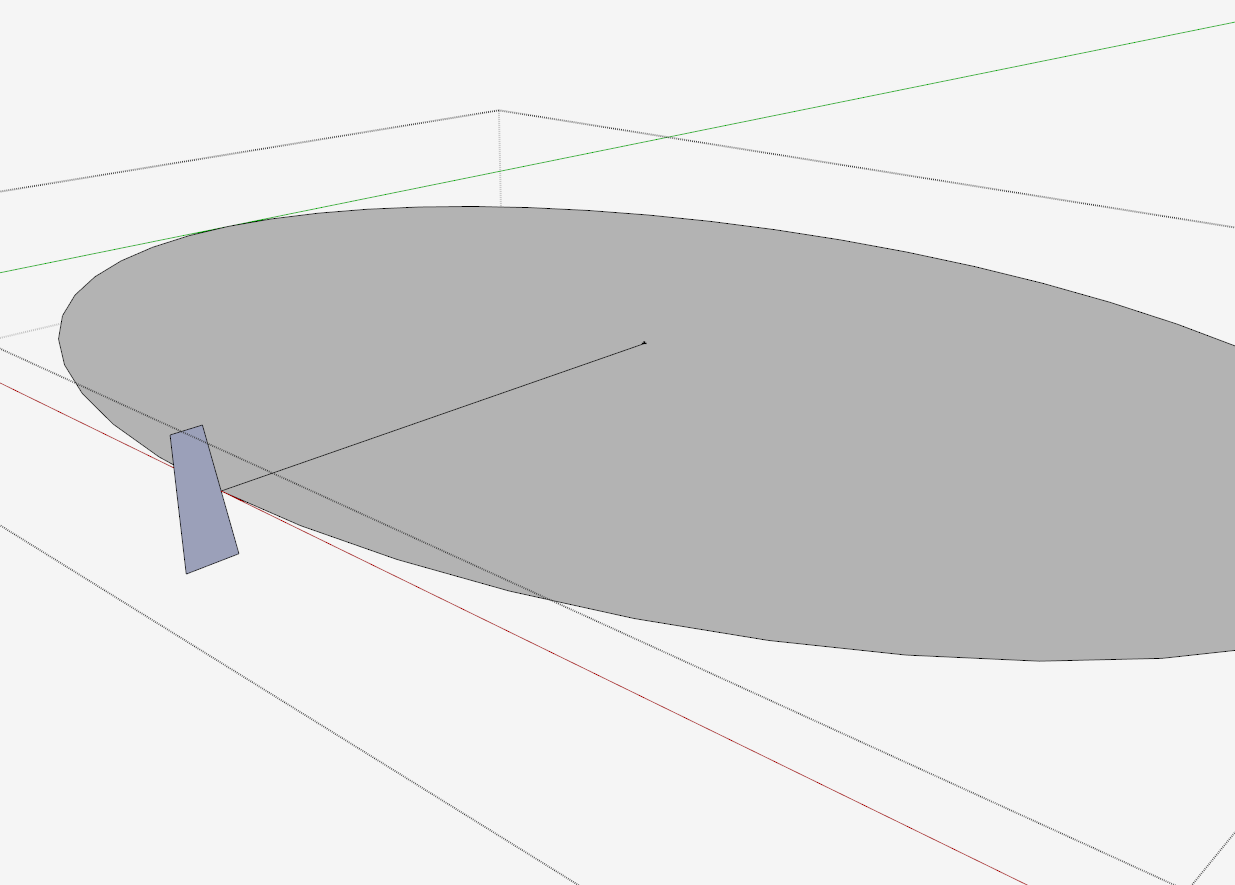
Here is the set up for creating the Dryers using the internal oval shape of the Box Band.
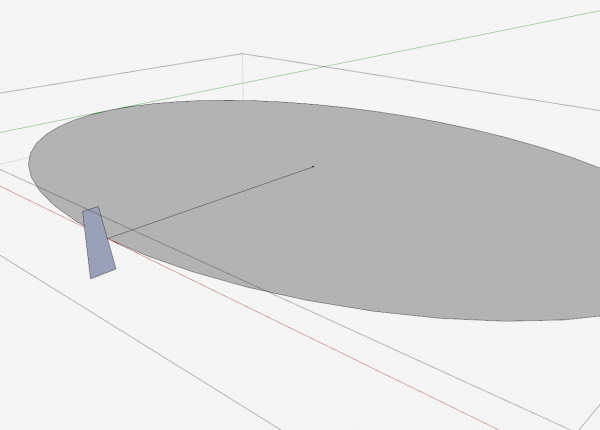
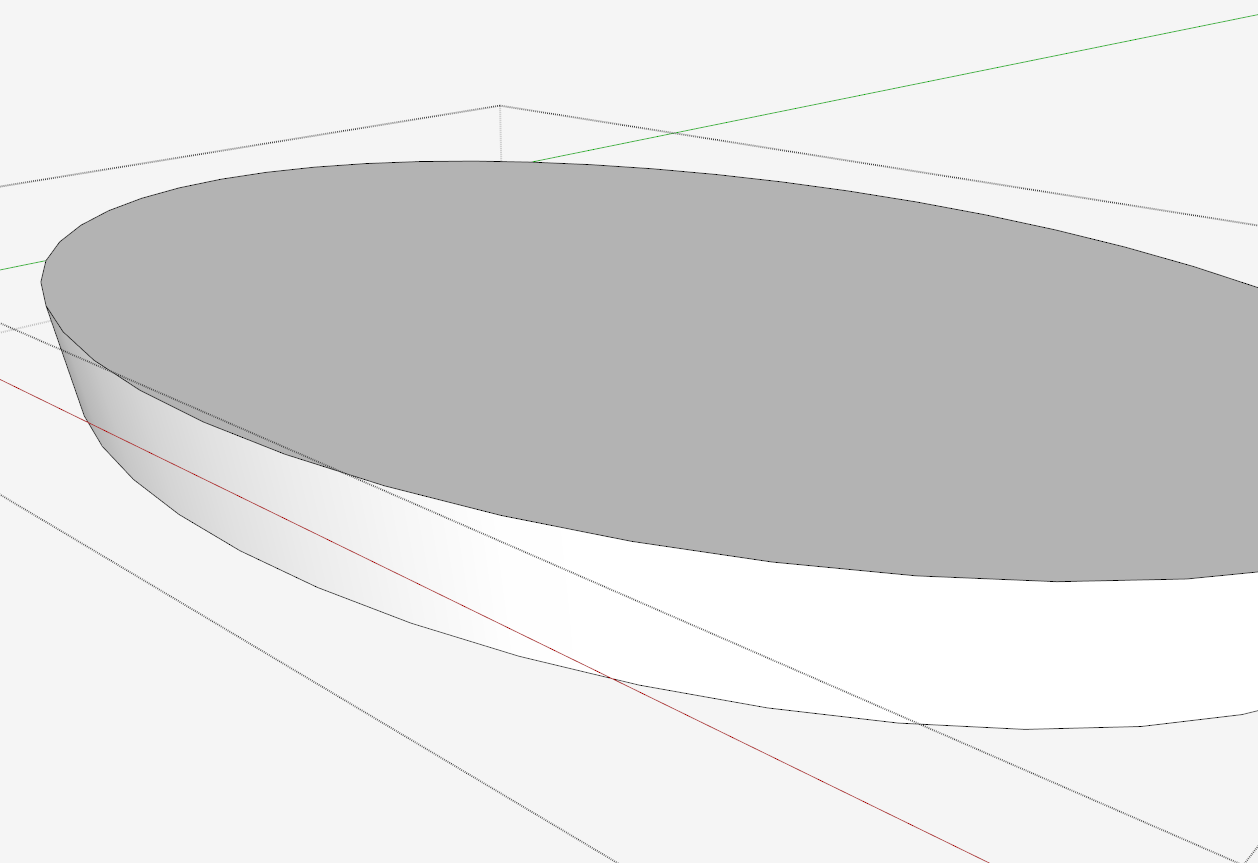
The Protractor Tool creates a 10 degree gudeline. The Dryers are 3/4-in. thick so the Tape Measure makes a guideline 3/8-in. above the midpoint, and 3/8-in. below the midpoint. Then I draw a small face using the Line Tool and it doesn’t matter how big this face is. This completes the set up for a Follow Me using the perimeter of the Oval as the path. After some easy cleanup of waste, you have Dryer as shown below.
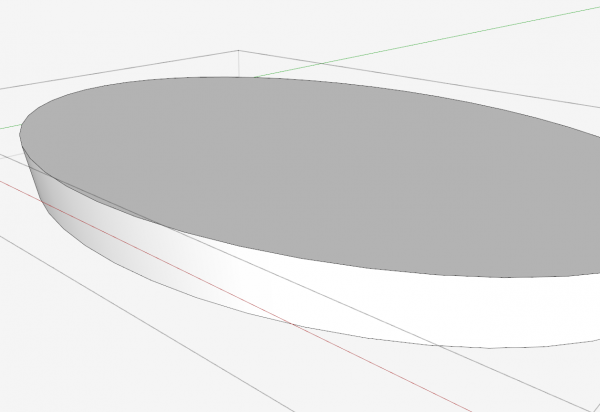
Also, two 3/4-in. dia. through holes should be added for ventilation and to assist removal after a couple days of drying.
The Top and Bottom pieces are created similarly to the Dryers. Again there is a bevel but this time only 5 degrees. The Top and Bottom are only 1/4-in. thick for this #5 oval box. So guidelines are placed 1/8-in. above the midpoint and 1/8-in. below. The Top and Bottom also act as a cork so when pressing into the bandings the bevel ensures a good fit around the perimeter.
Here is the video….
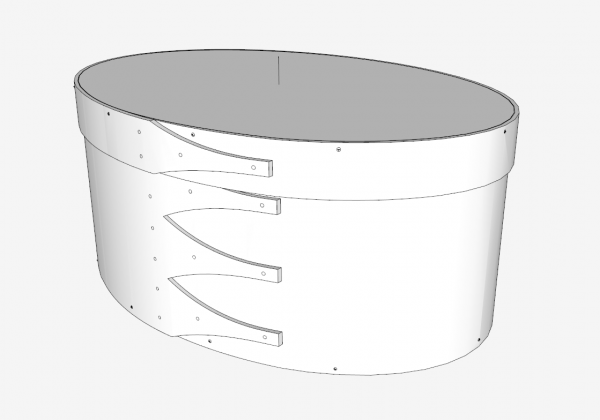
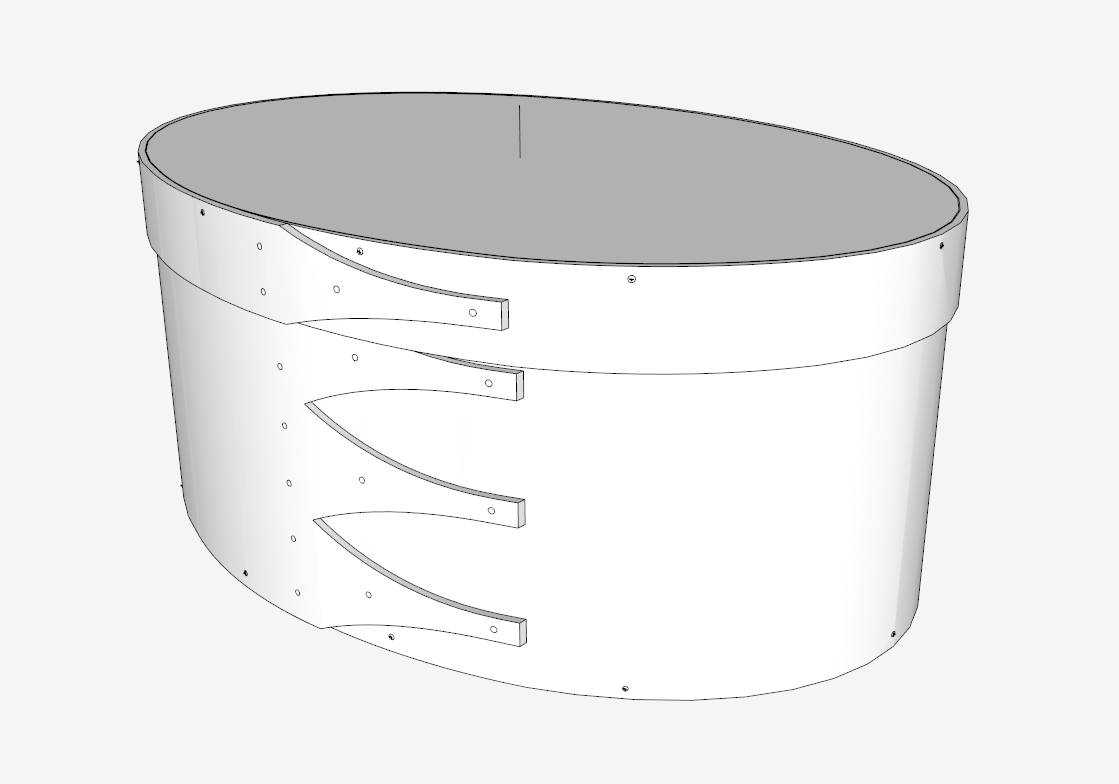
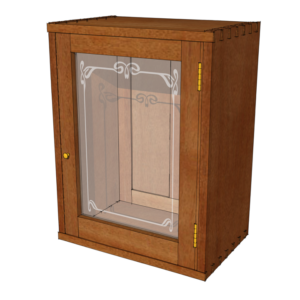
And here is the assembled Box…..
Tim
http://killenwood.com




Log in or create an account to post a comment.
Sign up Log in