How to Tame Tricky Glue-Ups
Custom cauls can handle every angle and curve
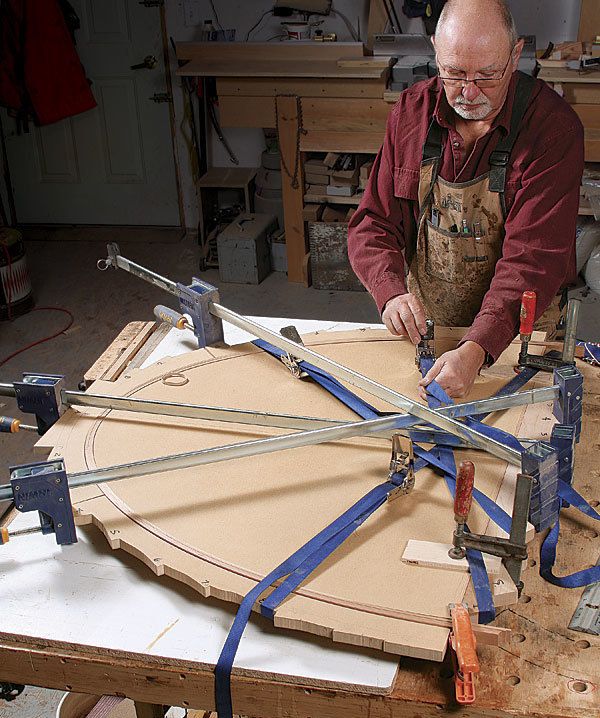
Synopsis: The key to all glue-ups—especially those on curved parts—is that the clamping pressure must be at an exact right angle to the glueline, and centered on the joint. On angled and curved work, the only reliable way to direct clamping pressure precisely is with specialized cauls. Designing and making these helpers may seem like a hassle at first, but not after you experience the benefits. Here, Michael Fortune explains how to make and use clamped-on cauls for curved work, plus specialized cauls for crown molding, rounded surfaces, and cove molding.
Many woodworkers stop at rectangular work, preferring to stick with flat surfaces and right-angled joints. This is a shame because curves and angles make furniture stand out, and they aren’t as hard as you think. Most importantly, they are fun.
A few factors keep people in the box. Even if they know how to cut smooth curves and precise angles, there still is the problem of gluing and clamping these awkward pieces together. There is a lot of time and material invested at that point, and an open or misaligned joint can be devastating.
This is a follow-up to my two articles on basic glue-ups in FWW #234, which covered 90° joints and basic miters (“Great Glue-Ups Guaranteed,” and Fundamentals: “Gear up for glue-ups”). As I pointed out then, while a dry run is always important for a glue-up, it doesn’t tell the whole story. That is especially the case with curved and angled parts. Once the glue is applied, parts want to slide on the slippery film, freezing in the wrong location a few minutes later when the glue begins to set.
That’s why the key to all glue-ups— especially those on irregular parts—is that the clamping pressure be at an exact right angle to the glueline, and centered on the joint. On angled and curved work, the only reliable way to direct clamping pressure precisely is with specialized cauls. Designing and making these helpers may seem like a hassle at first, but not after you experience the benefits.
Sometimes I glue these custom cauls directly onto the workpieces, chipping them off later with a chisel or gouge. But most often I clamp the cauls to the workpieces, and then clamp across them to close the joint and complete the job. That’s the case with the first one on my list. By the way, I recommend using traditional F-style bar clamps whenever possible. These let you locate the clamping force precisely where it is needed.
I like the seamless look of continuous grain, so I design and make many cabinets with miters at the corners. Whether the panels are plywood or solid, I always reinforce the joints with biscuits or slip tenons; this also helps to keep the miters aligned during assembly. But that doesn’t take care of clamping.
My simple cauls send the pressure through the center of the miter joint. And they let me deal with the joints one at a time, a bonus when using yellow glue, which sets up pretty quickly. The results are invariably good—and stress-free. To give the cauls grip, I add cheap P80- or P100-grit sandpaper to the contact face with yellow glue, so it won’t creep.
For the full article, download the PDF below.
Fine Woodworking Recommended Products

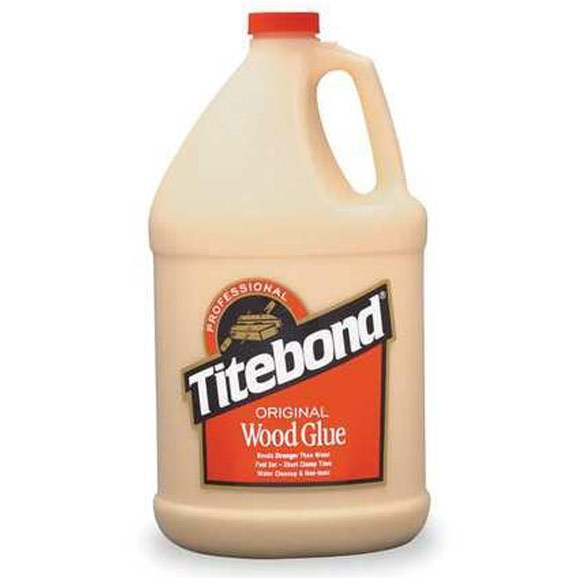
Titebond I

Dubuque Clamp Works Bar Clamps - 4 pack

Bessey EKH Trigger Clamps


Log in or create an account to post a comment.
Sign up Log in