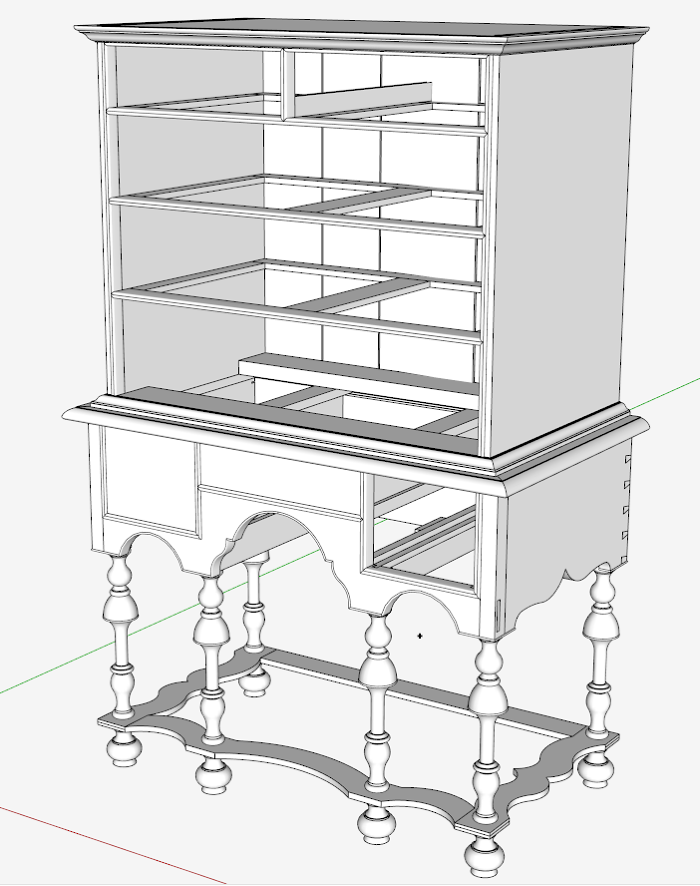
This is an 18th C. William & Mary Highboy that I’m currently modeling. The carcase and all joinery is complete, but the drawers are missing. Rather than building drawers from scratch, I like to use drawers from other models and adapt them to newer projects. Drawers are quite complex and by adapting existing ones, I can save quite a bit of time.
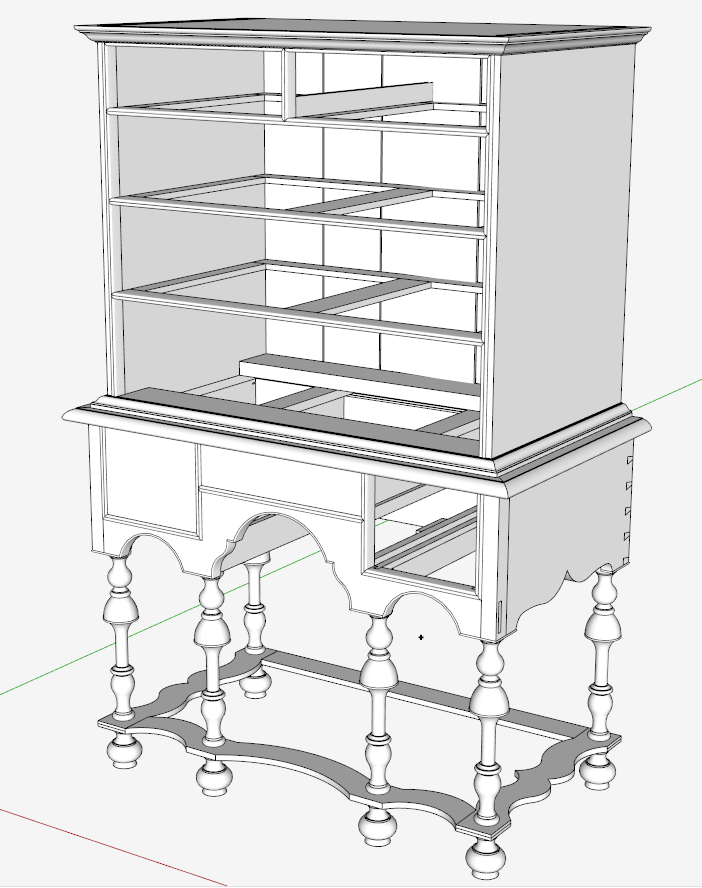
In the following video, I show how I used the middle drawer to make a new drawer that fits in the end locations. Here is the Highboy showing the result, now having two drawers complete. I’ll use this same procedure to make drawers in all of the remaining locations.

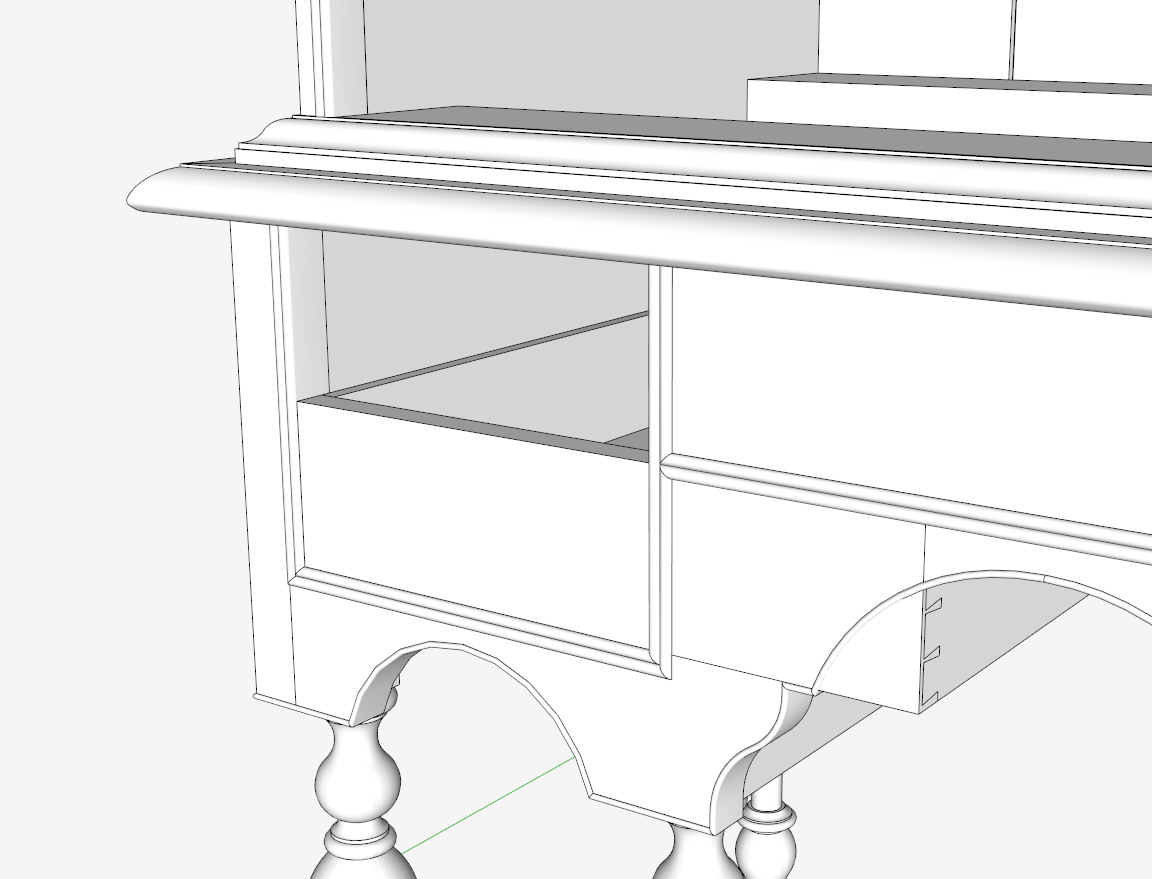
The first step in creating a new drawer is to copy the reference drawer into the target location. In this case, I find that “hiding” some of the surrounding components helps to remove the viewability of the specific modeling area. Having a lot of “clutter” around the drawer makes it harder to make the adjustments. The picture below shows the reference drawer in the new location without any “hiding” of surrounding components.

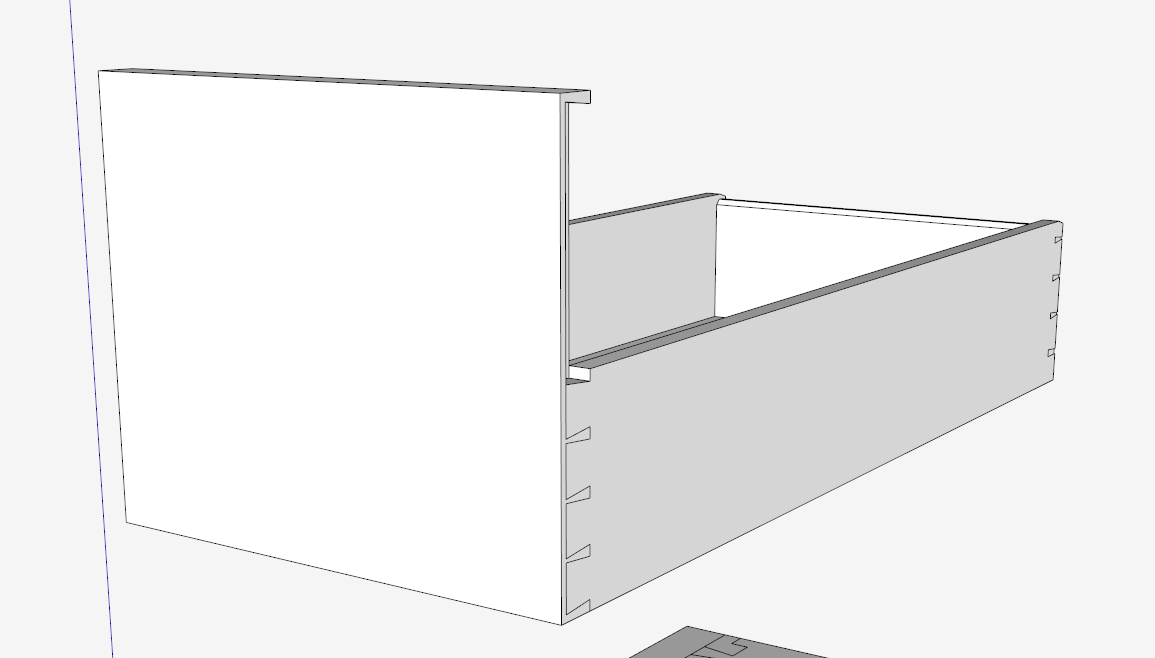
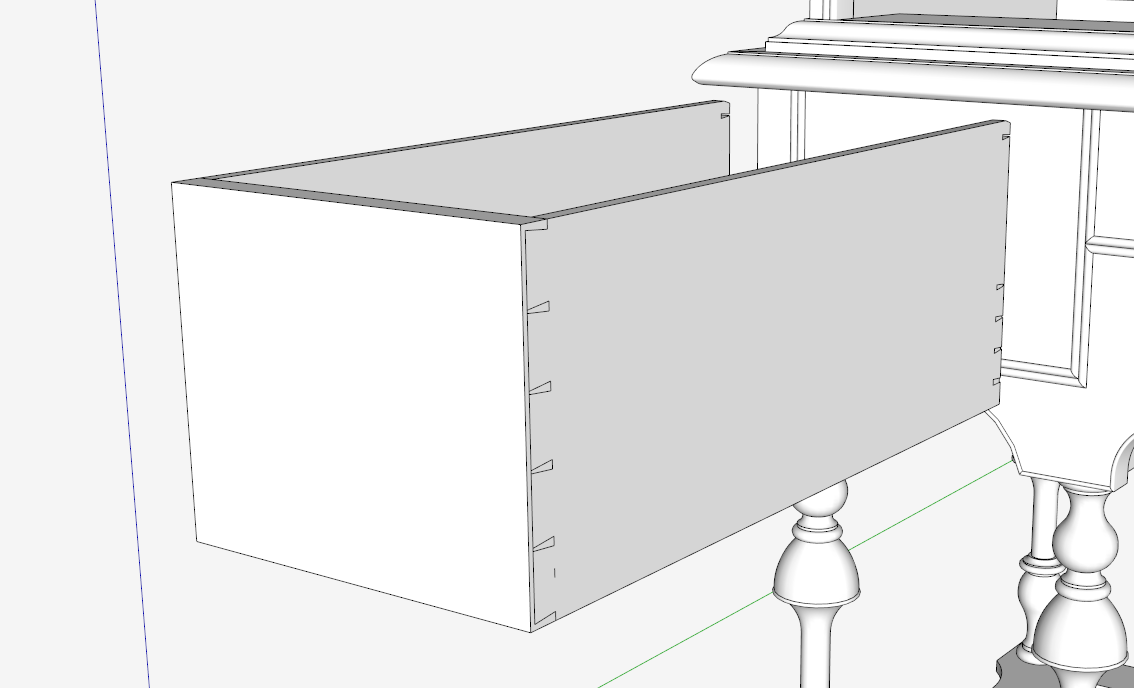
After making changes to the drawer front, I copy a full drawer assembly outside of the carcase in empty space. This makes it easier to adjust the remaining components and dovetail joints.

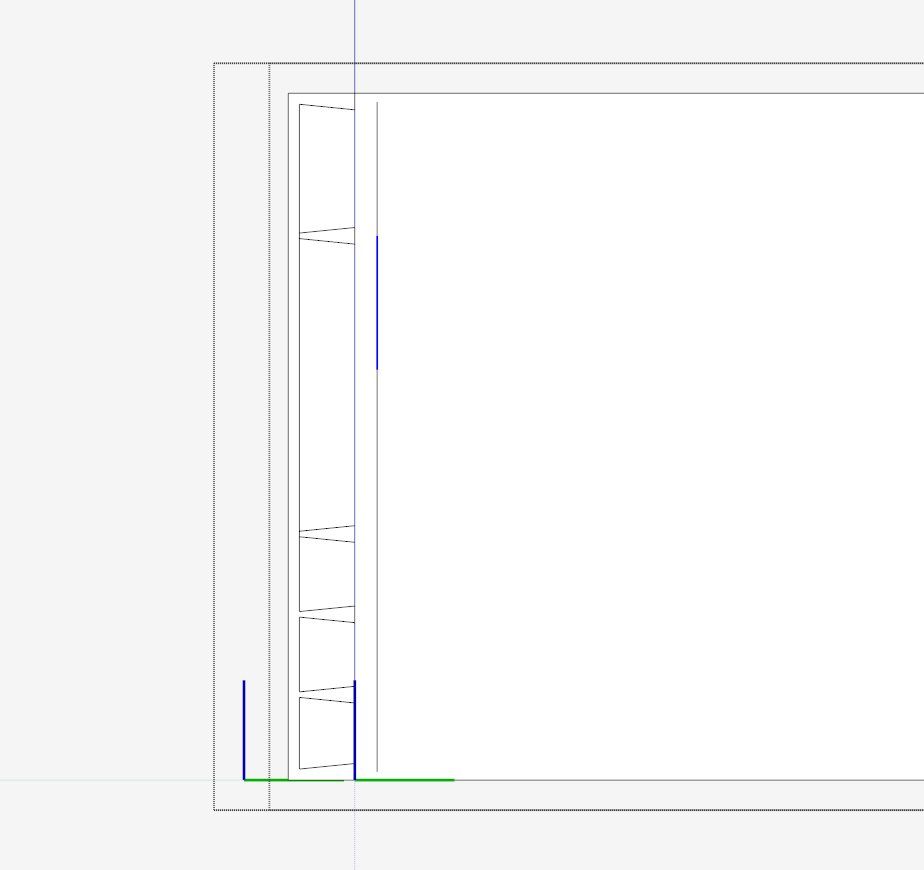
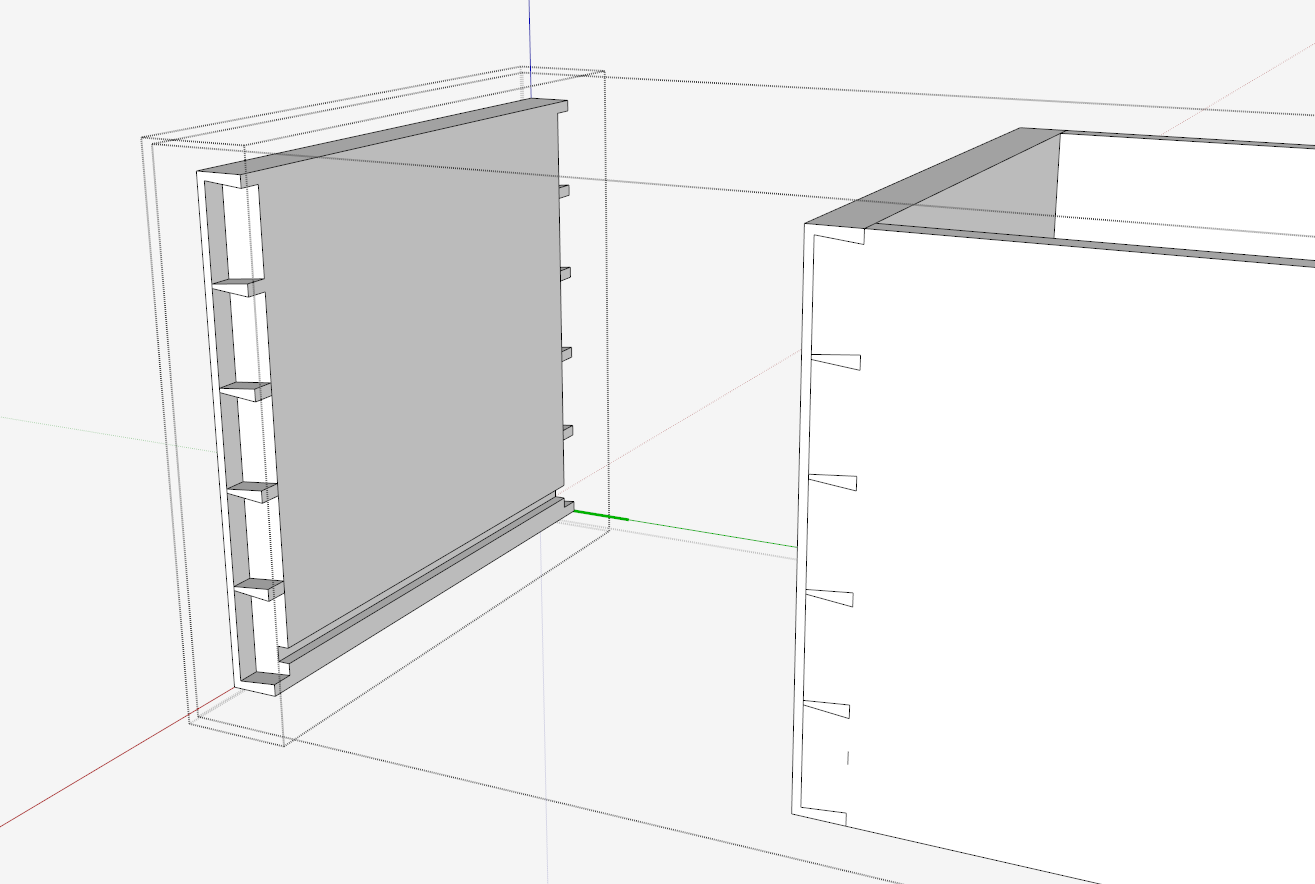
The hardest part of the drawer re-construction is rearranging the dovetails. I make use of standard orthographic views and parallel projection to move dovetails. This helps particularly when editing the Front component, since both ends of the Front joints are changed simultaneously.

After making adjustments, I copy out the Front component for inspection.

In this video, I’m showing the adjustment of front dovetails only. The back joints are done similarly.

https://youtube.com/watch?v=dI2CAG0IFcs%3Flist%3DUU1pIa0qnoERn5zoFytwoA_Q
Tim


Log in or create an account to post a comment.
Sign up Log in