Lock Mortises Made Easy
A router and three jigs add up to a flawless fit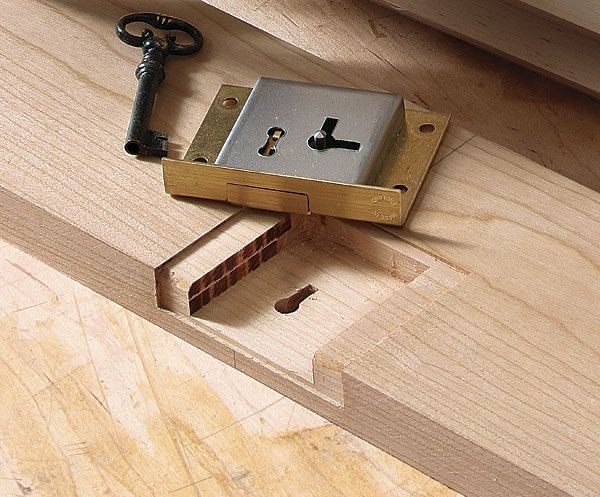
Synopsis: Installing a half-mortise lock by hand is a tedious and time-consuming process. So Michael Pekovich designed a routing jig for the shallow mortises, a second routing jig for the deep mortise, and a keyhole drilling guide. The routing jigs are used with a pattern bit. Because they are built around the lock itself, the fit is as good as, or better than, a hand-cut mortise and they take less time to rout. And because the task is split between three jigs, success is almost guaranteed.
Installing a half-mortise lock by hand is time-consuming and tricky to get just right. The process involves mortising for the lock plate, selvage, and body as well as drilling for the keyhole. Everything needs to be sized and aligned precisely to end up with a perfect fit.
So when I decided to teach a class on building my tool chest, which requires three locks, I was a little stressed out. The thought of shepherding 10 students through two drawer locks and one lid lock in a hectic five-day class seemed impossible. To have any hope of success, I had to figure out a better way to do it.
My solution is based on a hinge-mortising jig made by boxmaker Doug Stowe. His jig is built around the hinge itself for a perfect fit without measuring. In that vein, I designed a routing jig for the shallow mortises, a second routing jig for the deep mortise, and a keyhole drilling guide. The routing jigs are used with a pattern bit. To make registration on the drawer front easy, all of the jigs are marked for the keyhole’s center. It takes less time to make these jigs and rout the mortises than it does to do the job by hand, and the results are as good as, if not better than, my hand-cut lock mortises.
Because the jigs are built around the lock, you need to buy the lock first. To get the most from these jigs, find a good quality lock and stick with it on future projects. I chose the Lk-2 half-mortise drawer lock ($17.50, horton-brasses.com).
The jigs can be made from a quarter-sheet of 1⁄2-in.-thick Baltic-birch plywood. Start by cutting the sheet into strips of uniform length, then rip them to width. you’ll need two pieces for each jig, but make a few extra to have as backups.
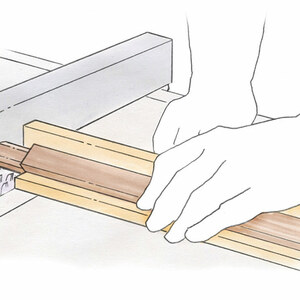
The lock-plate jig determines the final fit of the lock and is critical to get right. There are two pieces to the jig: a top plate and a fence. Place one plywood strip flat on the tablesaw table with its long edge against the rip fence. This will be the top plate. Next, place a second strip on top of the first, resting it vertically against the rip fence. This will become the fence. Now center the lock on the assembly with the selvage against the fence and trace its outline.
For the full article, download the PDF below.
Fine Woodworking Recommended Products
Pfiel Chip Carving Knife
Leigh Super 18 Jig

Veritas Precision Square







Log in or create an account to post a comment.
Sign up Log in