Pocket-Hole Joinery Is Fast and Strong
Learn how to hide the pocket-screw holes, and the rest is easy.

Synopsis: Inexpensive and easy, pocket-hole joinery enables beginning woodworkers and veterans alike to create strong, versatile joints wherever there’s room for a clamp. Though they are not appropriate for everything you’ll make, woodworker Mark Edmundson finds pocket-hole joints useful for plenty of applications. Here, he gives tips on getting a good jig, using a platform to support long workpieces, and the best places to use pocket holes: partitions, face frames, and drawers, to name just a few.
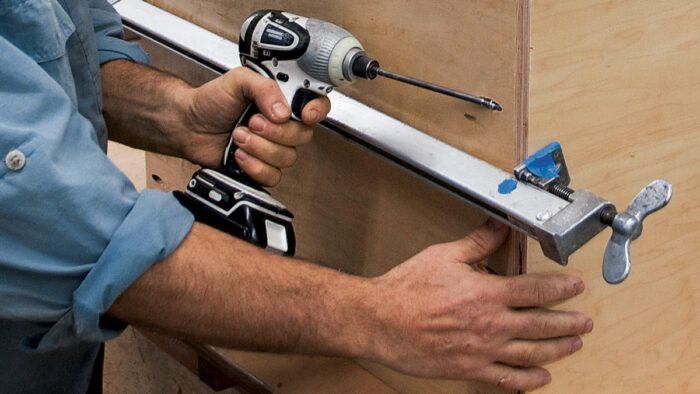
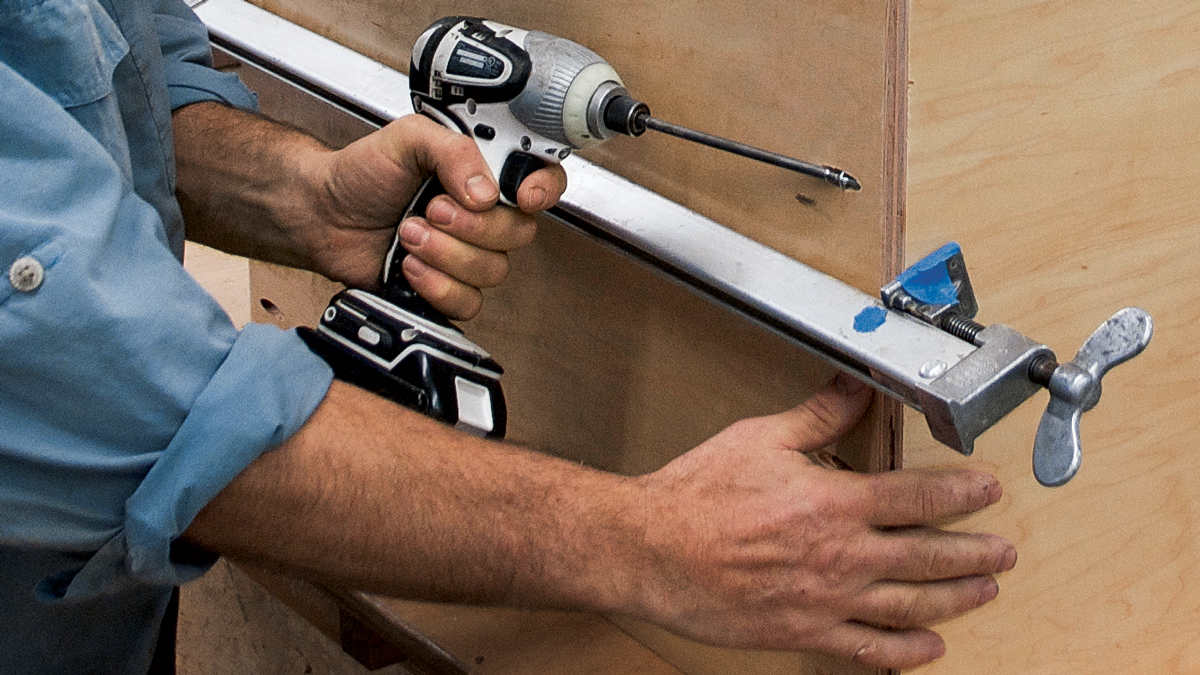
Pocket-hole joinery provides real advantages for beginning woodworkers and veterans alike. The first benefit is the relatively low cost of the tools, with the most basic jig and clamp set priced under $75. Second, pocket-hole joinery is easy to learn. If you can place a clamp and pull the trigger on a drill, you can start joining wood with pocket screws. The third advantage is speed. Pieces go together so quickly with this joint that it will redefine what you’re able to build within a limited time. Last, if the joint is to be glued, there is no need to wait for the glue to dry to keep going with assembly.
None of this would matter if the joints weren’t also strong. Luckily, pocket-hole joinery has that covered, too. The joint won’t come apart without a good deal of force … and without taking a fair amount of wood with it. Of course, the pocket hole itself is not pretty. So this joinery method is not appropriate for everything you make.
Even if you can hide the holes, you might not want them lurking under an edge where hands might find them. I avoid situations where the screw cannot be hidden from view and the pocket hole has to be plugged. Gluing and trimming the plugs is more difficult and time-consuming than you’d imagine. They don’t pare very well and the fit is not exactly tight. In the end, they don’t look good.
Fortunately, I can almost always hide the holes: on the back or underside of pieces, on the wall side of a cabinet, behind an end cap, or inside a drawer opening, for example.
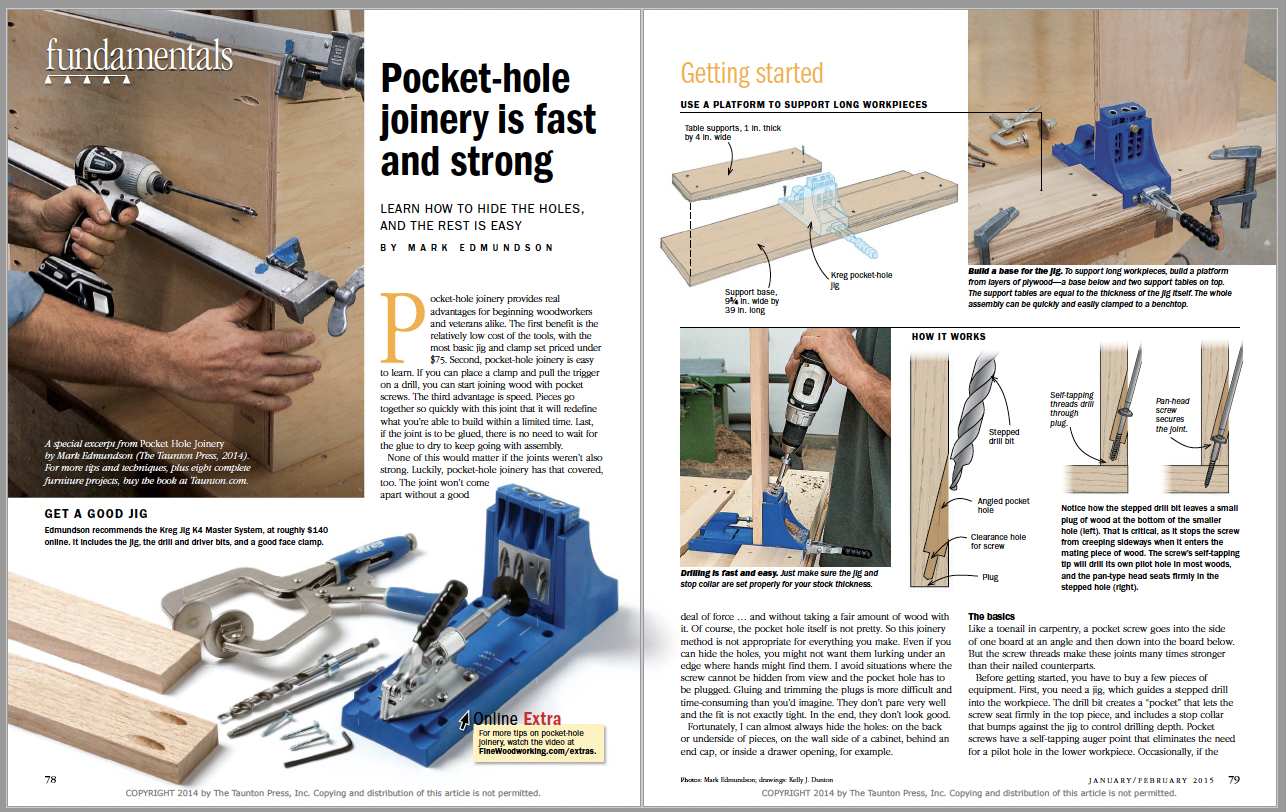
Get a good jigEdmundson recommends the Kreg Jig K4 Master System, at roughly $140 online. It includes the jig, the drill and driver bits, and a good face clamp.  |
The basics
Like a toenail in carpentry, a pocket screw goes into the side of one board at an angle and then down into the board below. But the screw threads make these joints many times stronger than their nailed counterparts.
Before getting started, you have to buy a few pieces of equipment. First, you need a jig, which guides a stepped drill into the workpiece. The drill bit creates a “pocket” that lets the screw seat firmly in the top piece, and includes a stop collar that bumps against the jig to control drilling depth. Pocket screws have a self-tapping auger point that eliminates the need for a pilot hole in the lower workpiece. Occasionally, if the bottom piece is especially knotty or narrow, and thus prone to splitting, you will need to drill a pilot hole.
 From Fine Woodworking #245
For the full article, download the PDF below.
Fine Woodworking Recommended Products

Festool DF 500 Q-Set Domino Joiner

Suizan Japanese Pull Saw

Freud Super Dado Saw Blade Set 8" x 5/8" Bore


Log in or create an account to post a comment.
Sign up Log in