Small Chest of Drawers
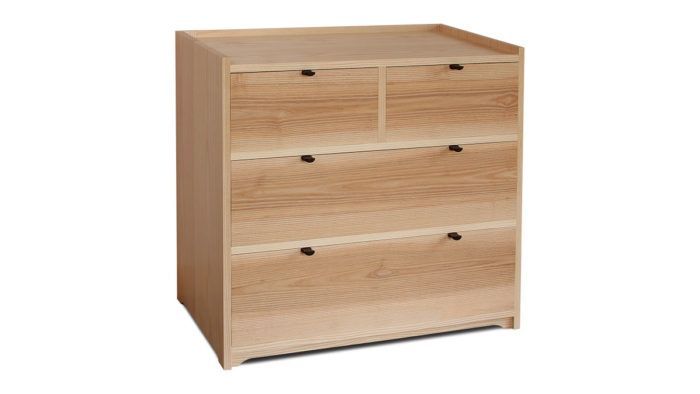
Understated dresser has clean lines and simple, smart joinery
Synopsis: This dresser’s style is defined by uncomplicated, crisp lines and lack of ornamentation, and it fits quietly and beautifully into just about any room. Tim Rousseau designed the chest for fast, straightforward construction. Instead of dovetail joinery, he used a housed tenon joint, which features a series of stub tenons connected by a haunch, all of which are housed in a wide mortise routed in the case side. The web frames between the drawers are attached to the sides with double mortise-and-tenons. Small dovetailed drawer pulls add just the right touch to the finished case.
Every June there is a faculty show at the Center for Furniture Craftsmanship in Maine, where I teach. I’ve learned that the furniture I make for the show should be something we could use in our home, in the event that no one purchases it. That’s how this ash dresser came to be.
I made the drawers deep enough to fit my jeans and sweaters, and sized the case to fit perfectly in a spot in our bedroom. That dresser sold right away. but I really liked it, so I built another one for myself, plus one for each of my sons. The dresser’s uncomplicated, crisp lines and lack of ornamentation really define its style, allowing it to fit quietly and beautifully into just about any bedroom.
Because time was tight before the show, I wanted the chest construction to be straightforward and fast. The case is 18 in. deep, and dovetail joinery at the corners would have taken forever to cut, so I chose what I call a housed tenon joint instead. This joint features a series of tenons connected by a haunch, all of which are housed in a wide mortise routed in the case side. It’s a strong joint that’s quick to make.

The web frames between the drawers are attached to the sides with double mortise-and-tenons. This looks like an intimidating joint to make, but I’ll show you a simple, fast method using a router and bandsaw.
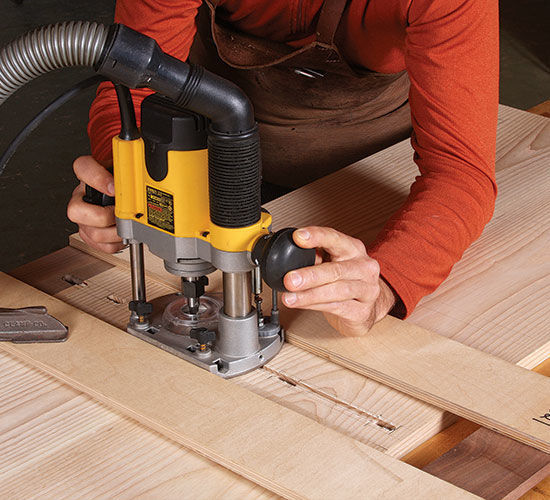
The housed tenons that join the top and bottom to the sides are not difficult to make. To make the mortises for them, I use a router and a straightedge jig with two parallel guide rails. The router rides between the rails, which keeps it cutting in a straight line so you won’t have any wavy mortises.
There are three things you should do to optimize the straightedge jig. First, attach an auxiliary face to the jig’s fence. Then, before you use the jig on the case sides, rout through the face with the same bit you’ll use for the mortises (a 3/8-in.- dia. spiral upcut bit). The “kerf” cut in the auxiliary face shows you exactly where the router will cut, and that allows you to set up the jig with much greater precision.
For the full article, download the PDF below.


Log in or create an account to post a comment.
Sign up Log in