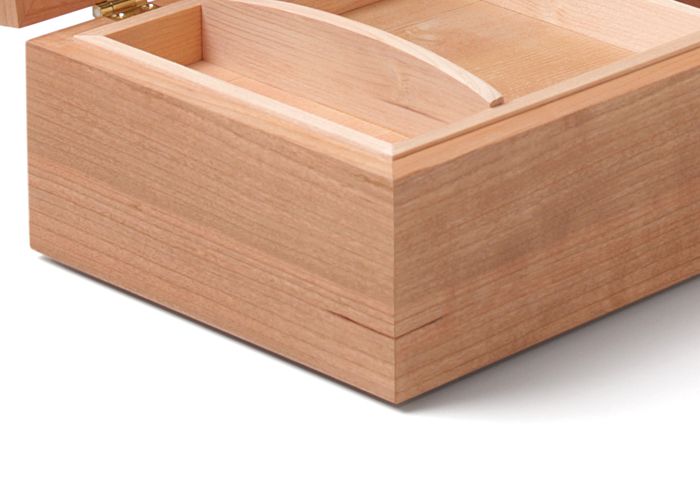
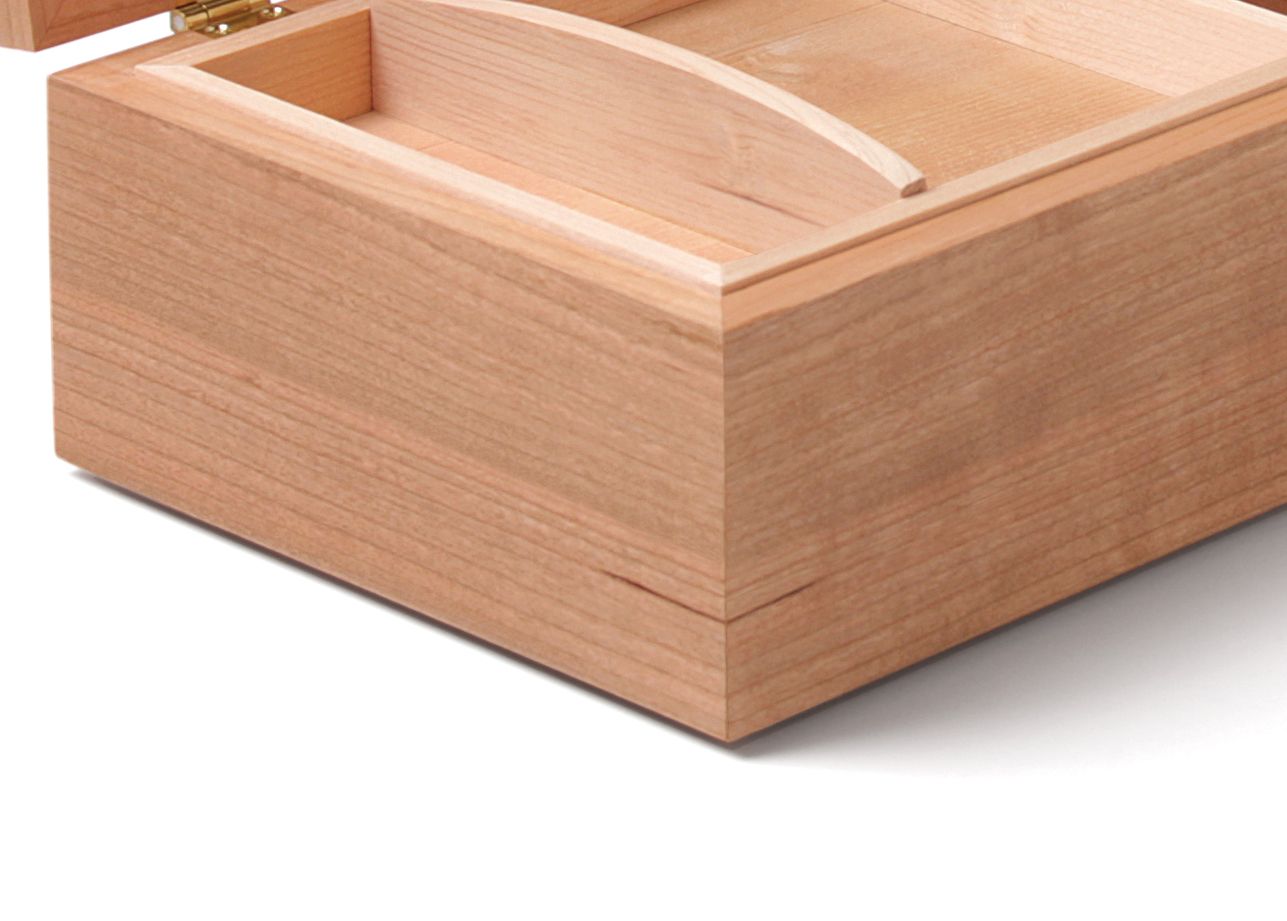
No splines (or keys) required. A short box miter like this is plenty strong, as long as it's well-made and glued together properly.
I’ve been asked a lot of questions about the boxes I make. Some folks have questions about design, others wonder what technique I used to something (attach the pull, create a shallow mortise in a tray, apply the shellac, etc.). But perhaps the most common question is why I don’t reinforce the miter joints on my boxes. It’s a good question-and one that several readers of the magazine sent in after reading my recent article. It’s common advice in box making books and articles that miter joints are too weak on their own, and that if you want them to stay together, then you need to strengthen them with keys or splines. This might be true of some miter joints (frame miters, long box miters), but I don’t think it’s true of the miter joints in small boxes like the ones I make.
Let’s consider the reasons why miter joints fail. These are the three most common, I think.
- The joint isn’t well made to begin with. It doesn’t close up, so you don’t get a tight glue line. When you compound this around all four joints in a box, it’s a serious problem. The solution is to cut better joints.
- A miter is an end-grain-to-end-grain joint. End grain is similar to a bunch of straws, and it sucks up glue like crazy. If all you do is apply one coat of glue and put the joint together, the end grain will hoover the glue and starve the joint long before the glue has a chance to dry. The solution is to clog the end grain with glue size before you assemble the joint. The glue size (50/50 water and yellow glue) soaks in, dries, and prevents the fibers from absorbing any more glue. When you later apply full-strength glue, it stays on the surface and if your joints are tight, then you get a good glue line and a strong joint. If you’re worried about getting enough clamping pressure on the joint, take a look at my take on the painter’s tape trick in this article. It works.
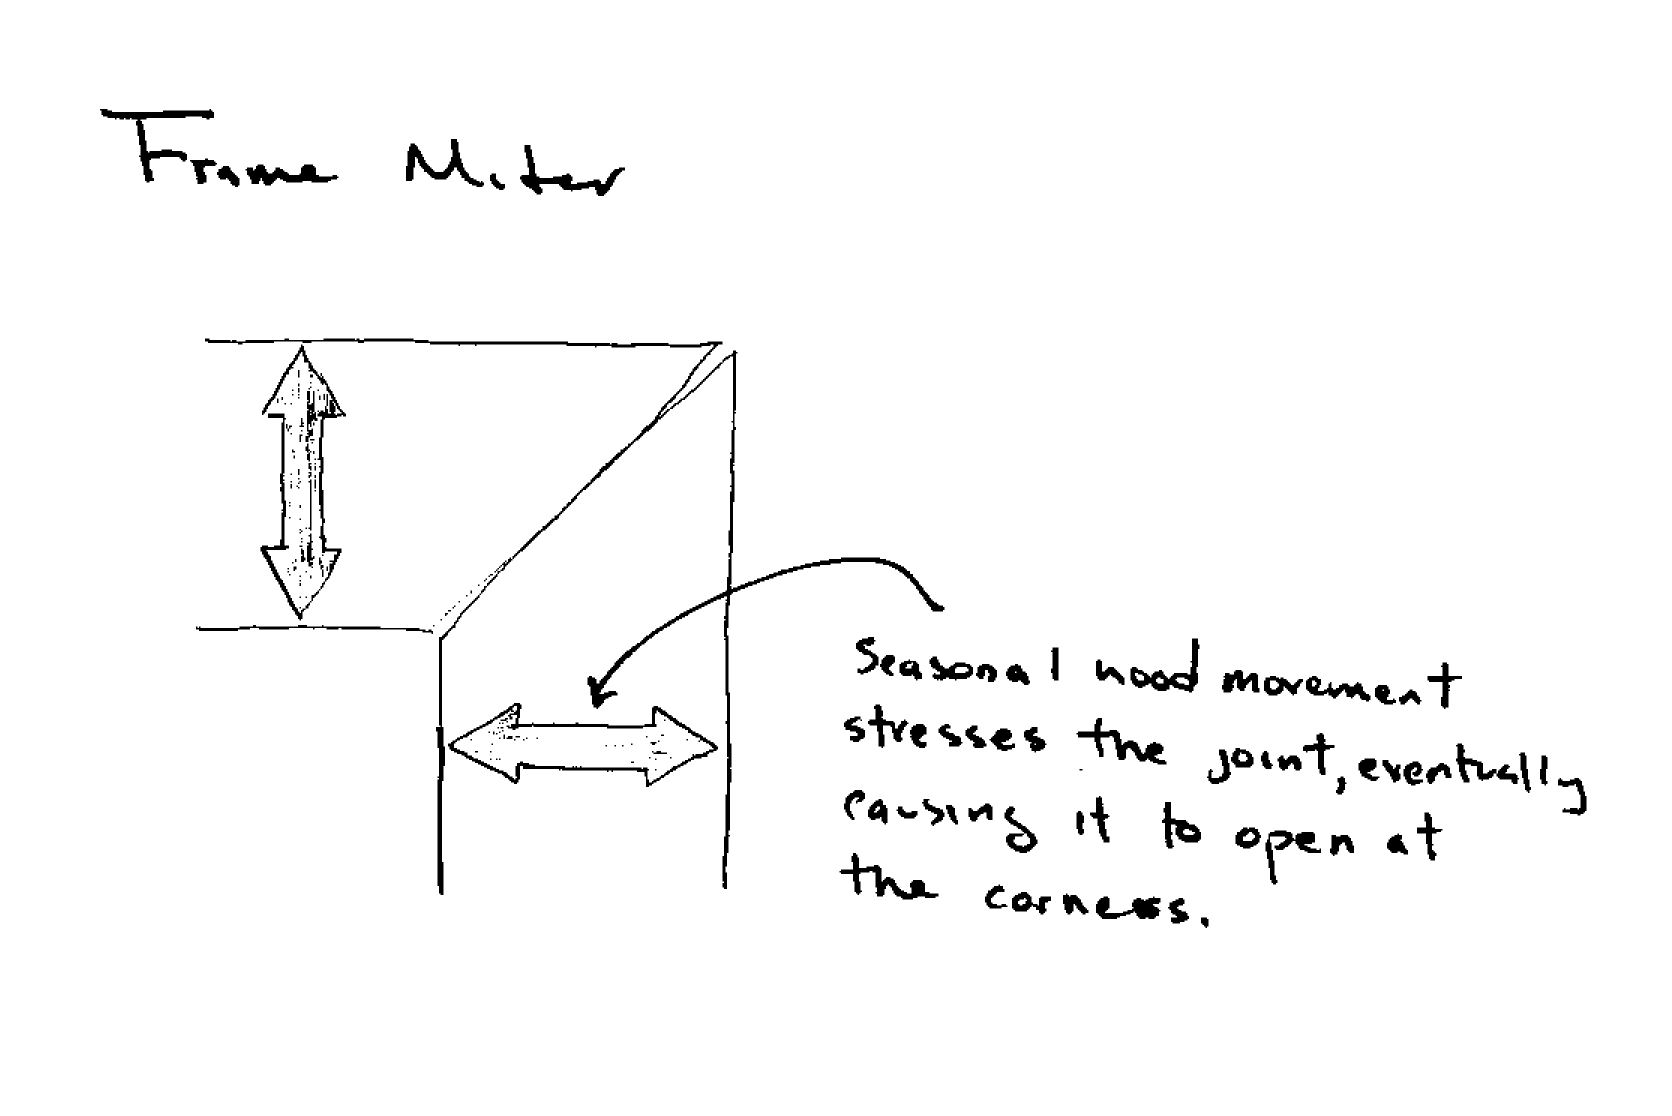
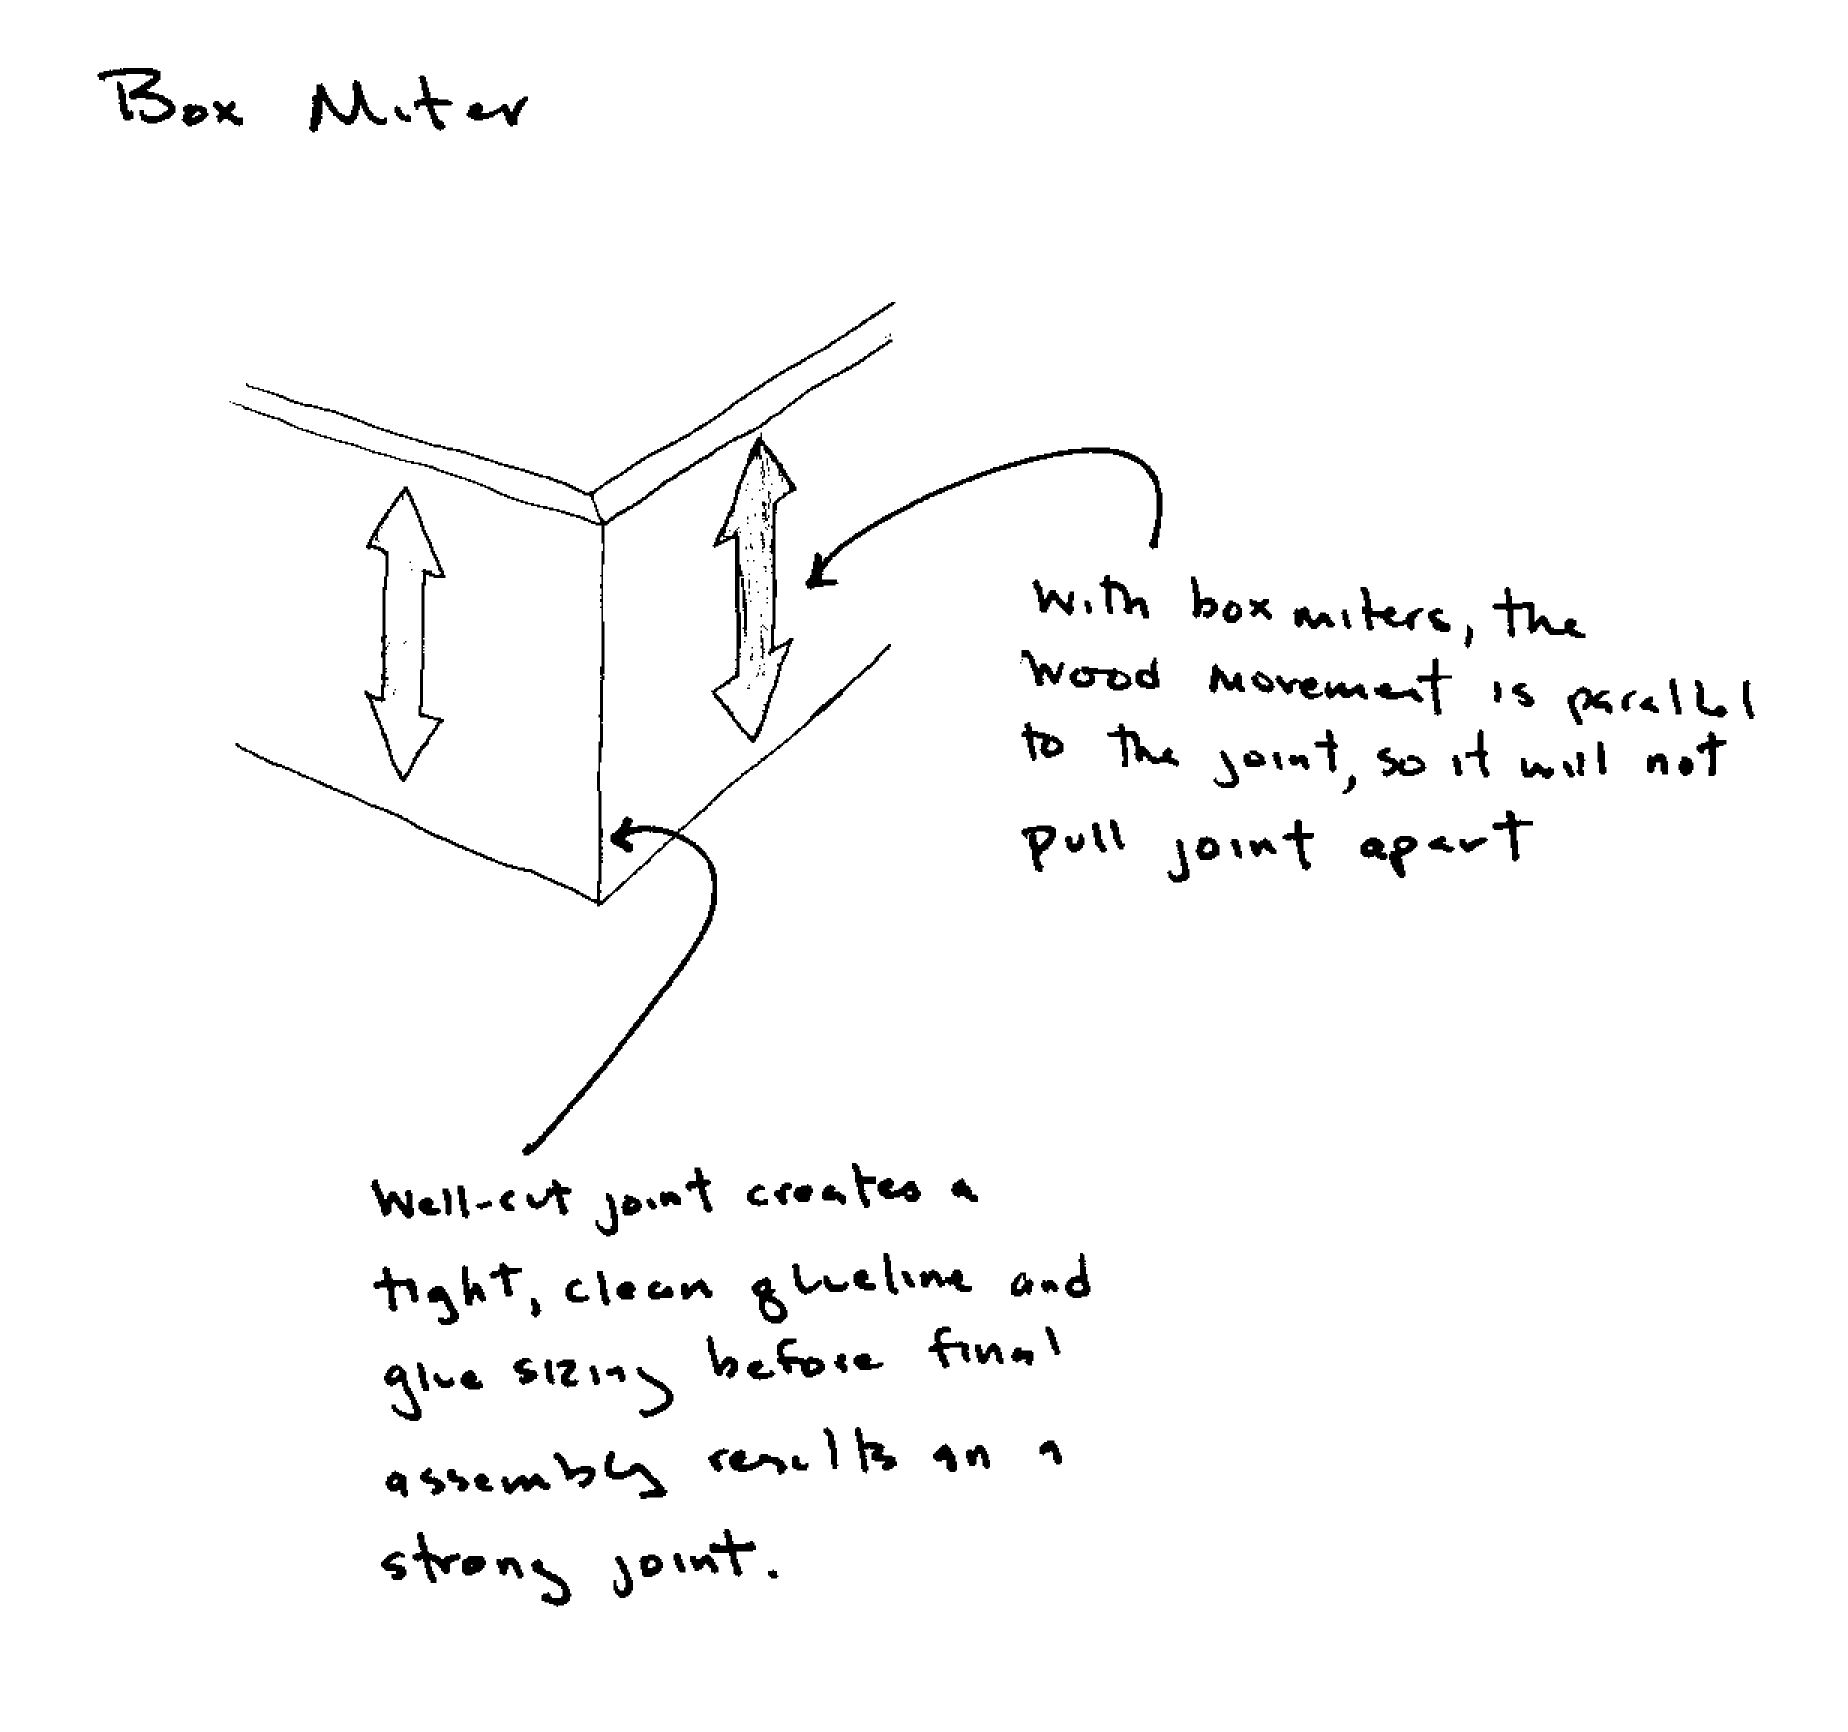
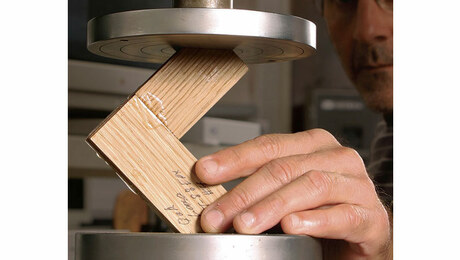
- Wood movement is the enemy of all joints, and the miter is no exception. However, it’s critical to distinguish between the frame miter and box miter when it comes to wood movement. Wood moves the most across its grain. This is a serious problem for frame miters, but not for box miters (at least not the one in small boxes-under 5 in. tall, say). The drawings above explain why.
I should add that you wouldn’t want to use a miter for any joint that will see a lot of stress from weight or racking unless you could reinforce it substantially (a loose tenon does a nice job). Fortunately, small boxes don’t see much (if any) stress.
So, if you’re making a small mitered box, you don’t have to reinforce the joints, as long as they are tight and you prep them with glue size. Of course, if you like the aesthetics of miter keys, go right ahead and use them for that reason.






Comments
Hi, Matthew - very interesting, I agree with everything you say! Andrew Crawford here, box maker from across the pond, where we spell miter ‘mitre’! I’ve long been a supporter of keeping the cabinetwork simple for boxes [mitres, half lap etc.] and have long advised students AWAY from what has become completely ubiquitous, dovetails. Not only are dovetails everywhere since they are now so easy to do with all the jigs around nowadays [and therefore no longer the badge of honour they once were] but the strength they offer is way beyond what’s necessary for the average box. Dovetails are primarily for large drawer fronts and do that job brilliantly. The fact that a dovetailed box is taught as a standard module in some colleges is a regular source of annoyance to me!
I haven’t seen the original article this post refers to, but I assume the tape trick you refer to is one I’ve used for ever - stretching the tape around the outside of the joint, even overlapping the corners slightly when the pieces are laid out flat before assembly. In one fell swoop this ensures that the joint is tight and the outer corner of the joint is absolutely flush - far more easily and quickly achieved this way than with ANY other clamping system. A chapter of my new book is devoted to adhesive tape clamping and will be entitled ‘The World’s Second Most Sophisticated Clamping System’. The most sophisticated? - hands of course, but certain disadvantages ...
I agree with your distinction between frame mitre and box mitre. With quartersawn material and a box mitre, the only shrinkage will be across the grain, everything shrinking at the same rate and in the same direction. Therefore the only change will be a slight reduction in the height of the box over time, unlikely to be a problem, and certainly doesn’t weaken the joint.
With the frame mitre the shrinkage over time certainly is an issue - but in my experience the outer part of the mitre will never open as suggested in your drawing. When the pieces shrink they become narrower, of course - this has the effect of decreasing the mitre angle, forcing it to open up on the inside. A look at any wide antique picture frame will show this effect - the mitres seem to have been cut at the wrong angle. But in fact we can assume they were right when the frame was made, but that shrinkage has caused the pieces of the frame to shrink across their width, therefore opening the insides of the mitres.
Andrew Crawford.
http://www.fine-boxes.com
http://www.box-making.com
As always Matts comments are well thought out and illustrated, I enjoy all the projects and opinions he brings to these pages. Mr. Crawfords boxes are spectacular and I agree with his comment on the mitered corners (mitred?). I prefer the clean look of a corner without reinforcement to that of one splined, keyed etc., but thats for ones own tastes to decide. Thanks for the posts. JR
Any thoughts about the use of the new cyanoacrylate glue, Nexabond 2500, here? It is a bit more problematic trying to work it down into the end grain pores, although it can be done with the edge of a credit card (preferably a defunct account). I have had good, though short term, success with frame miters with it.
Mitch,
Nexabond 2500 is a great glue, and I use it quite a bit in jig construction, gluing down chip out, and other repairs that aren't under stress. I have not used it as a joinery glue myself, so I don't think I can answer your question. Sorry I couldn't be more help,
Matt
Since wood both shrinks and swells due to changes in seasonal humidity...you are both correct. I believe Matt's drawing shows that where the seasoned frame miter joint is open at both extremes and only fitting in the middle. As a finish carpenter who spent many years doing restorative work, frame miters were always a nuisance. I prefer the lintel and post door and window trim because of this problem. Especially if the frame is wider (i.e. more movement). Of course, this style is more labor intensive and uses more material. Rosettes were a cheaper cure.
But, we were talking about boxes weren't we? There were two great tips. Mr Crawford writes about quartersawn material for box construction. I like to use quartersawn and prefer it, but it's often harder to find in every species of wood and it's more expensive. Customers have gotten used to flat sawn lumber and that grain pattern and often are not willing to pay the difference.
I like Matt's advice on giving the end grain a primer. One needs to plan that step in somewhere prior to assembly, or the wait time might be a deterrent to the practice. I have made a few triangle American Flag cases and opted to use epoxy at the joints. I found epoxy great when connecting handrail components. It's strong and doesn't seem to care about end grain. Thanks for the article and comments.
The problem I encounter with painters tape clamping of mitered corners is that it hides glue squeeze out which later presents the problem of removal. Glue squeeze out at mitered joints is difficult to remove without compromising the sharp, crisp mitered corners. Because I employ the box making strategy of sawing off the box top after the box is glued up, I always deal with the squeeze out removal before I saw off the top. If you wait until later, you find yourself chasing even sides, backs and fronts of the box and box top.
very nicely done
Log in or create an account to post a comment.
Sign up Log in