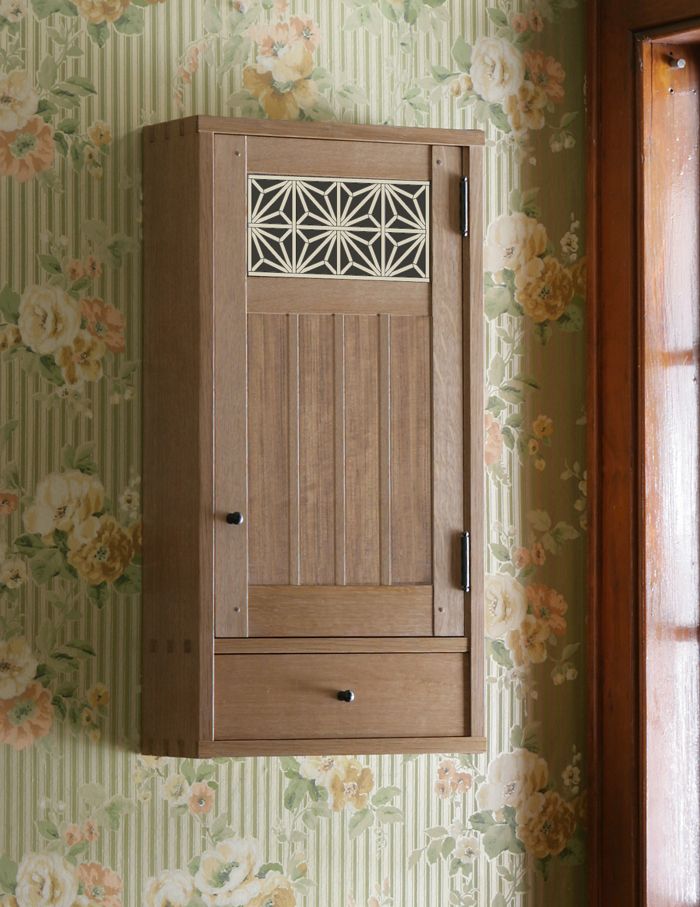
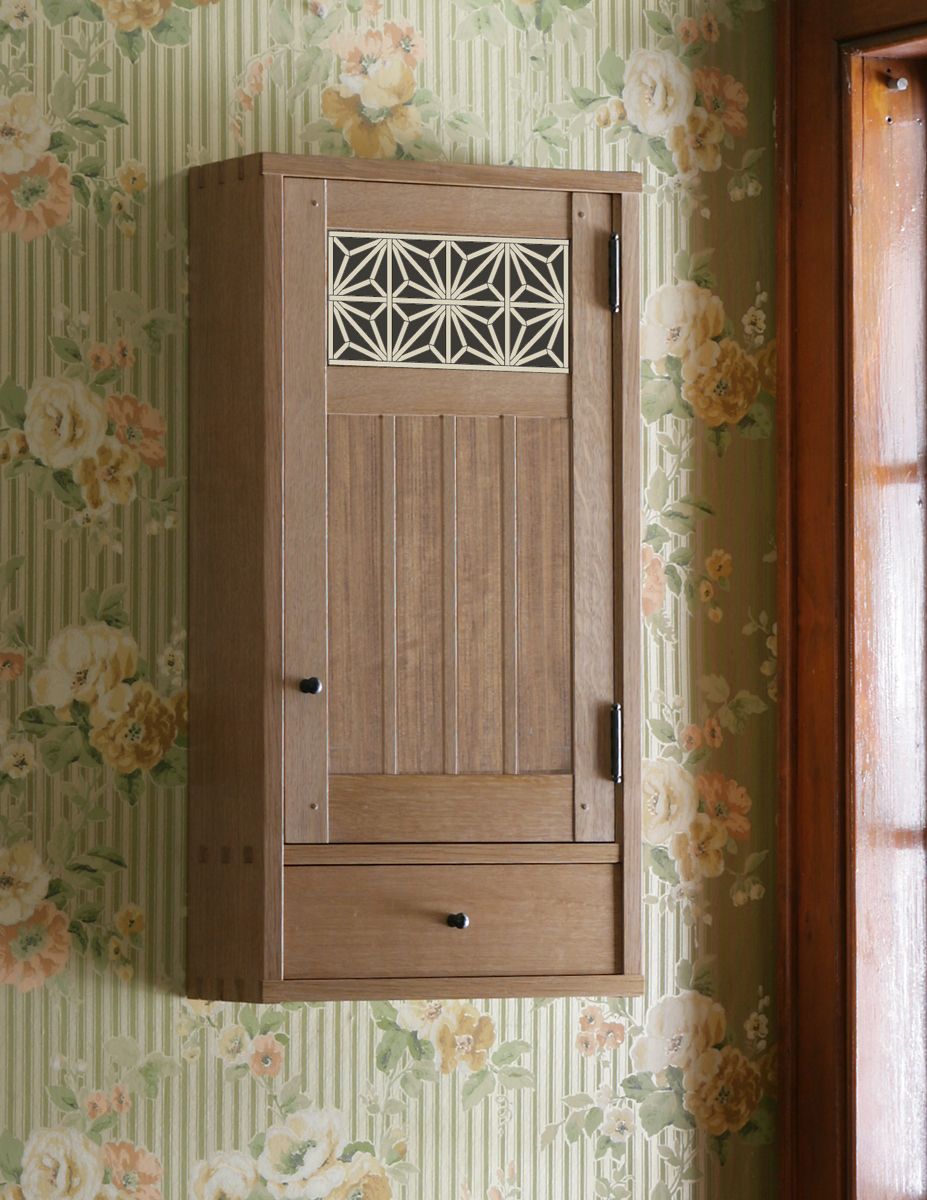
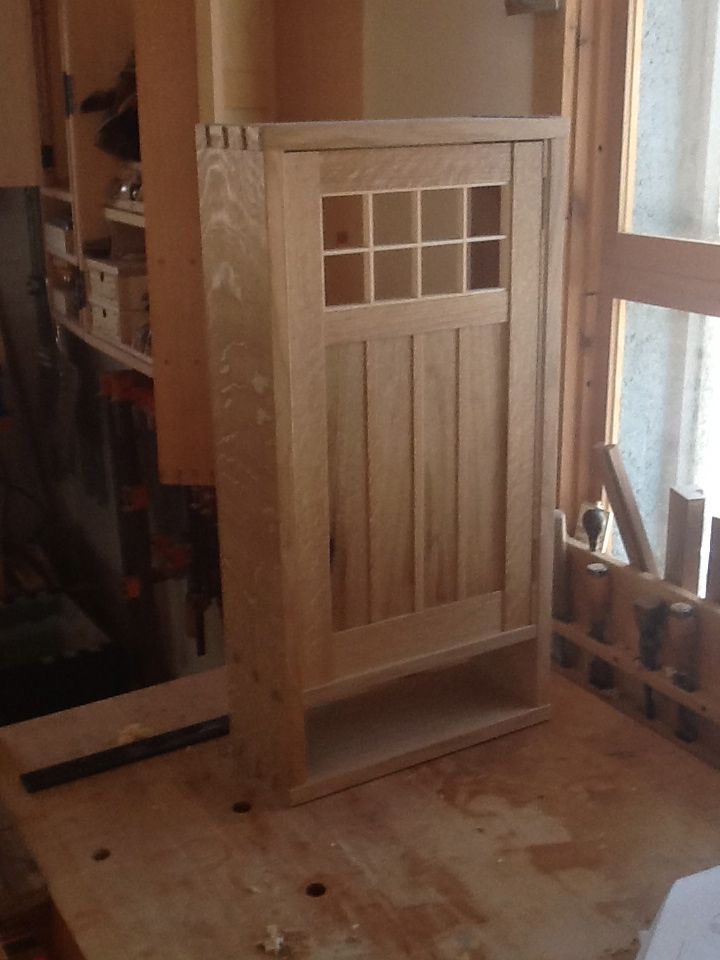
To get an idea of how kumiko latticework would look incorporated into a cabinet door, I created a quick mock-up in photoshop. It gave me enough confidence to jump in and try my hand at the technique.
First off, my apologies. I don’t usually subscribe to the “watch me stumble through something for the first time” style of blog. But Ed Pirnik, our web producer extraordinaire, was hunting for blogs just as I was noodling with the idea of trying my hand at kumiko, or Japanese latticework, in order to dress up a door panel for a cabinet I’ve been working on. So, since I was already knee-deep in research and excited as all get out, I figured I’d invite you along for the ride as well.
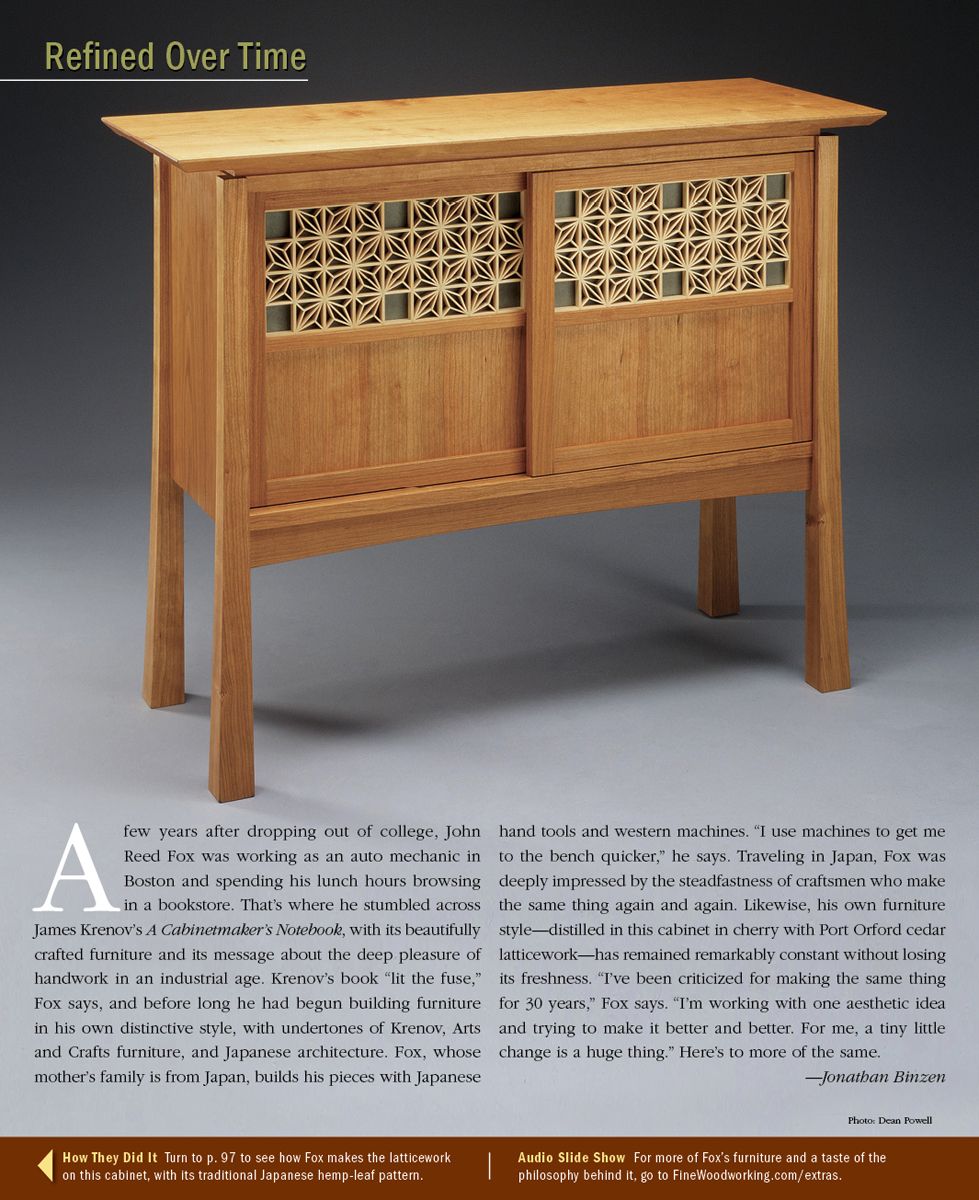
Kumiko is the name given to traditional Japanese lattice work typically found on shoji screens. The designs can get quite intricate and the variations are almost endless. Some furniture makers incorporate kumiko into their work, and one of my favorite makers to do so is John Reed Fox. I’ve always been a fan of his work, and ever since his cabinet featuring kumiko panels appeared on the back cover of FW226, I’ve wanted to try my hand at it. By the way Raney Nelson, who does some really nice kumiko work as well as making fantastic tools, has a cool article on making a kumiko lamp in the April issue of Pop Wood (yes, we’re allowed to read other magazines as well).
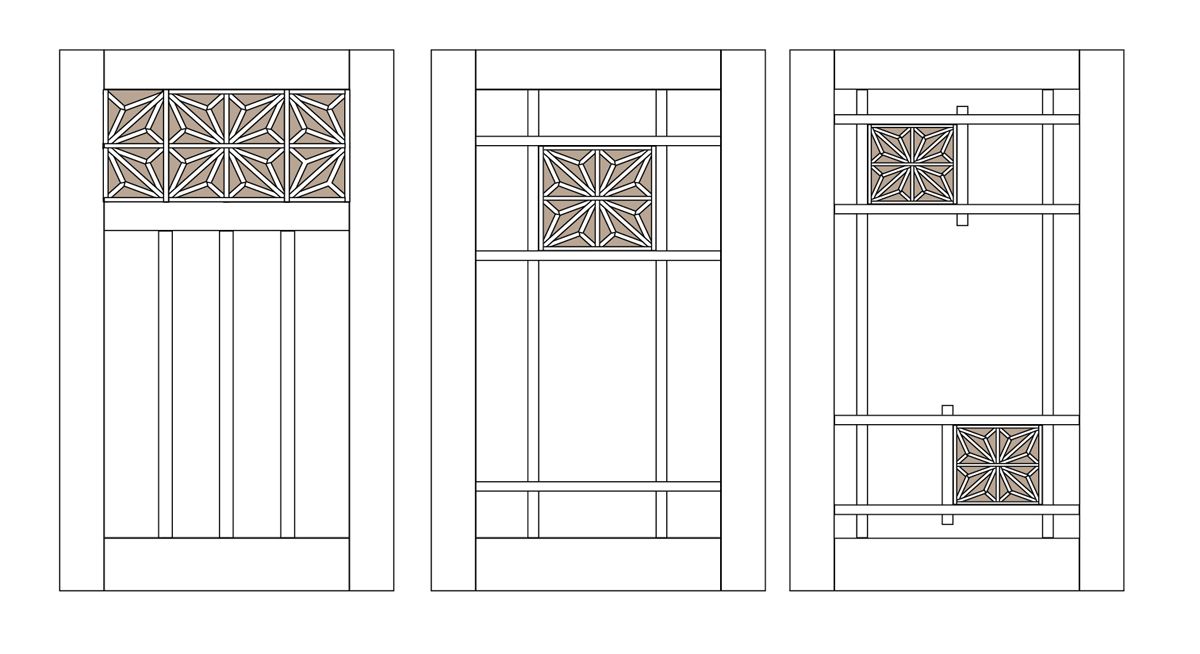
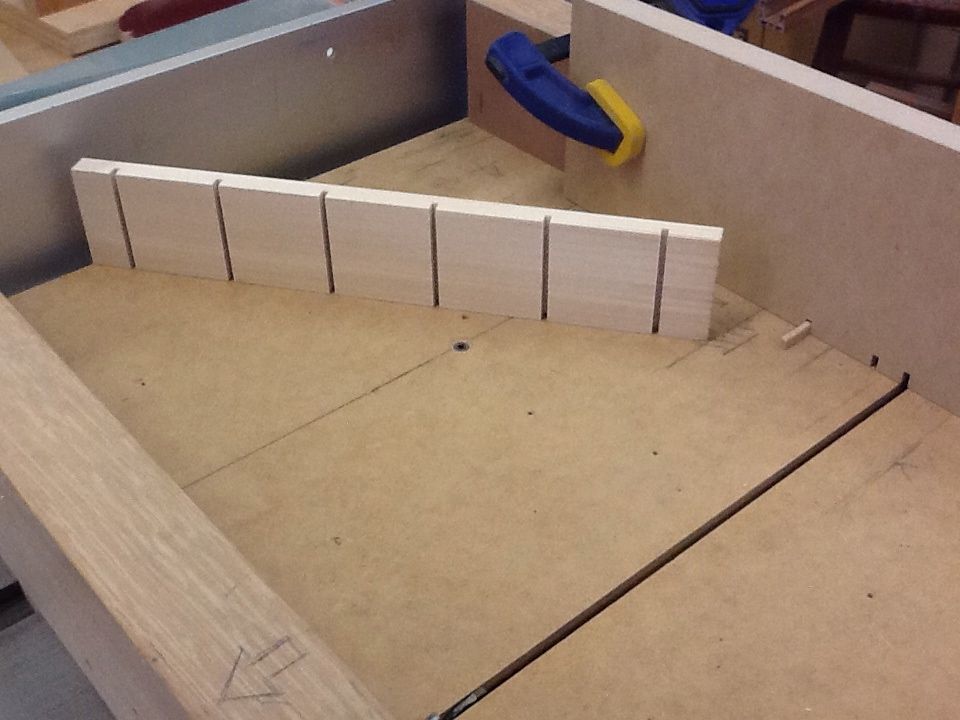
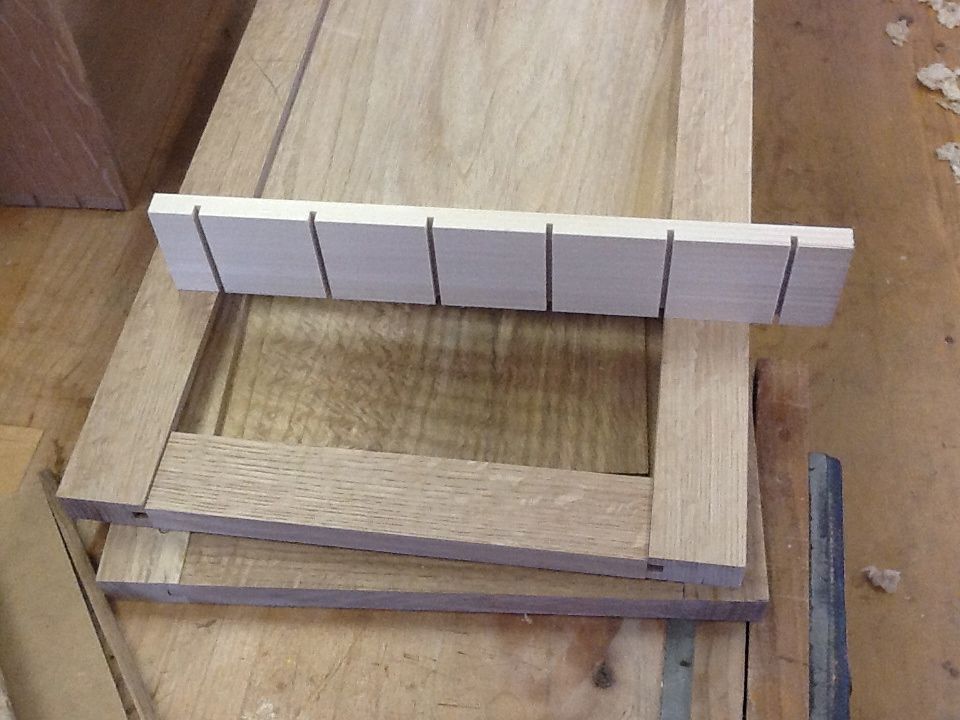
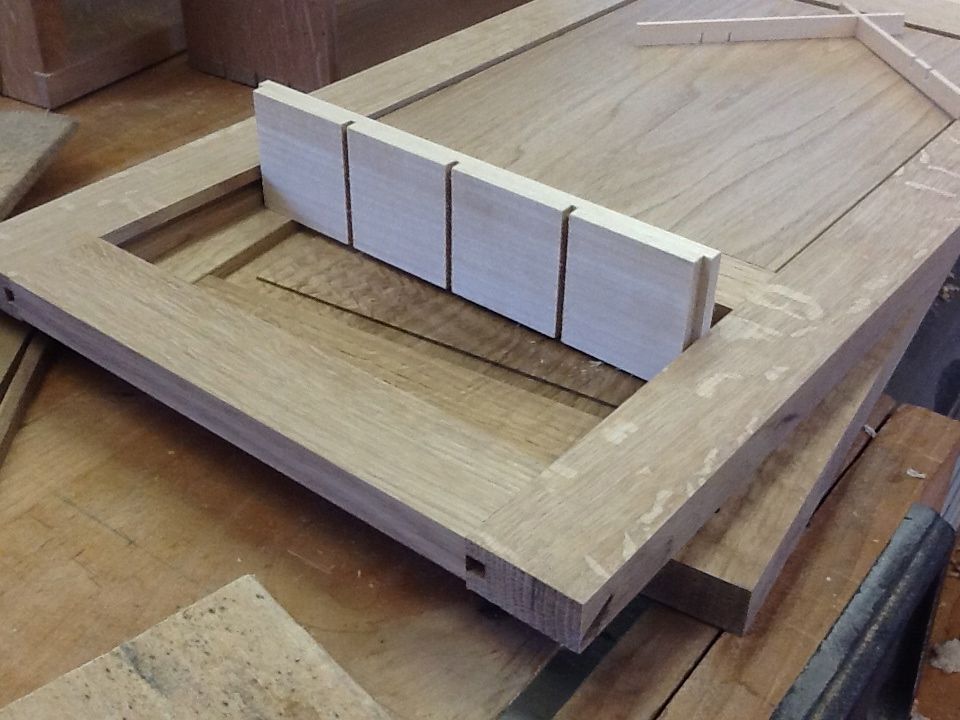
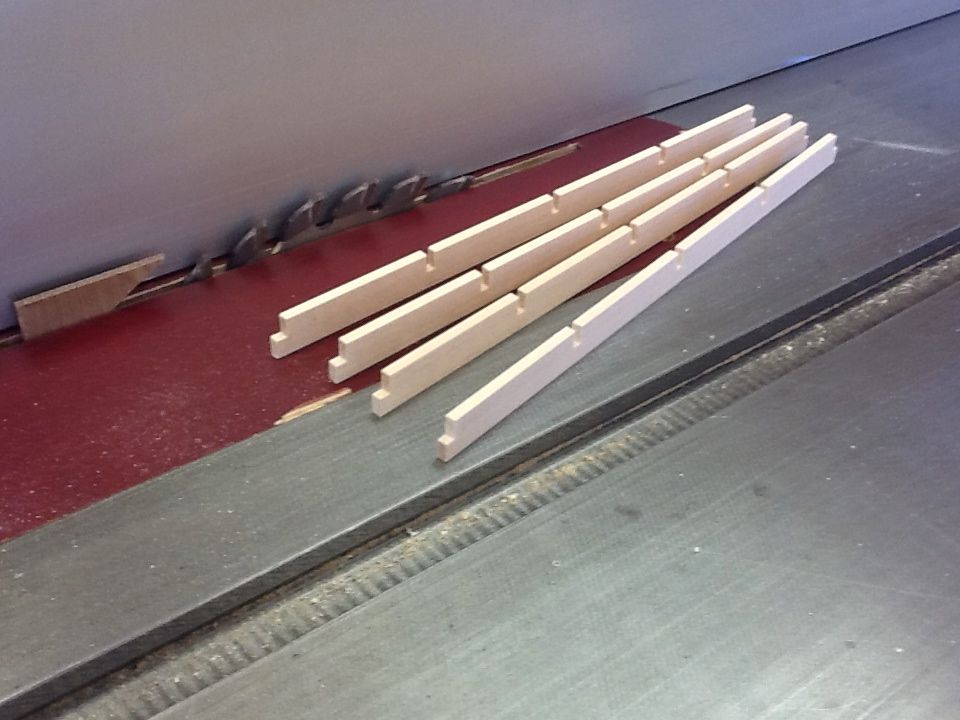
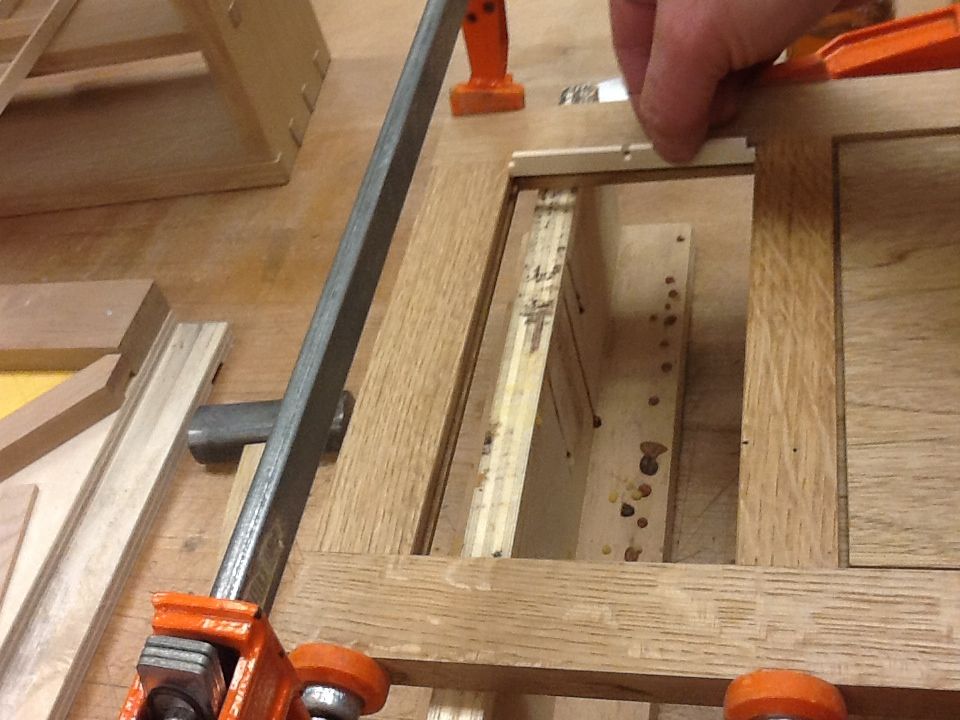
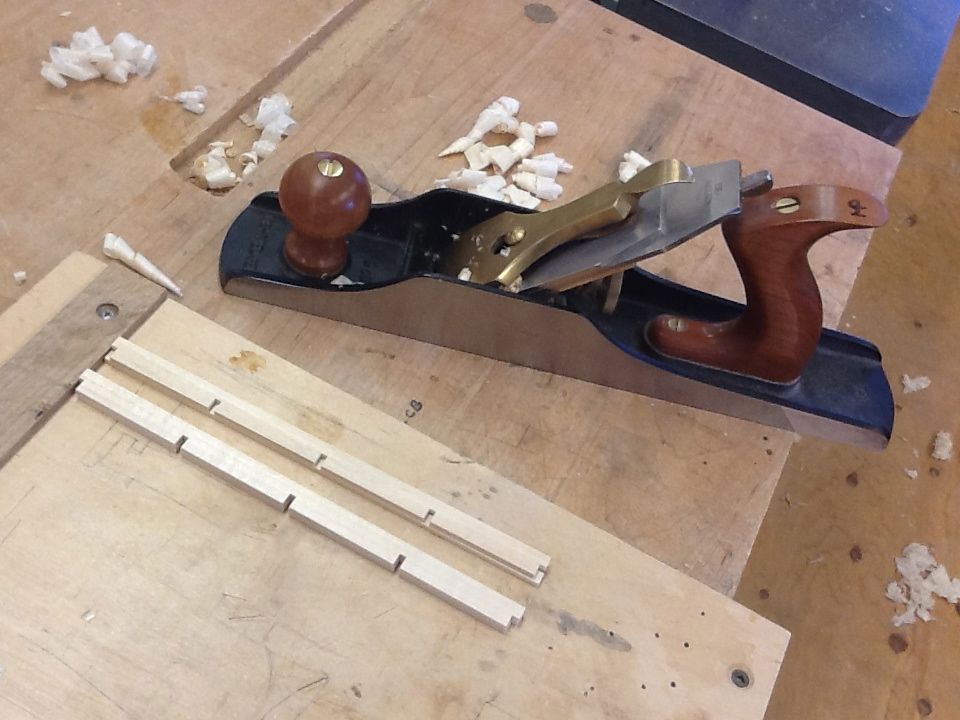
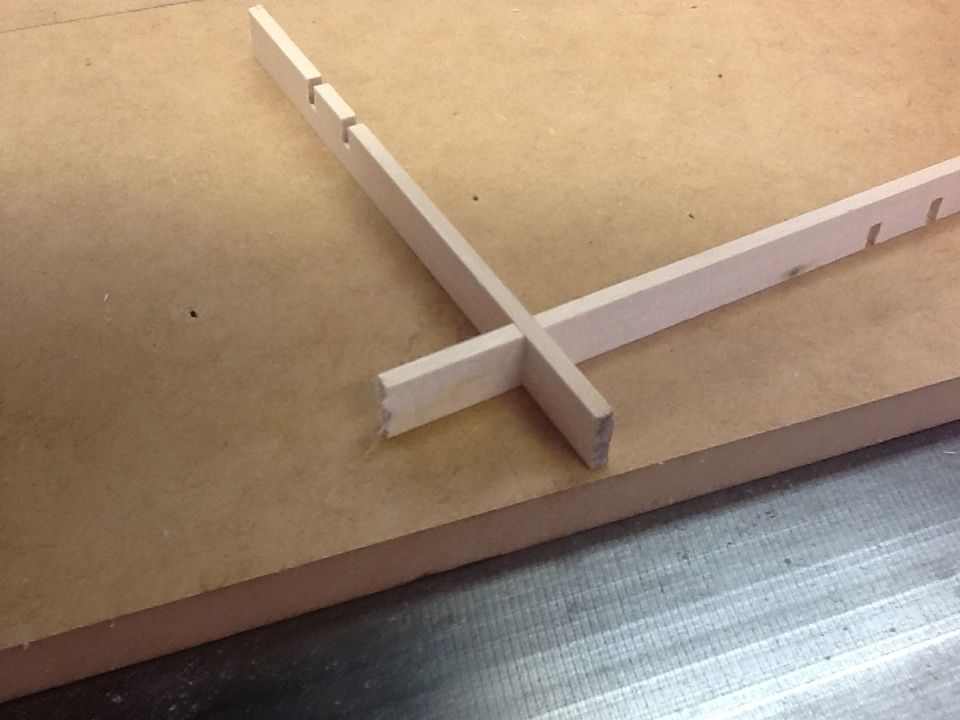
I started by working up a design on the computer and used it to come up with a number of panel treatments. When I found one I liked, I created a photoshop mock up just to make sure I was headed in the right direction. Up to this point, I’ve worked out a design, retrofitted the door and installed the basic grid work. In the next installment (hopefully), I’ll complete the panel by installing all those little pieces between the grids to create the leaf pattern.
In Part II I’ll show you how I assembled the final pattern.




Comments
Michael, do the Japanese do this by machining the parts, or do they use their razor saws?
dpaulstone they traditionally cut these strips from a thin, wide piece of wood with a special kind of cutting gauge.
in case you are not aware of this website: http://kskdesign.com.au/shoji/publications.html
Log in or create an account to post a comment.
Sign up Log in