In this video we’ll show you how to execute a few types of miter joints in SketchUp so you’ll be ready to execute them perfectly in the shop. We’ll also discuss how different applications of miter joints can call for different types of attachment and reinforcements.
Miter joints can be somewhat stressful in furniture making. They look easy enough, but in execution, that is design, construction, fastening, strengthening, and gluing, the task can be formidable. In the following video I’ll show two different miter joint applications. It always pays off to work out the details in SketchUp before execution in the shop.
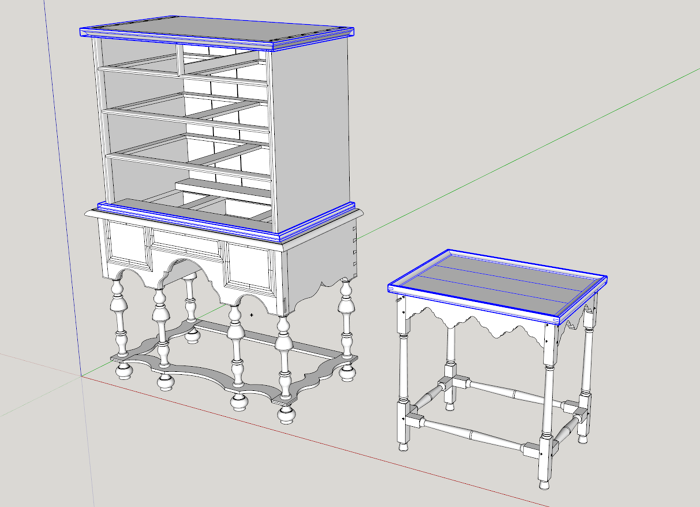
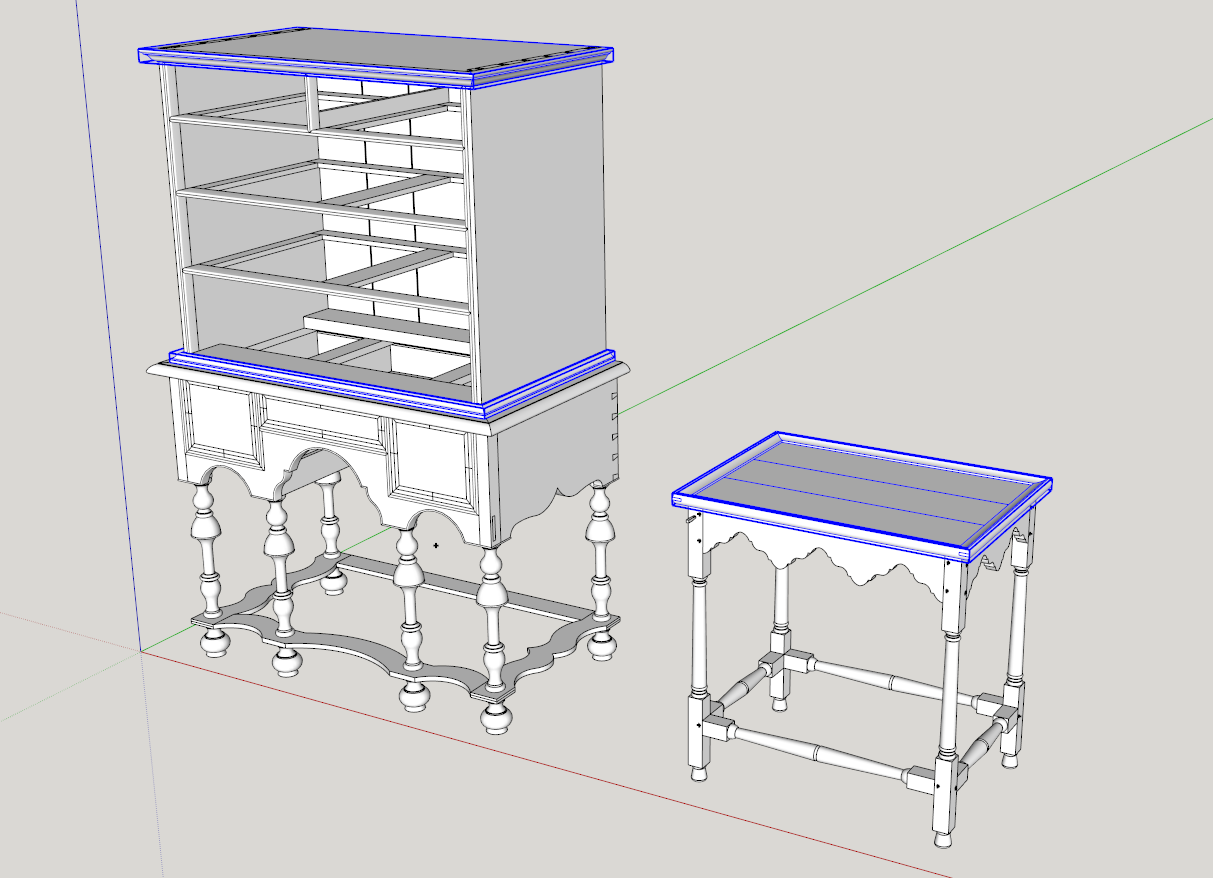
The two miter applications are parts of these two furniture pieces – a William & Mary Highboy, and a Williamsburg Square Tea Table.

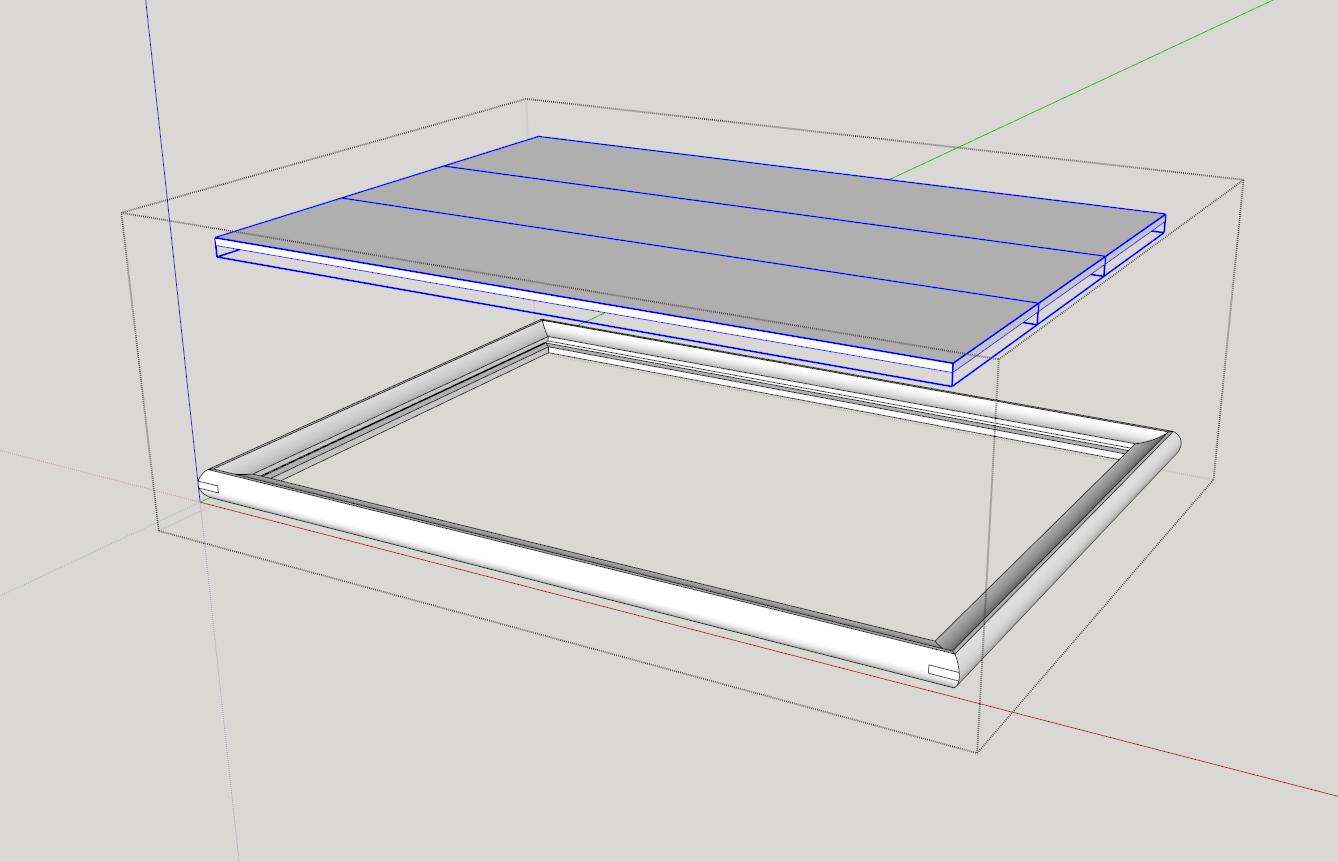
In this Highboy there are several miter joints and they can be simple butt joints as the individual pieces have good connection to the background structure. But in the Square Tea Table, the miter joints require additional strength. It is a frame (as in a mirror or picture frame) that holds the top assembly that can float in grooves for expansion/contraction.
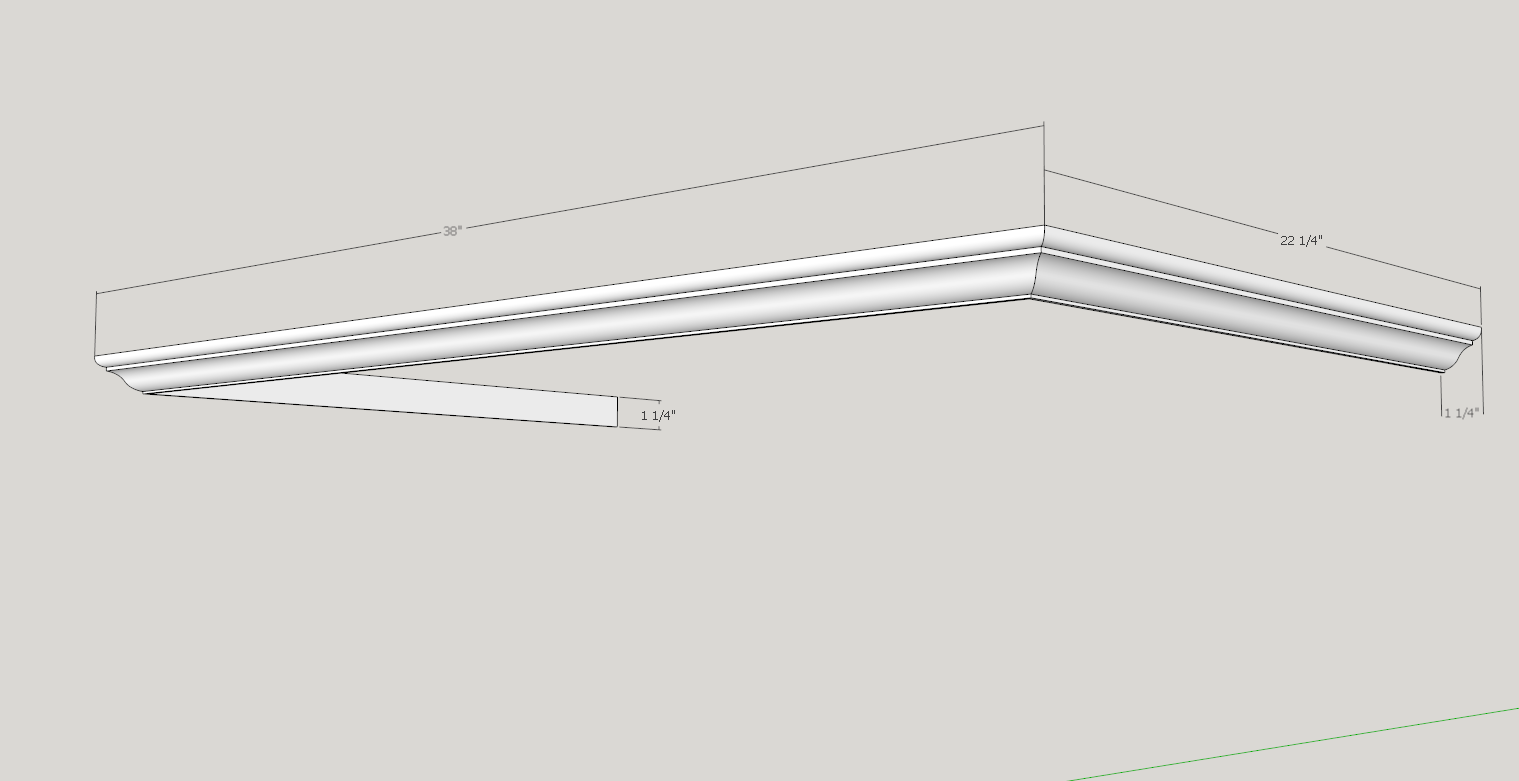
Here is the set-up for making the Crown Molding in the Highboy. With Follow Me, a path, and a molding profile, the assembly is quickly made. There are a few edges to add to the miter joints and the job is done. No need to split the two pieces into separate components, as this is unnecessary for successful work in the shop. With a few added dimensions, this assembled Scene is all you need.

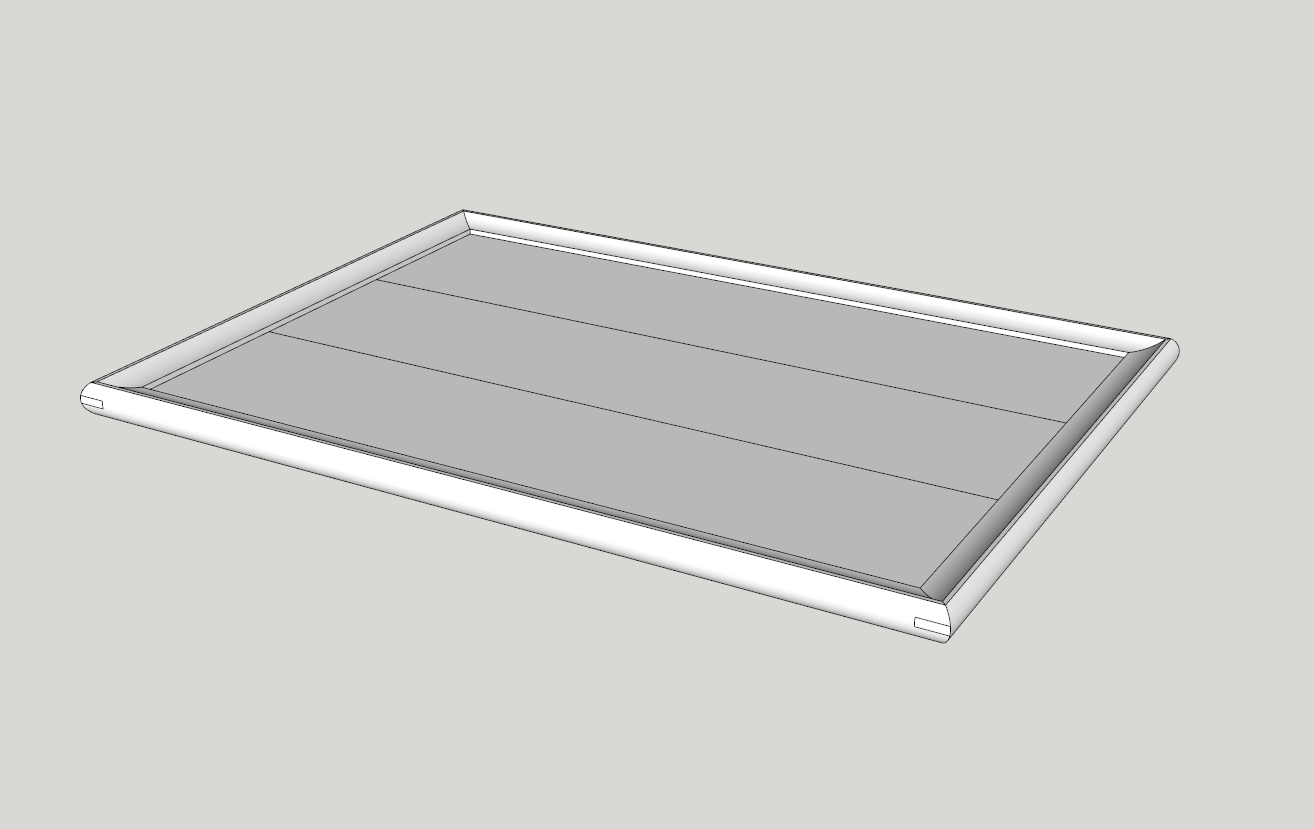
But things get a little more complicated in the case of the frame for the Top in the Tea Table. Here some extra strength in the miter joints is helpful. There are several ways to strengthen a miter and I chose a Bridle Miter joint.

Here is the Top pulled out of the frame grooves. To accommodate expansion/contraction, the grooves provide margin in depth so the Top can float and move within the frame.

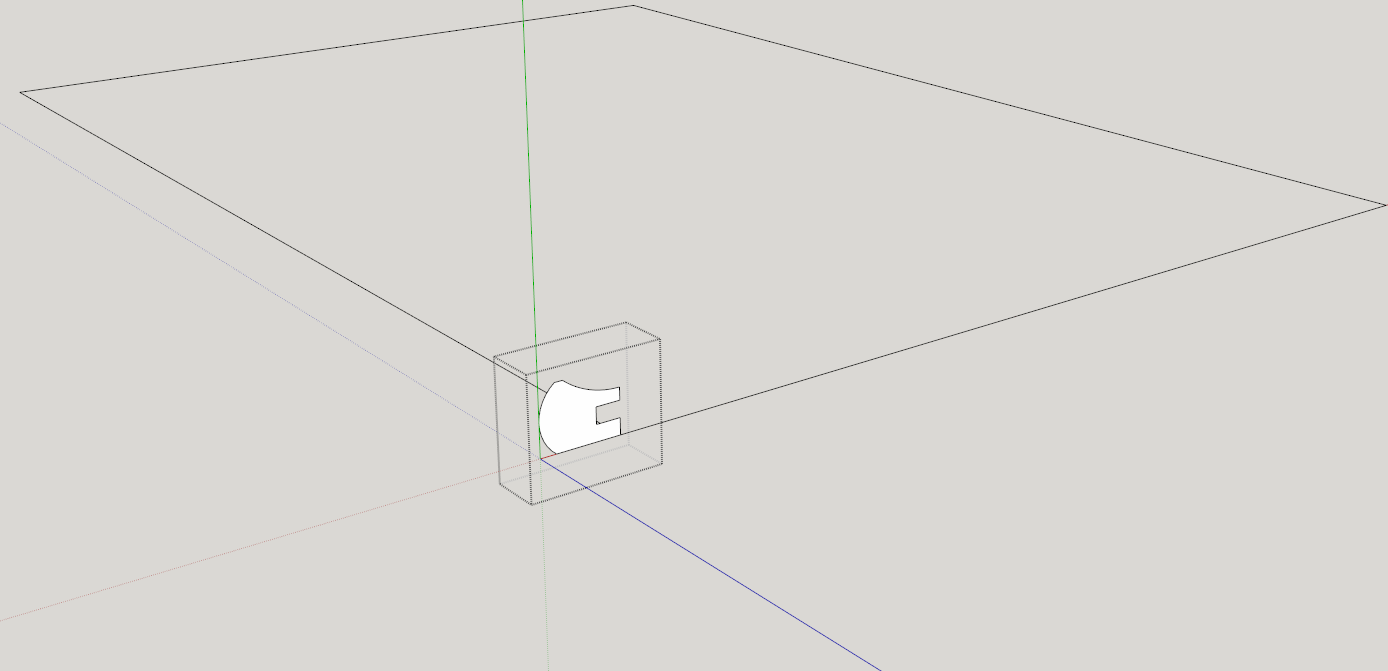
You start out the same way as with the Crown Molding – that is, with a path and a molding profile.

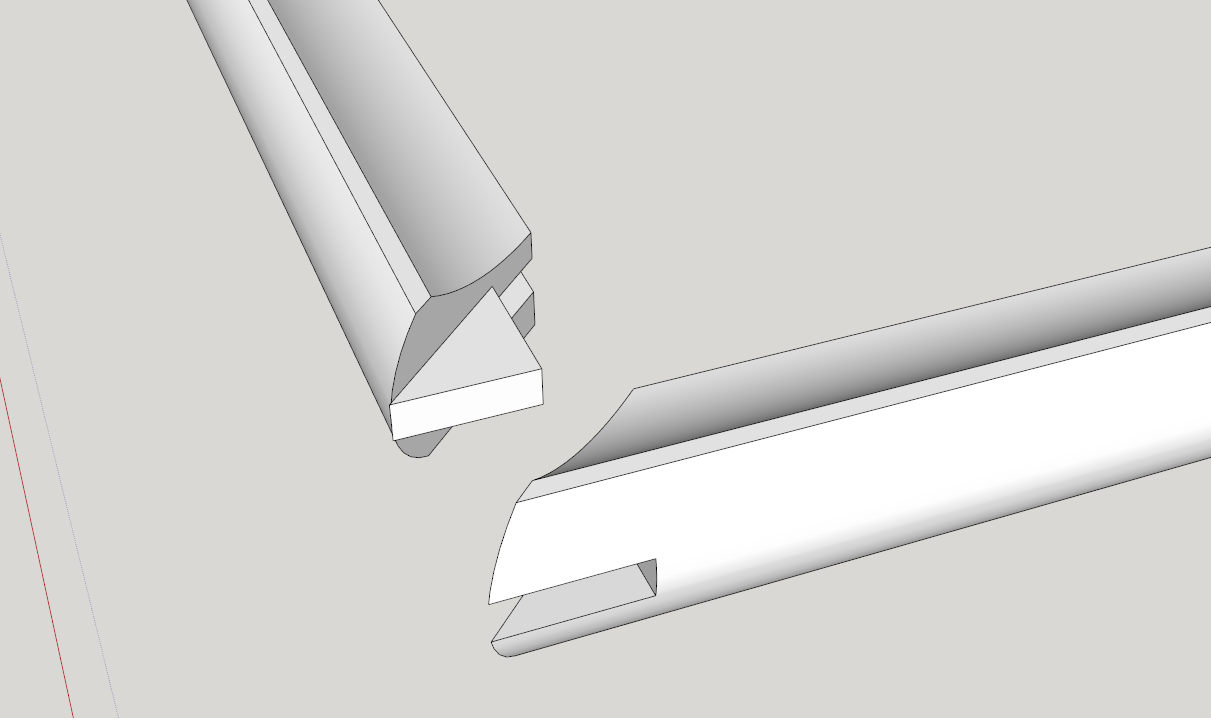
In the video I show the steps used to make the tongue and socket for the bridle miter joint. In this case, it is necessary to create two components to show the detailed dimensions for shop work.
Here are the two components with their tongue and socket details.

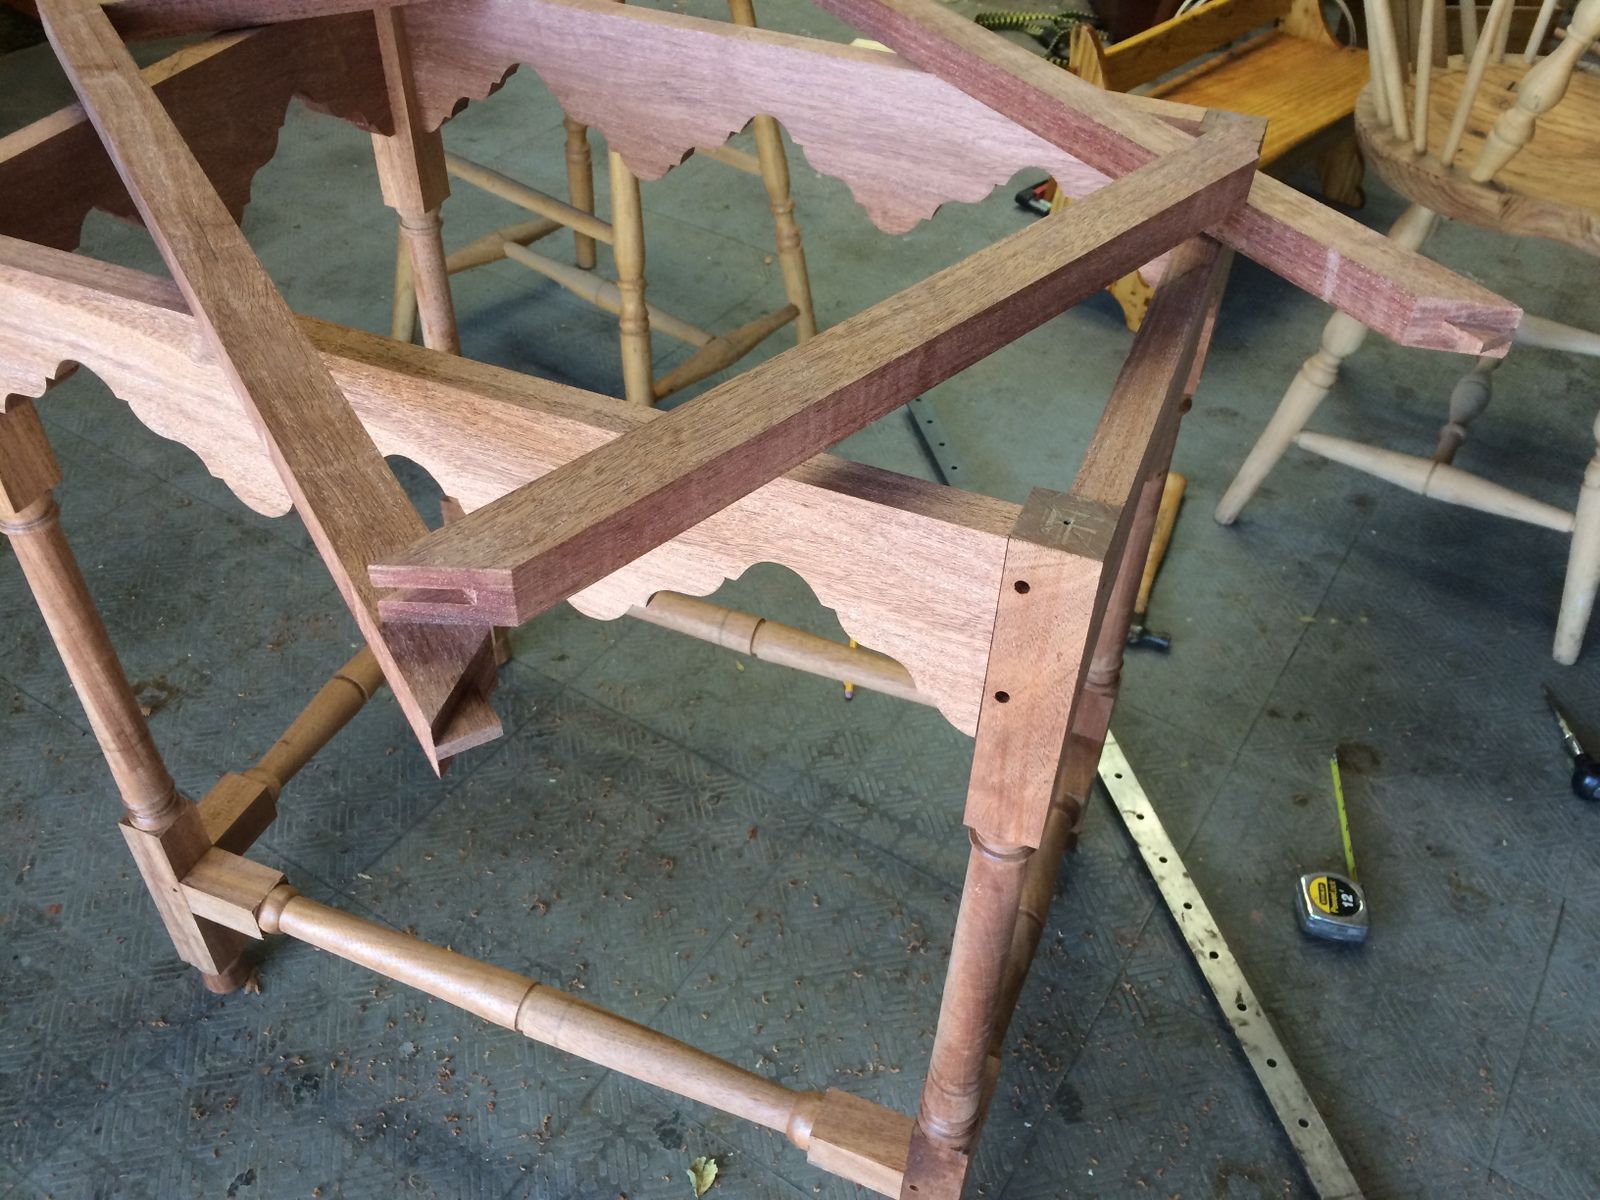
Here’s the results in the shop…..
Tim
http://killenwood.com



Log in or create an account to post a comment.
Sign up Log in