How to Make a Double Bridle Joint
Twin tenons maximize strength and add decorative flair
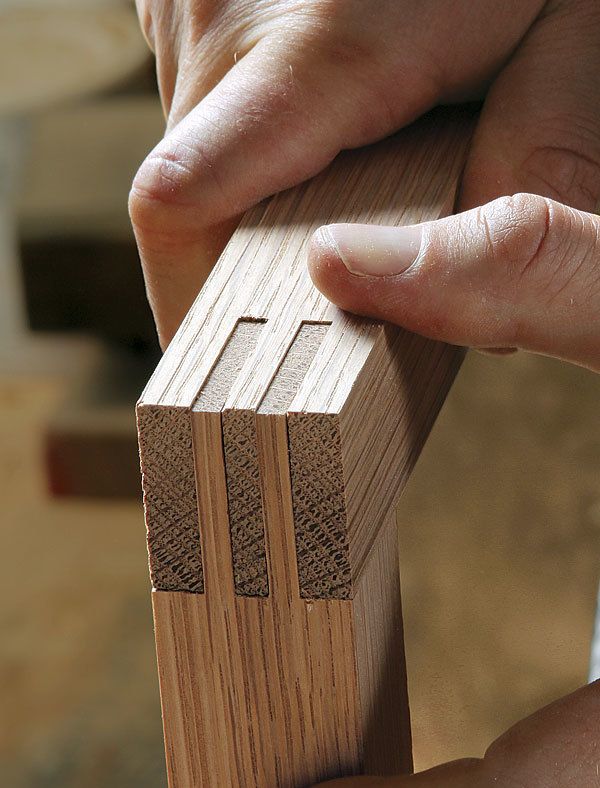
Synopsis: Strong and handsome, the double bridle joint is well-suited to a structural role in furniture. The double mortises and interlocking tenons provide a lot of glue surface, making the joint incredibly strong even in narrow stock. And the alternating pattern of end grain and edge grain also makes the joint beautiful, especially if dressed up with a mitered inside corner. This is a great joint for joining a leg and sled foot for a stool, chair, or bench. Ian Godfrey cuts the joint on the tablesaw and uses test pieces to help dial in the fit.
When I was learning to build furniture at the Inside Passage School in British Columbia, I saw a chair by College of the redwoods graduate Ben green that used a double bridle joint. I immediately admired the joint for its strength and understated beauty.
Unlike the standard bridle joint, which is often used in cabinet-door frames, the double bridle joint is better suited to a structural role in furniture. The double mortises and interlocking tenons provide ample glue surface, making the joint incredibly strong even in narrow stock.
With an alternating pattern of end grain and edge grain, the joint is handsome enough. But it also can be dressed up with a mitered inside corner that can be shaped to create a smooth transition from rail to leg. I have been using the joint since I first saw it. It is great for joining a leg and sled foot for a stool, chair, or bench.
Here I’ll show you how to cut the basic joint for a tight fit with minimal fussing. Then I’ll show you how to cut and shape the mitered corner.
Start with the tenons
I cut the joint at the tablesaw and rely on setup pieces to help dial in the fit. You’ll need a pair of them, one for each half of the joint. Use a full-size drawing to transfer the layout for the joinery to these pieces.
I cut the interlocking portion using a shop-built tenoning jig and a rip blade for a clean, flat-bottomed cut. The blade height will remain the same throughout this process, so get it set precisely using one of the setup pieces.
Start with the center mortise on the stile (or leg) and alternate between that and the mating rail as you go. To position the fence, align the blade with the layout line of one of the tenon cheeks (see Step 1 above).
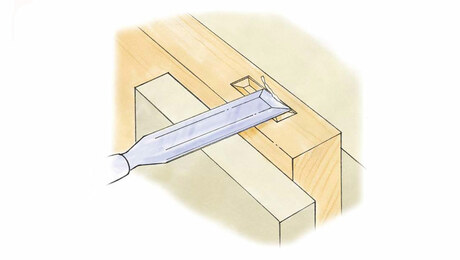
With the fence set, clamp the stile to the tenoning jig, making sure that it is tight against the saw table, the jig’s fence, and the backer board, and make the cut. I typically design the mortise to be a little wider than the kerf of my sawblade. This lets me rotate the piece front to back to make the second cut and create a perfectly centered joint. To cut the twin mortises in the rail, use the setup piece to set the fence. Cut one cheek, then rotate the workpiece to cut the same cheek on the opposite side.
Photo: Steve Scott
For the full article, download the PDF below:
Fine Woodworking Recommended Products

Circle Guide

Dividers

Pfiel Chip Carving Knife


Log in or create an account to post a comment.
Sign up Log in